0
items
$0

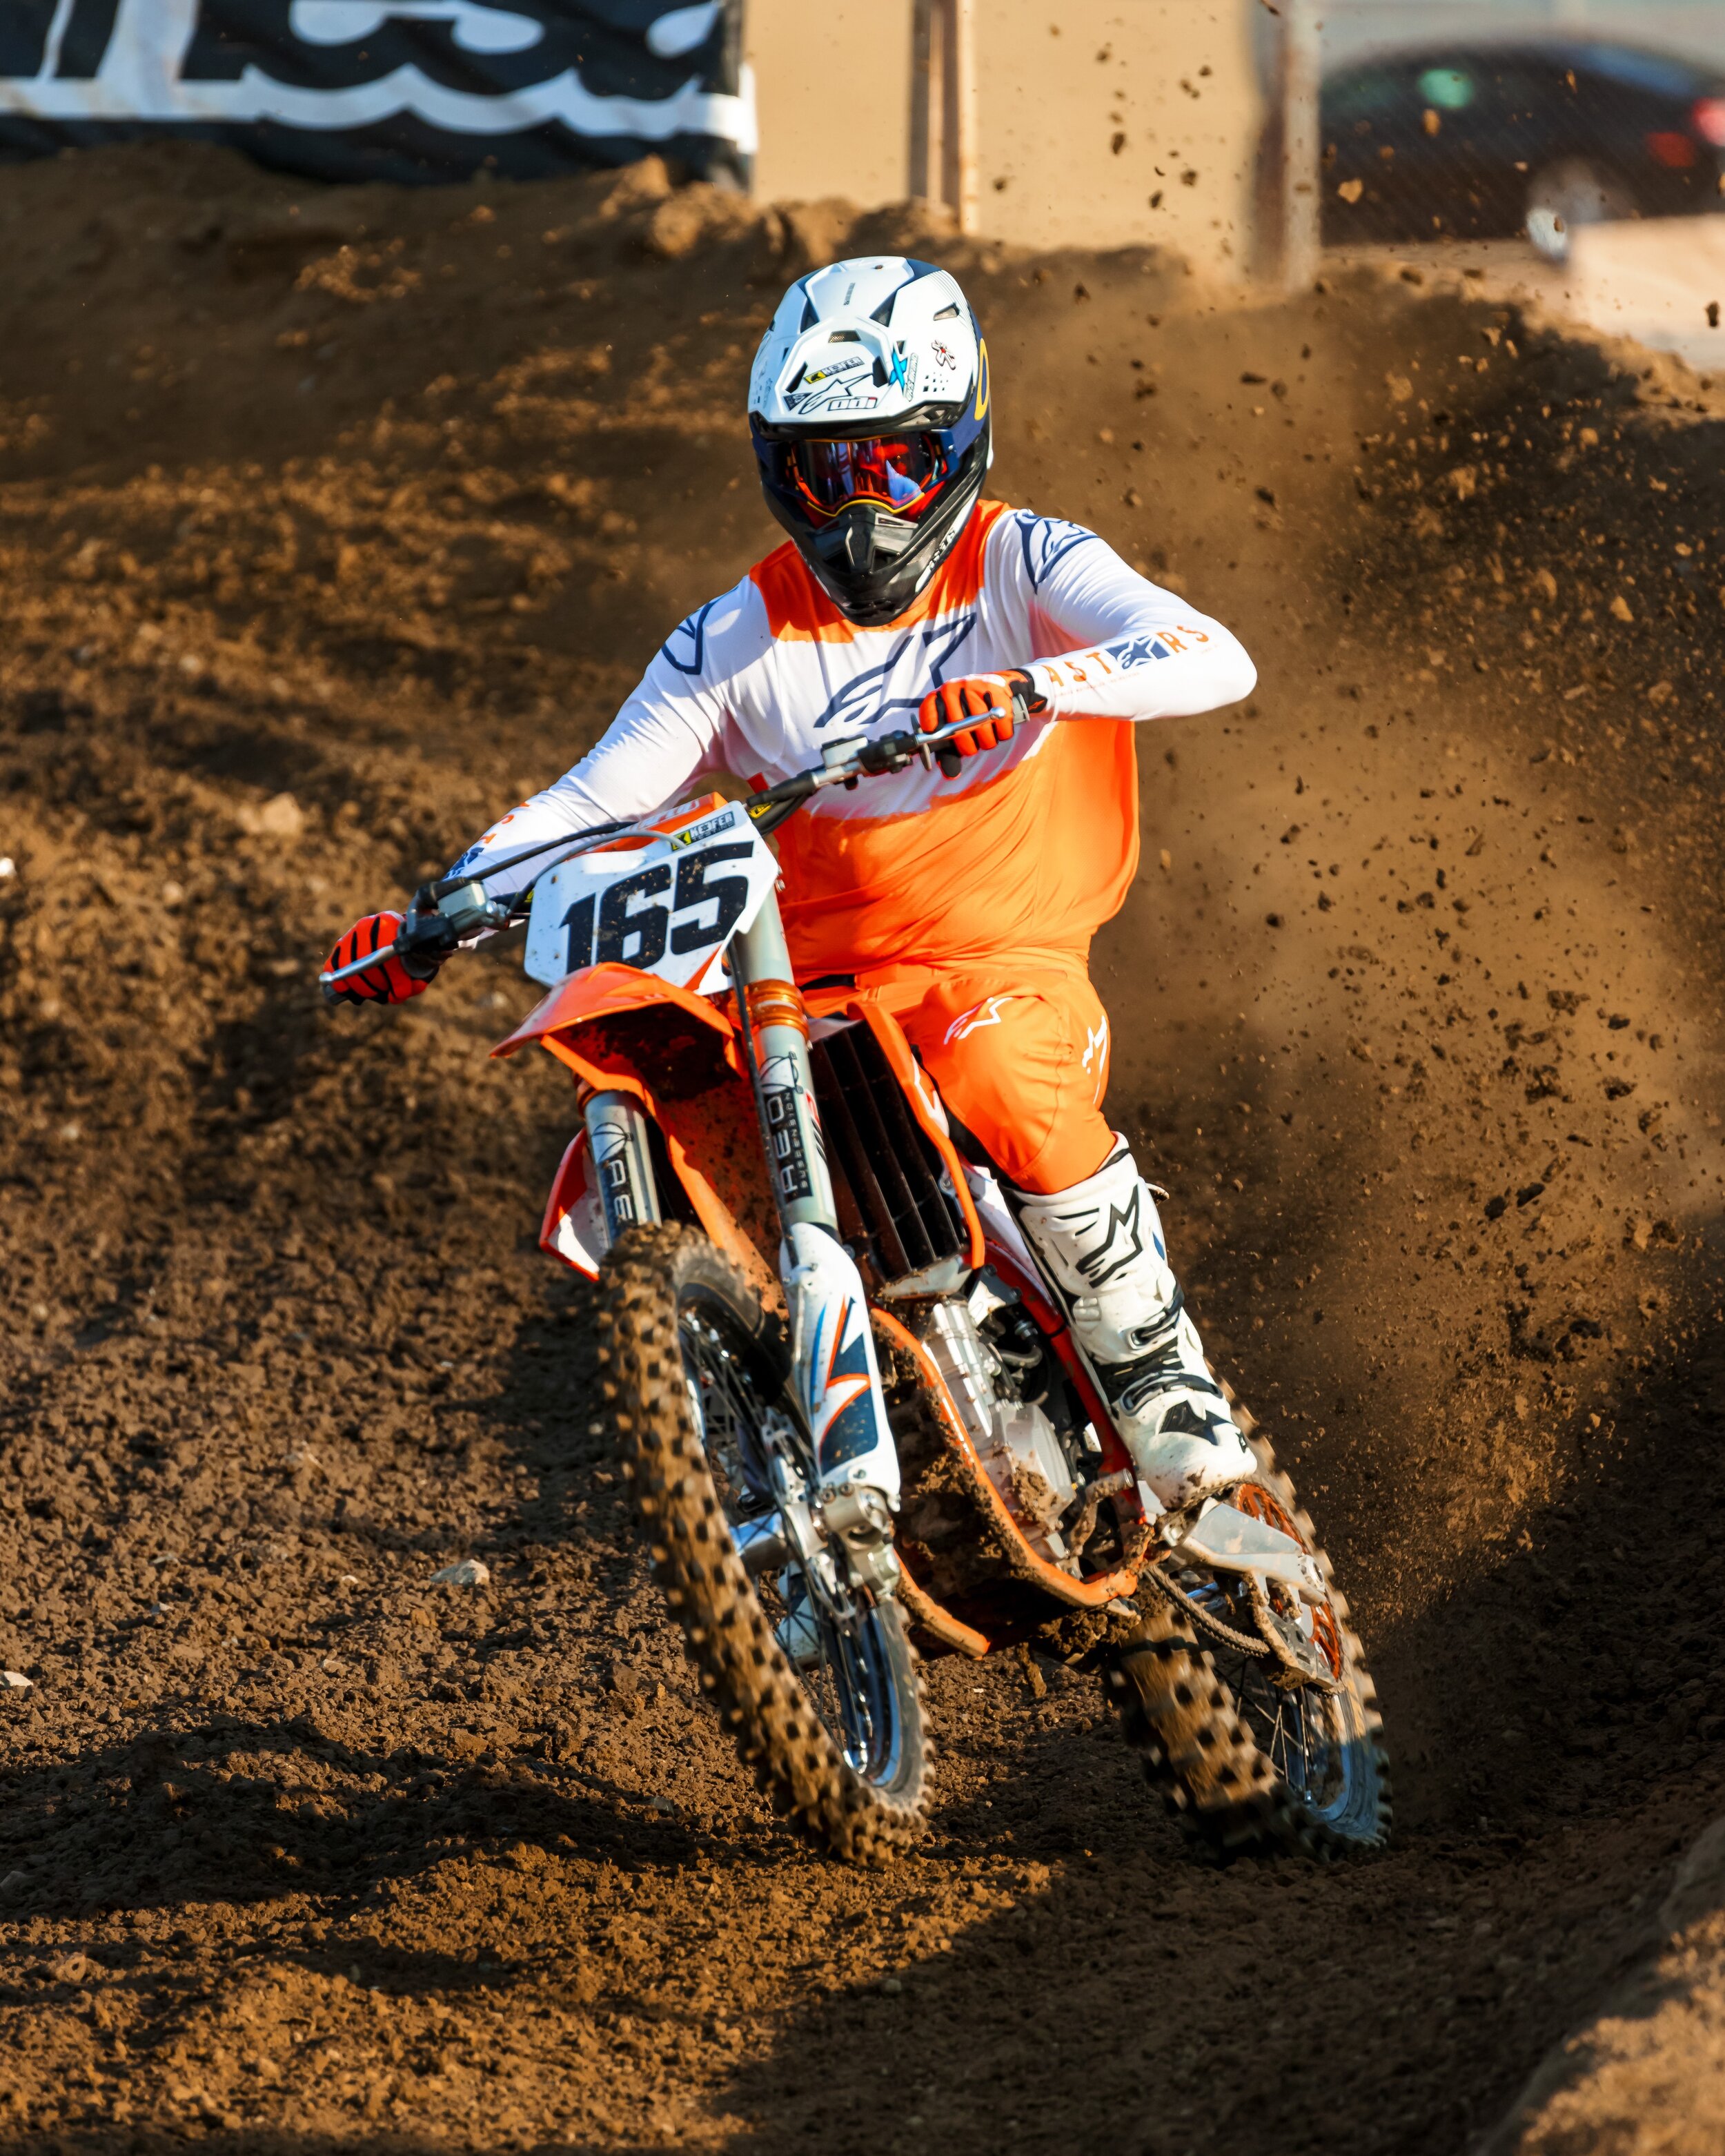
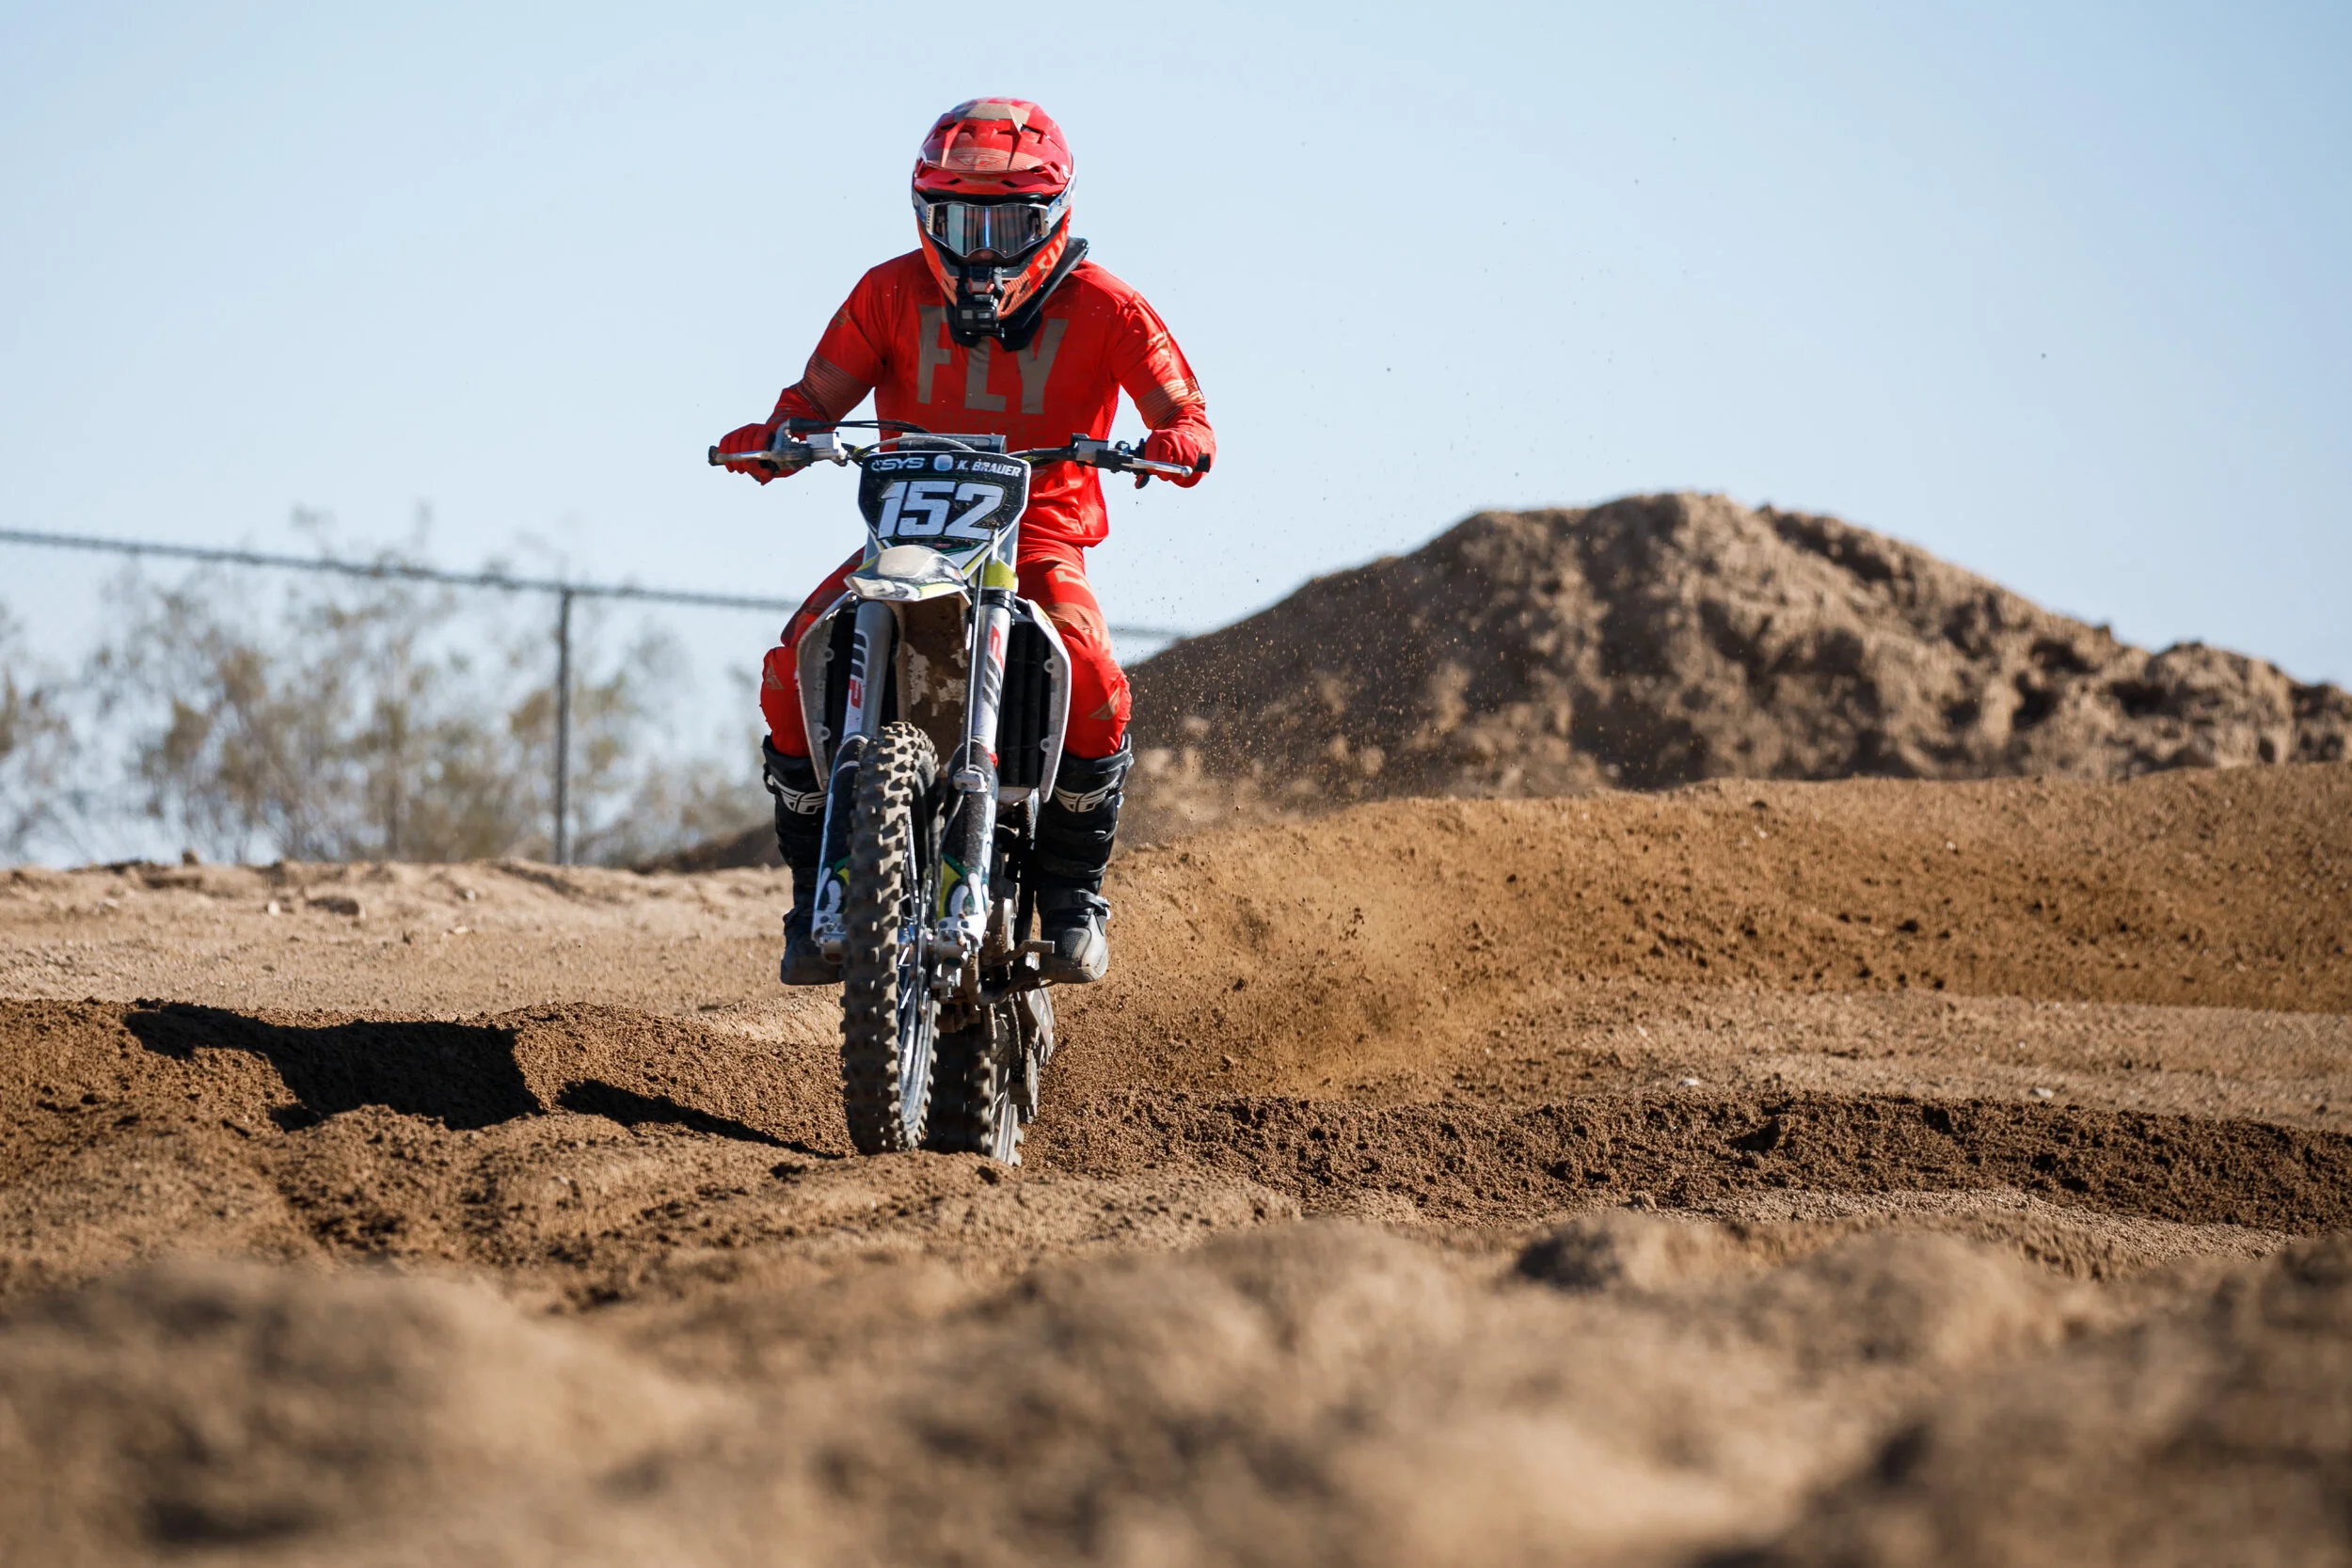
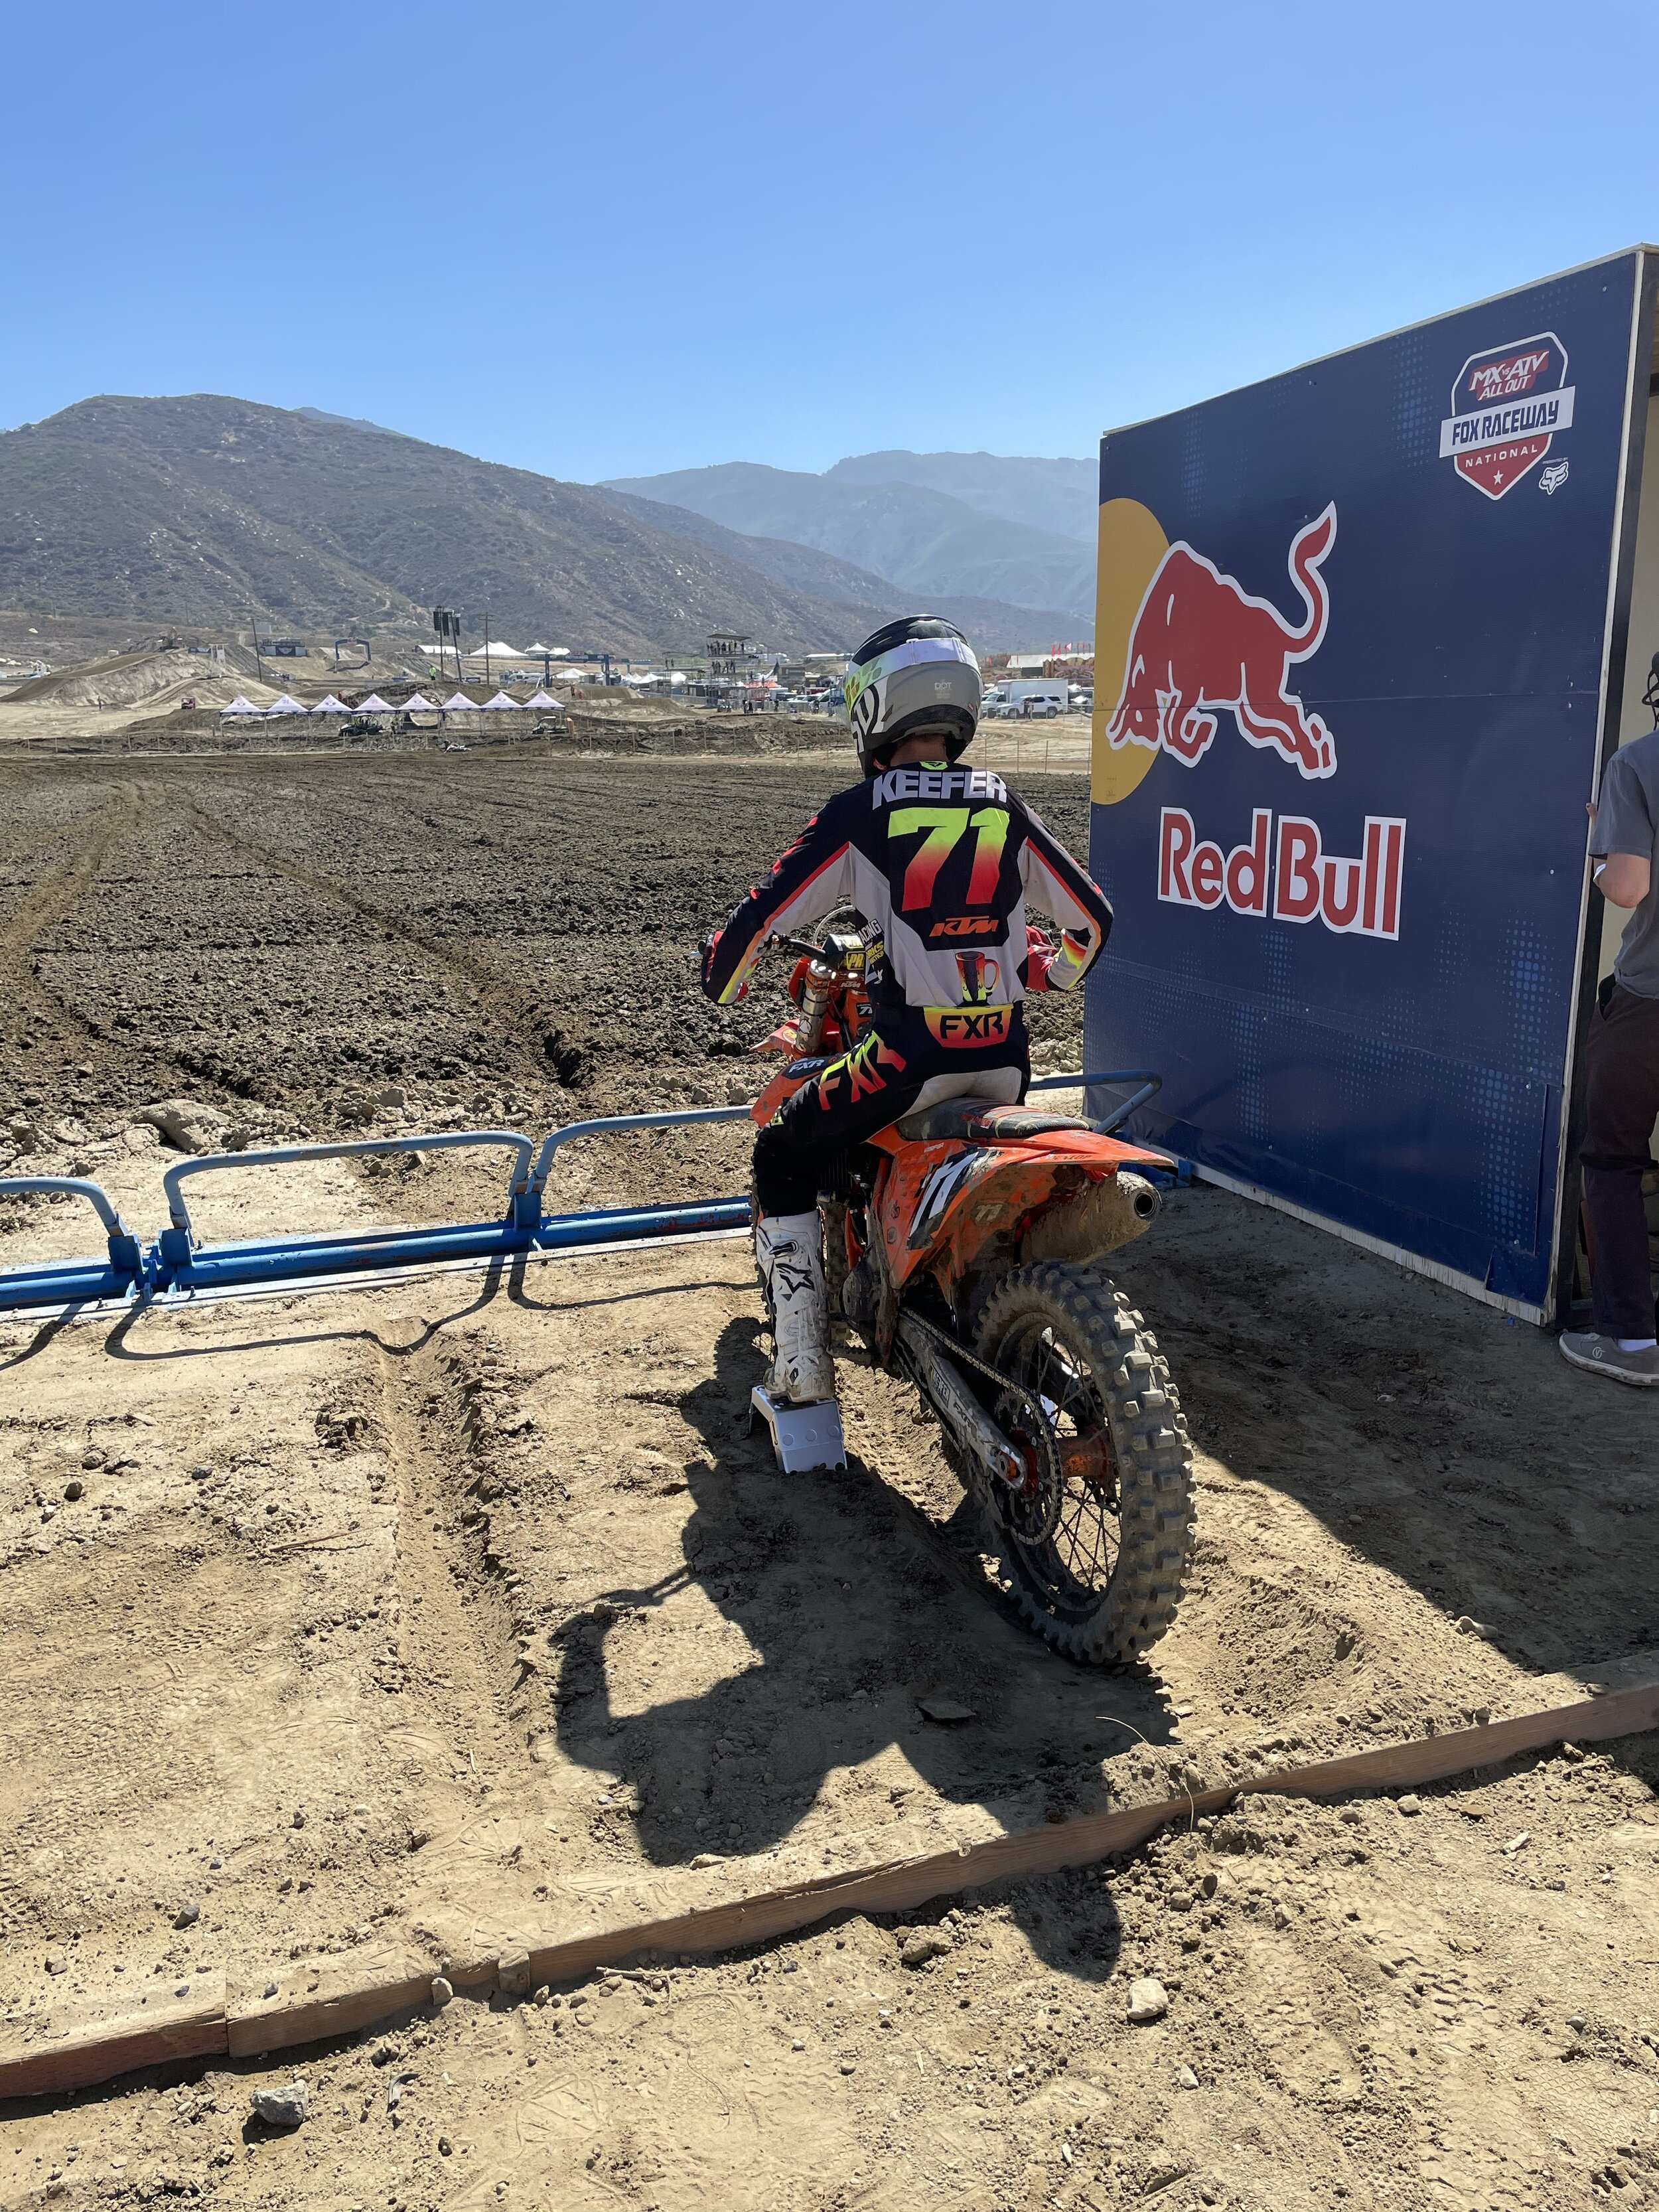
2022 KTM 450 SX-F What Would You Do?
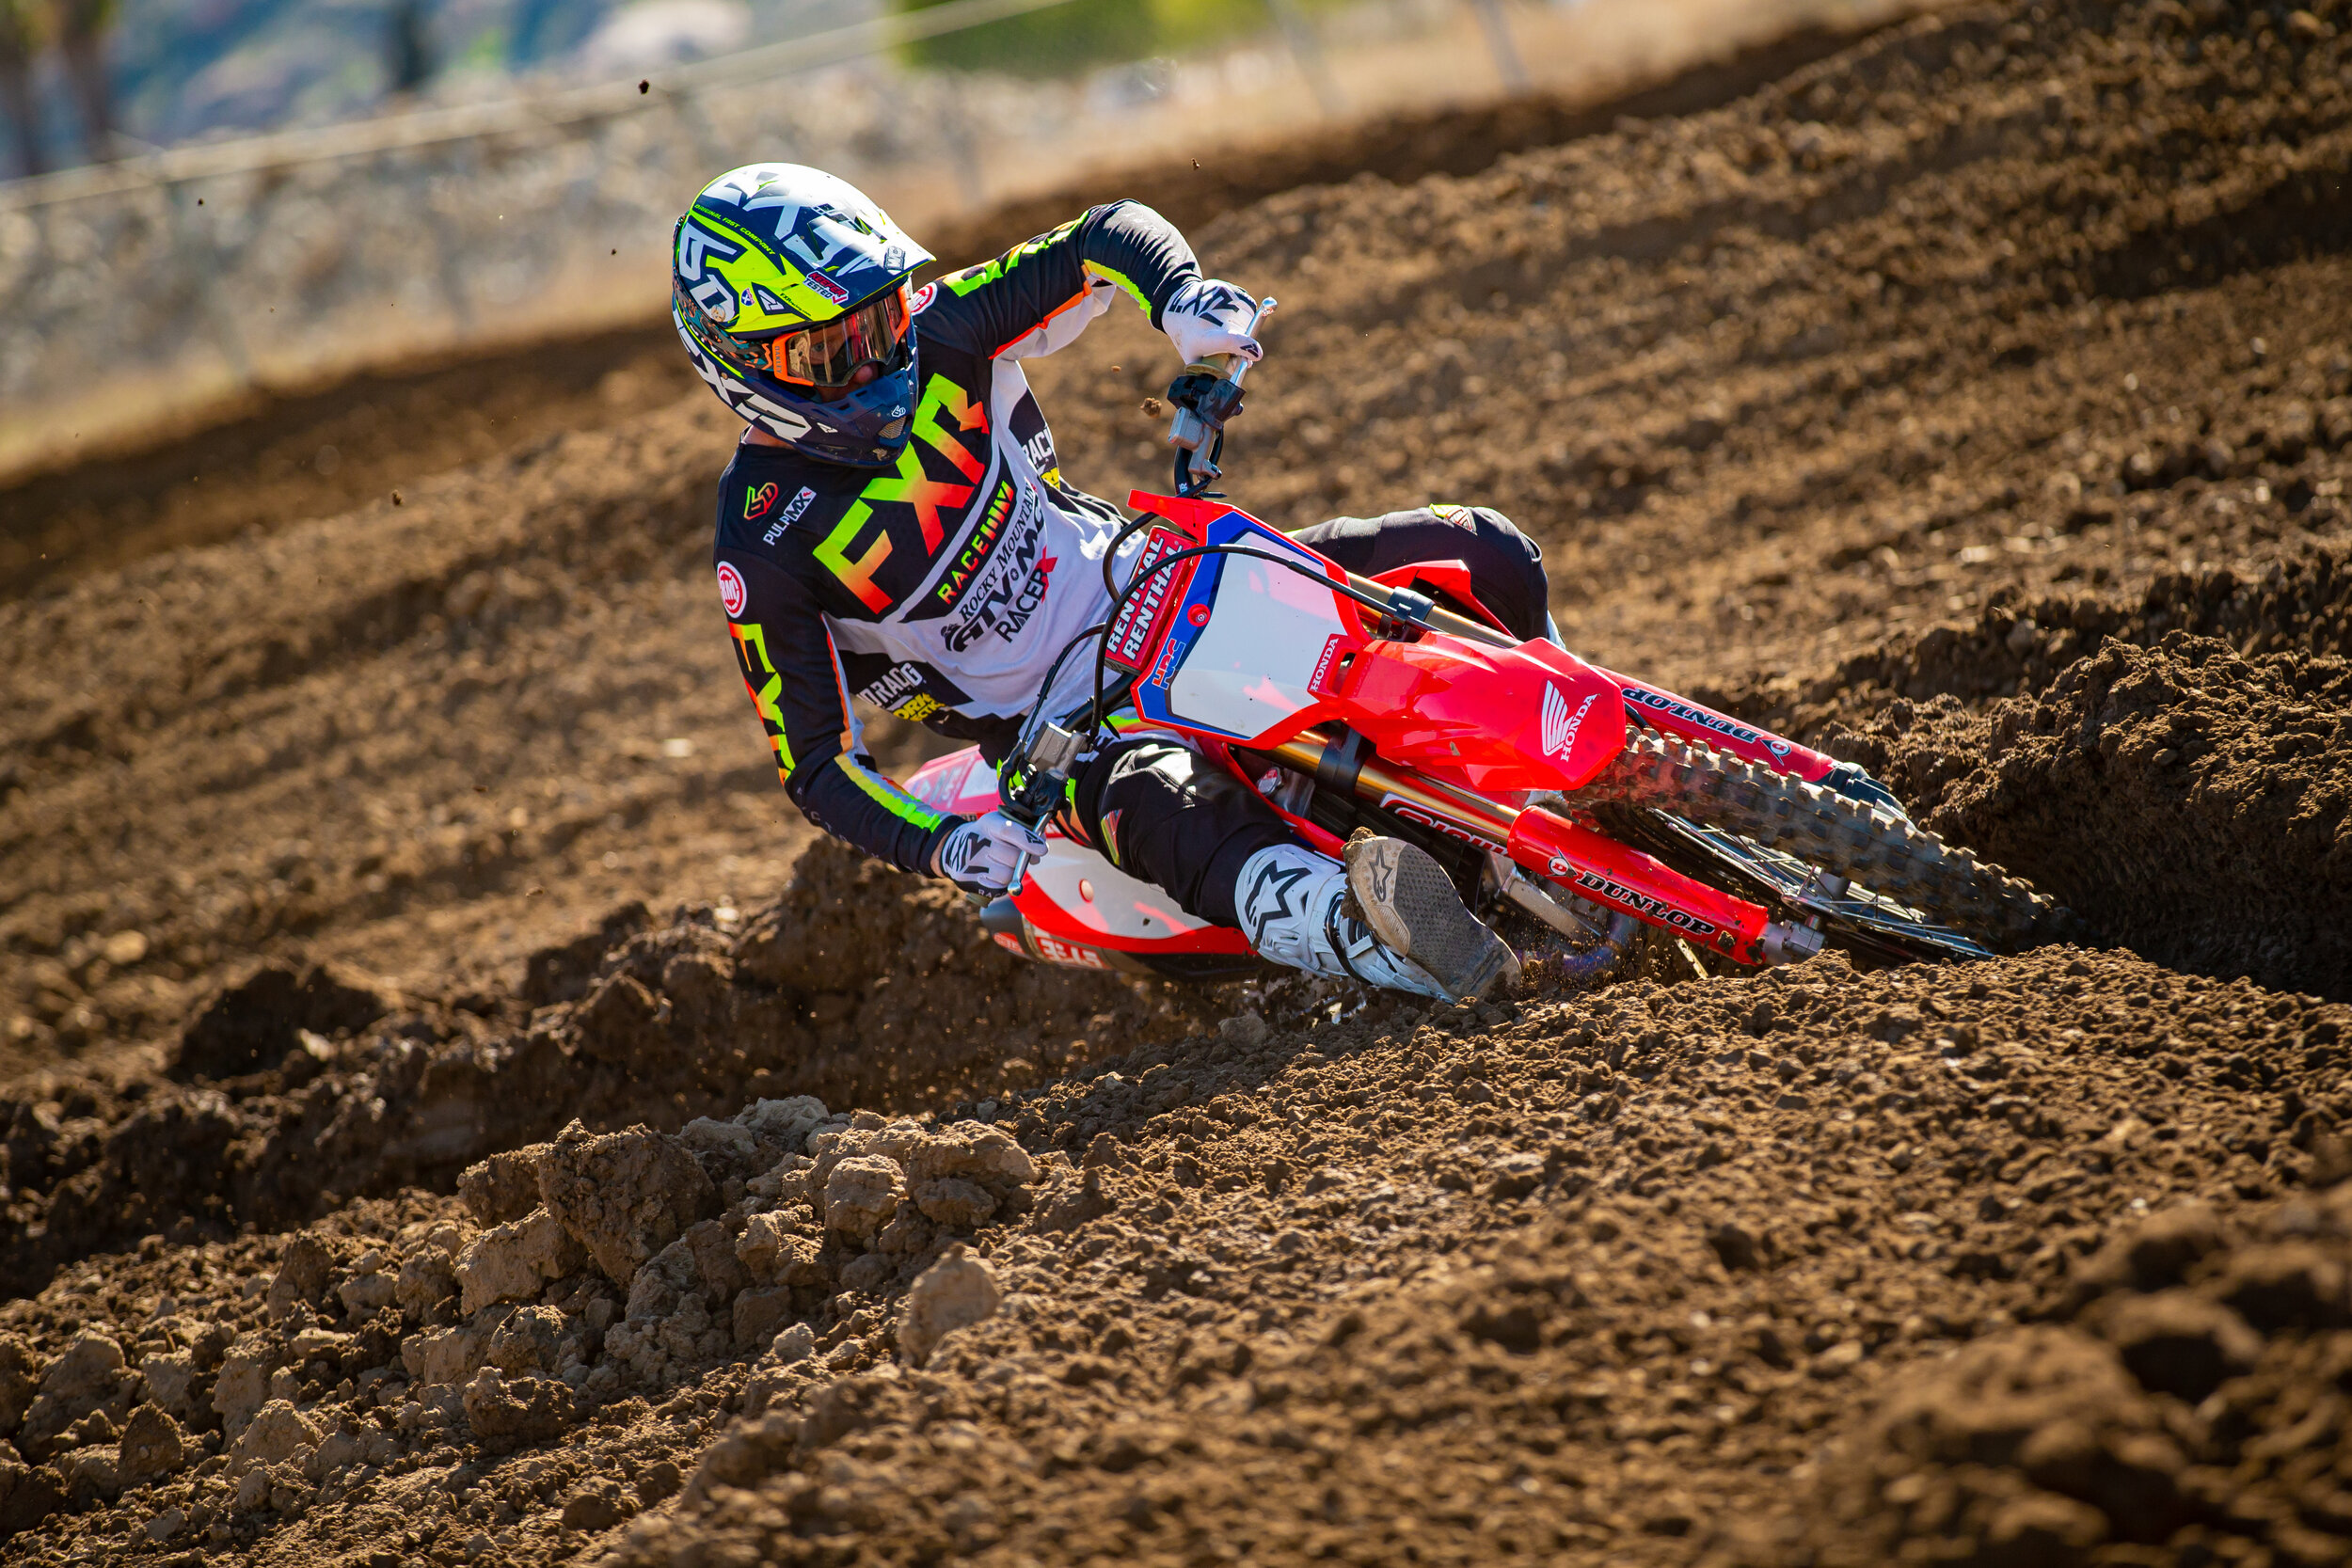
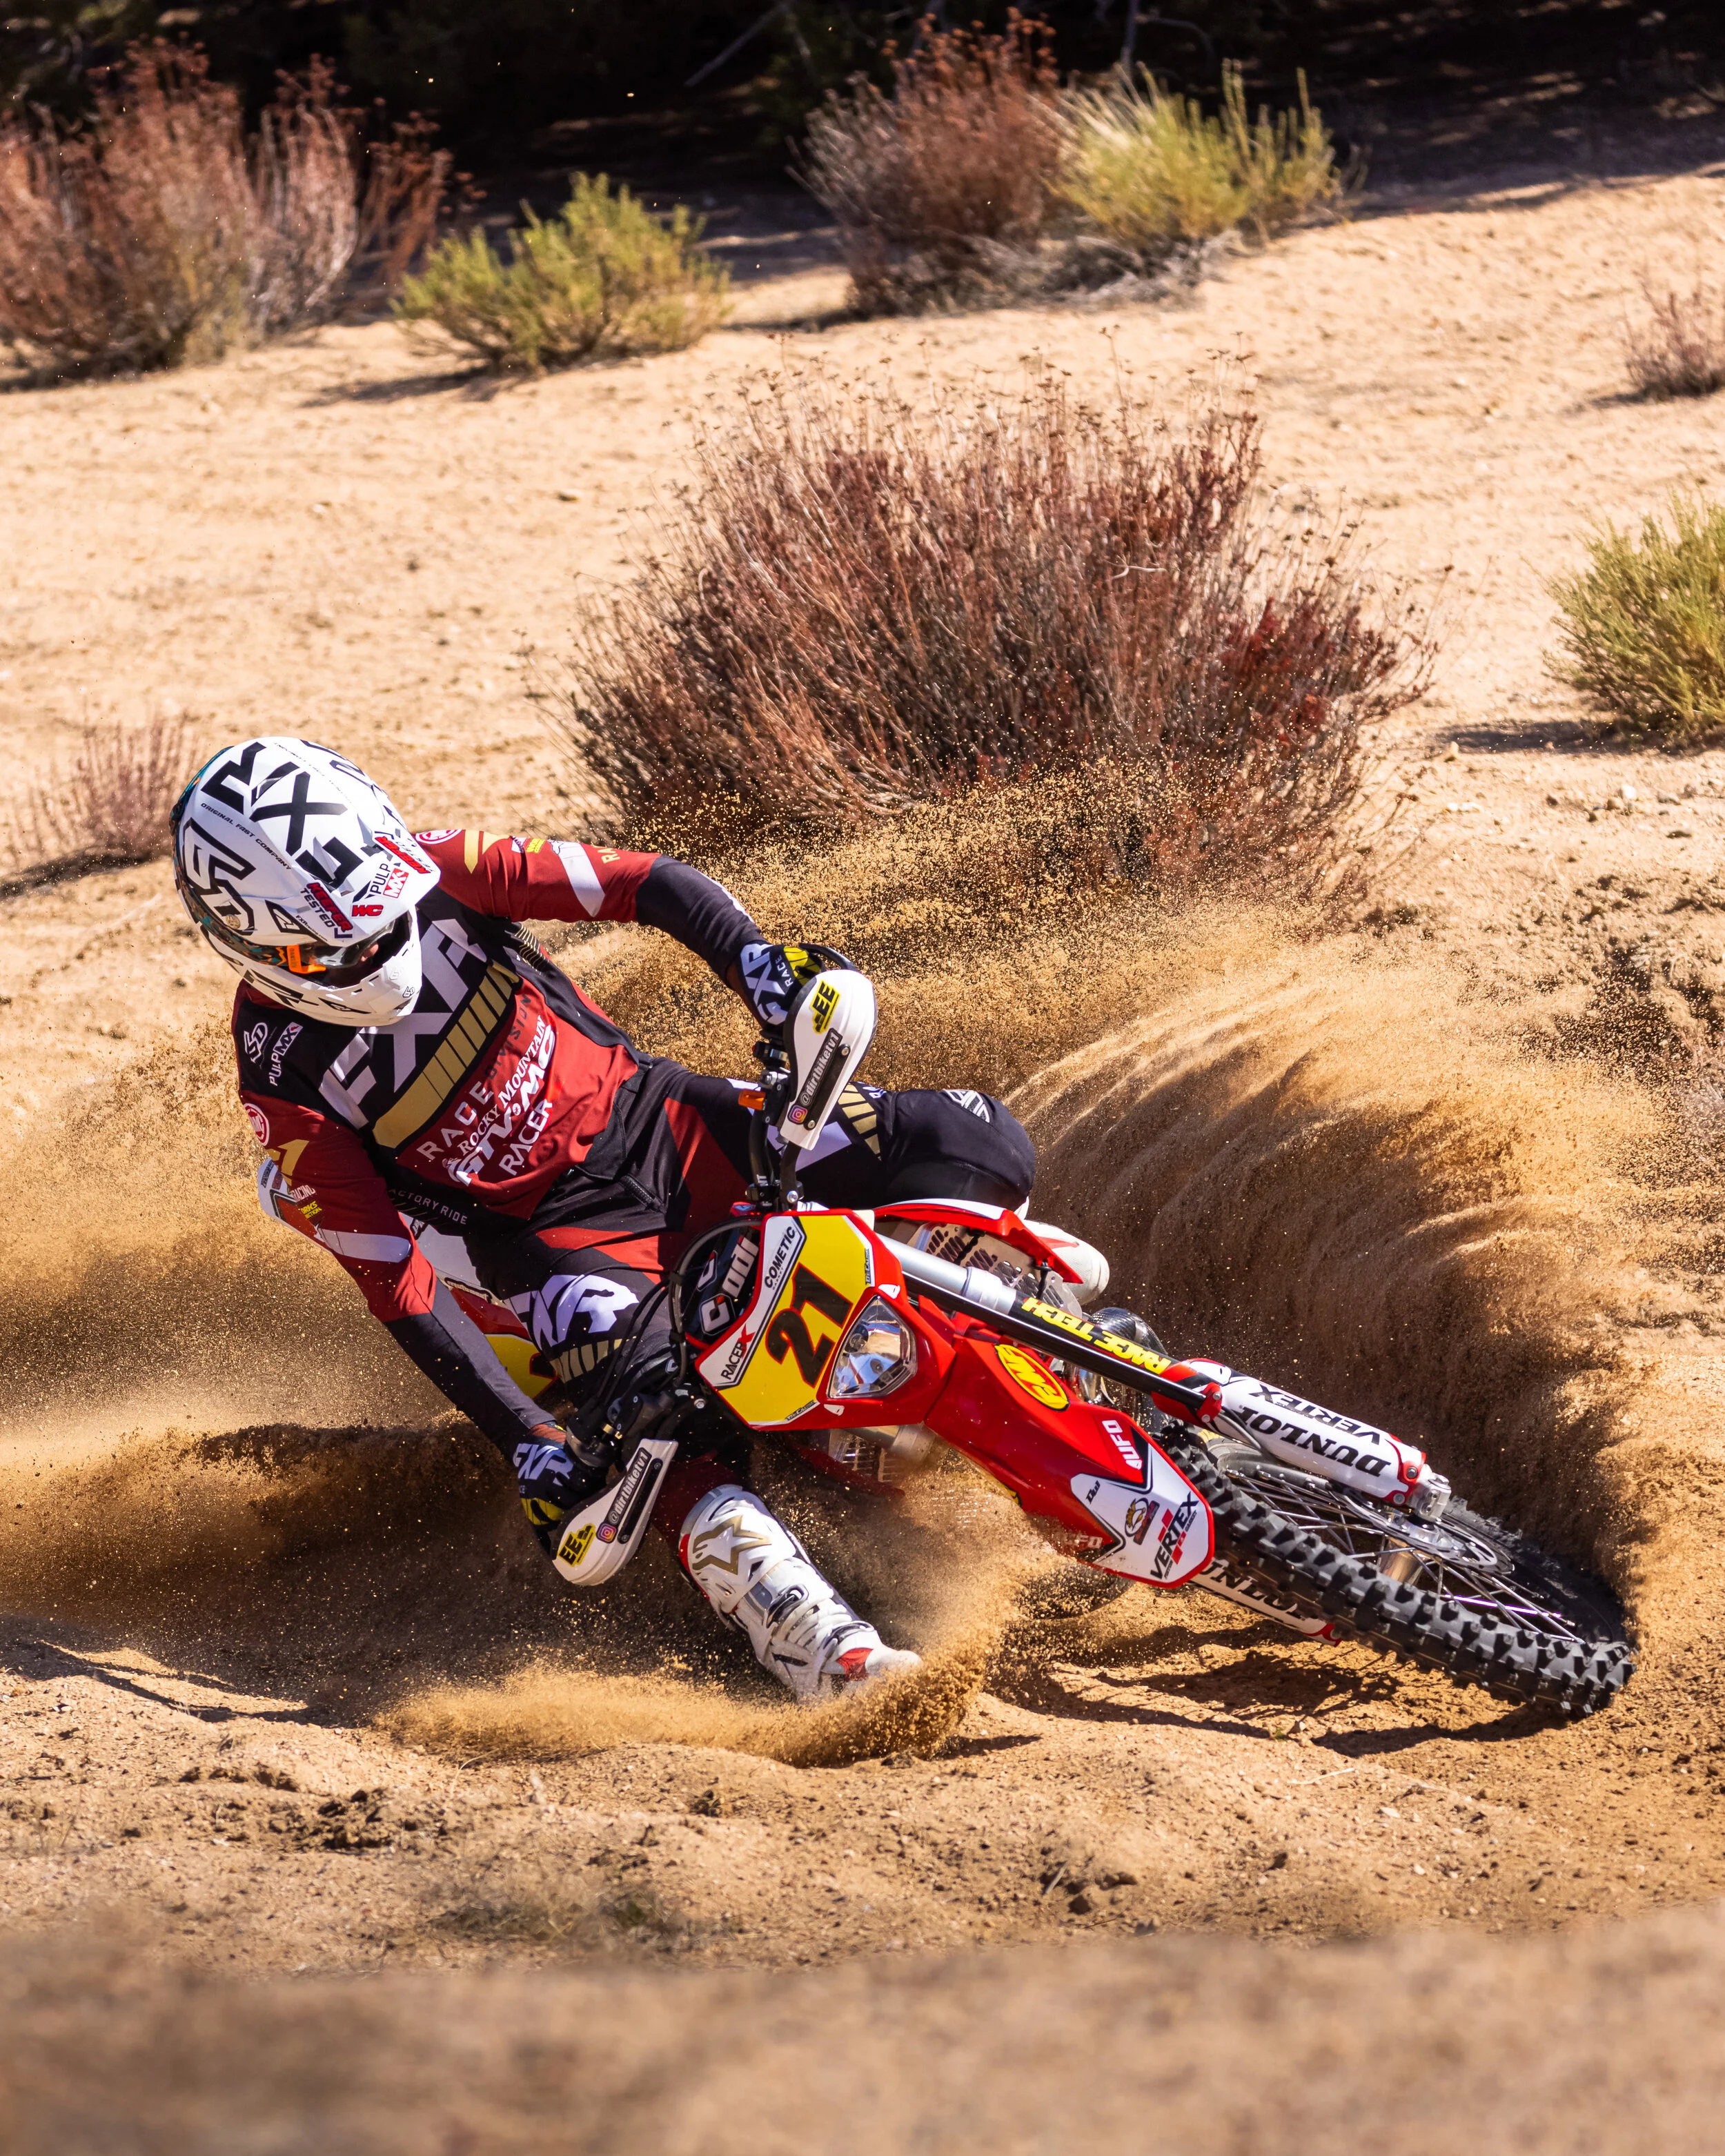
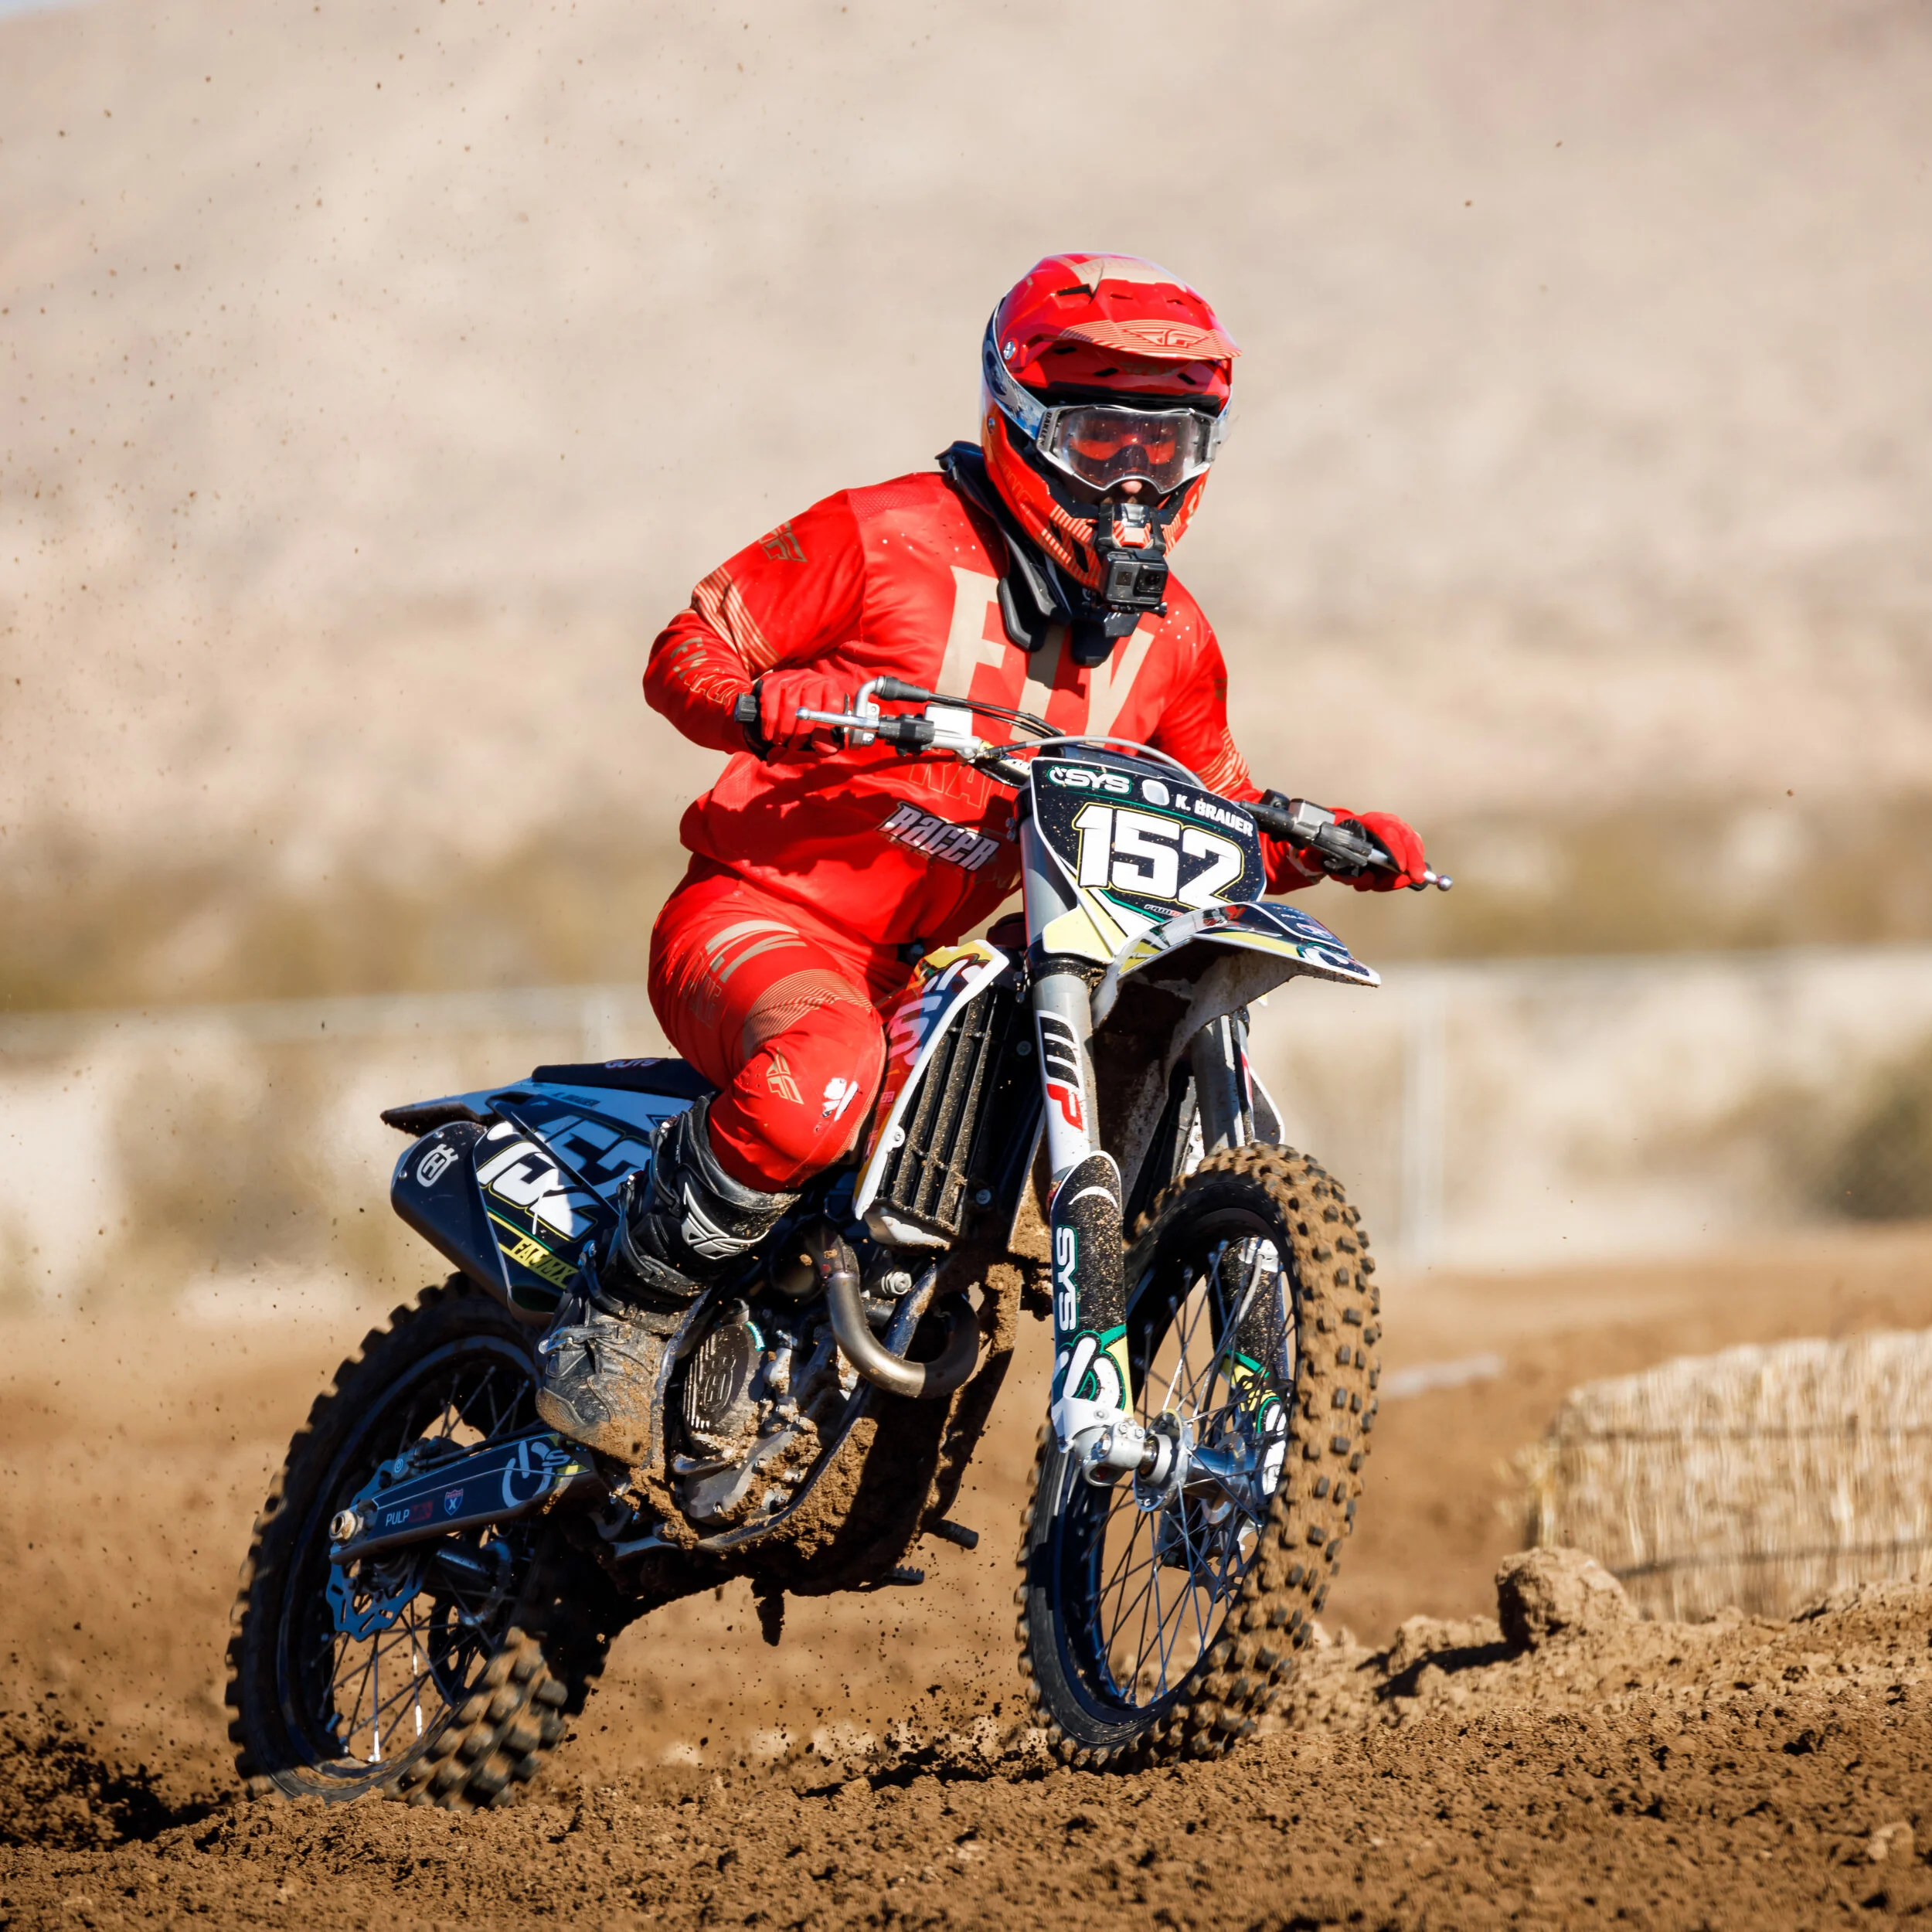
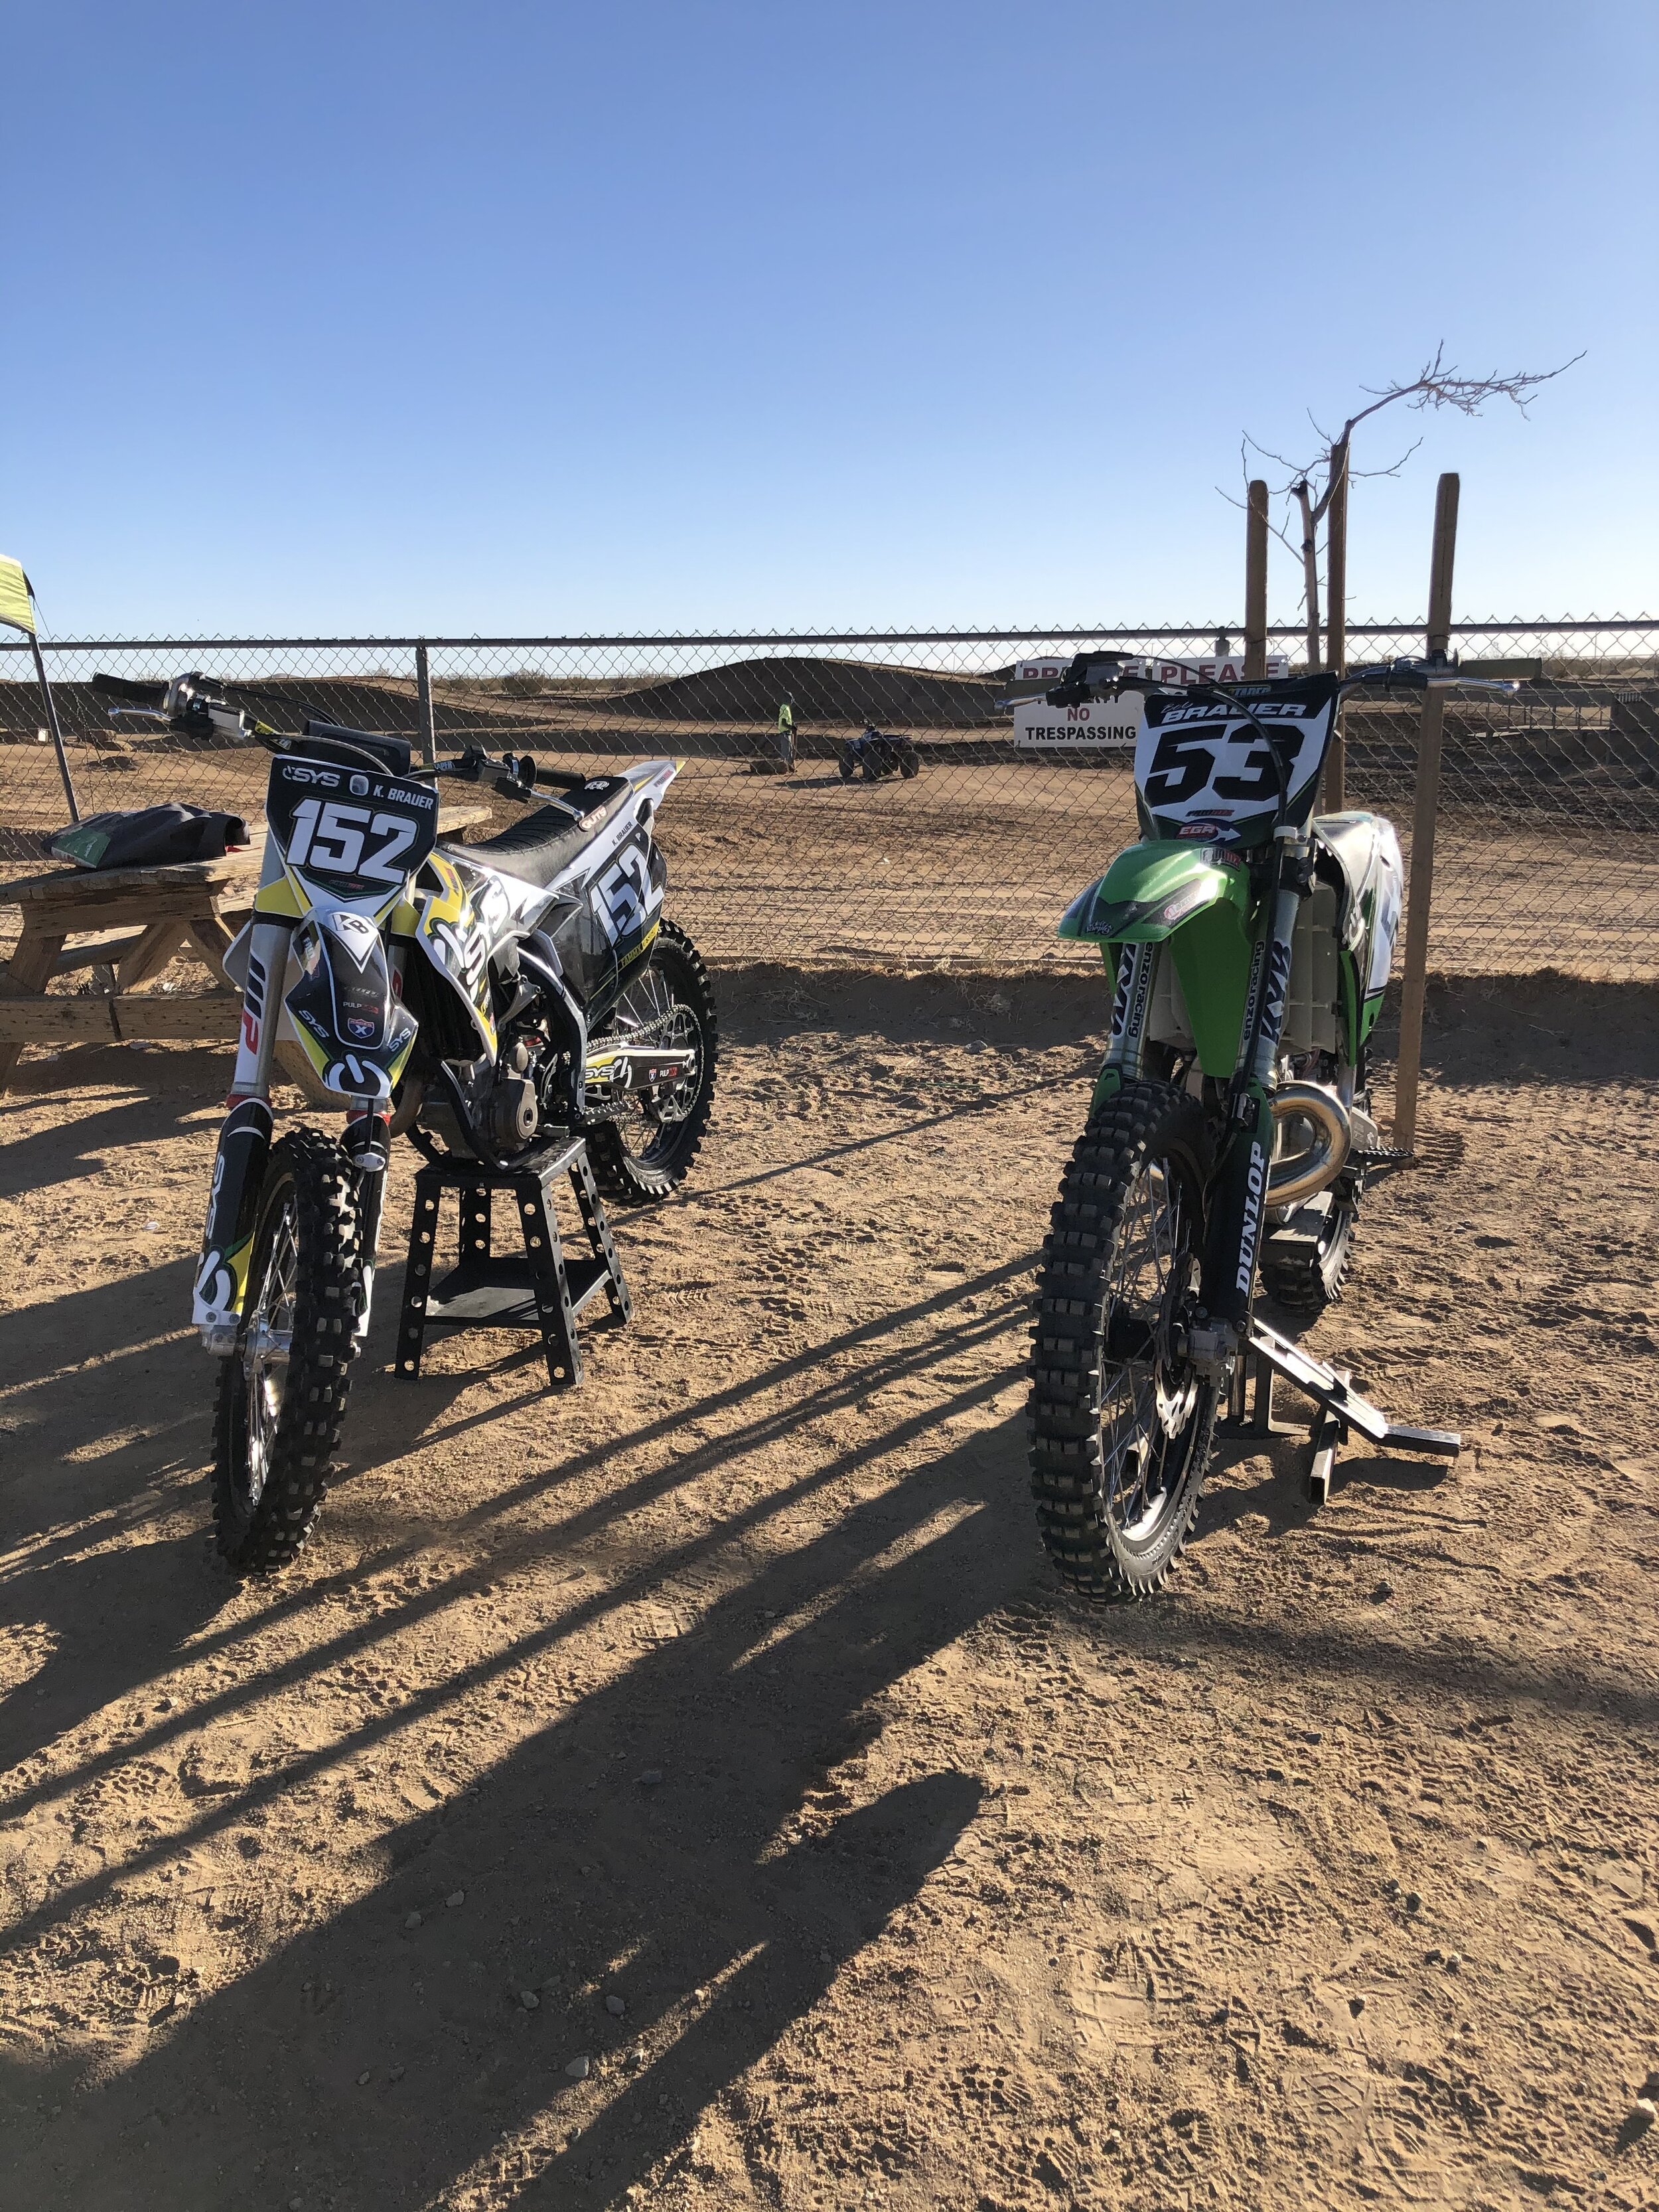
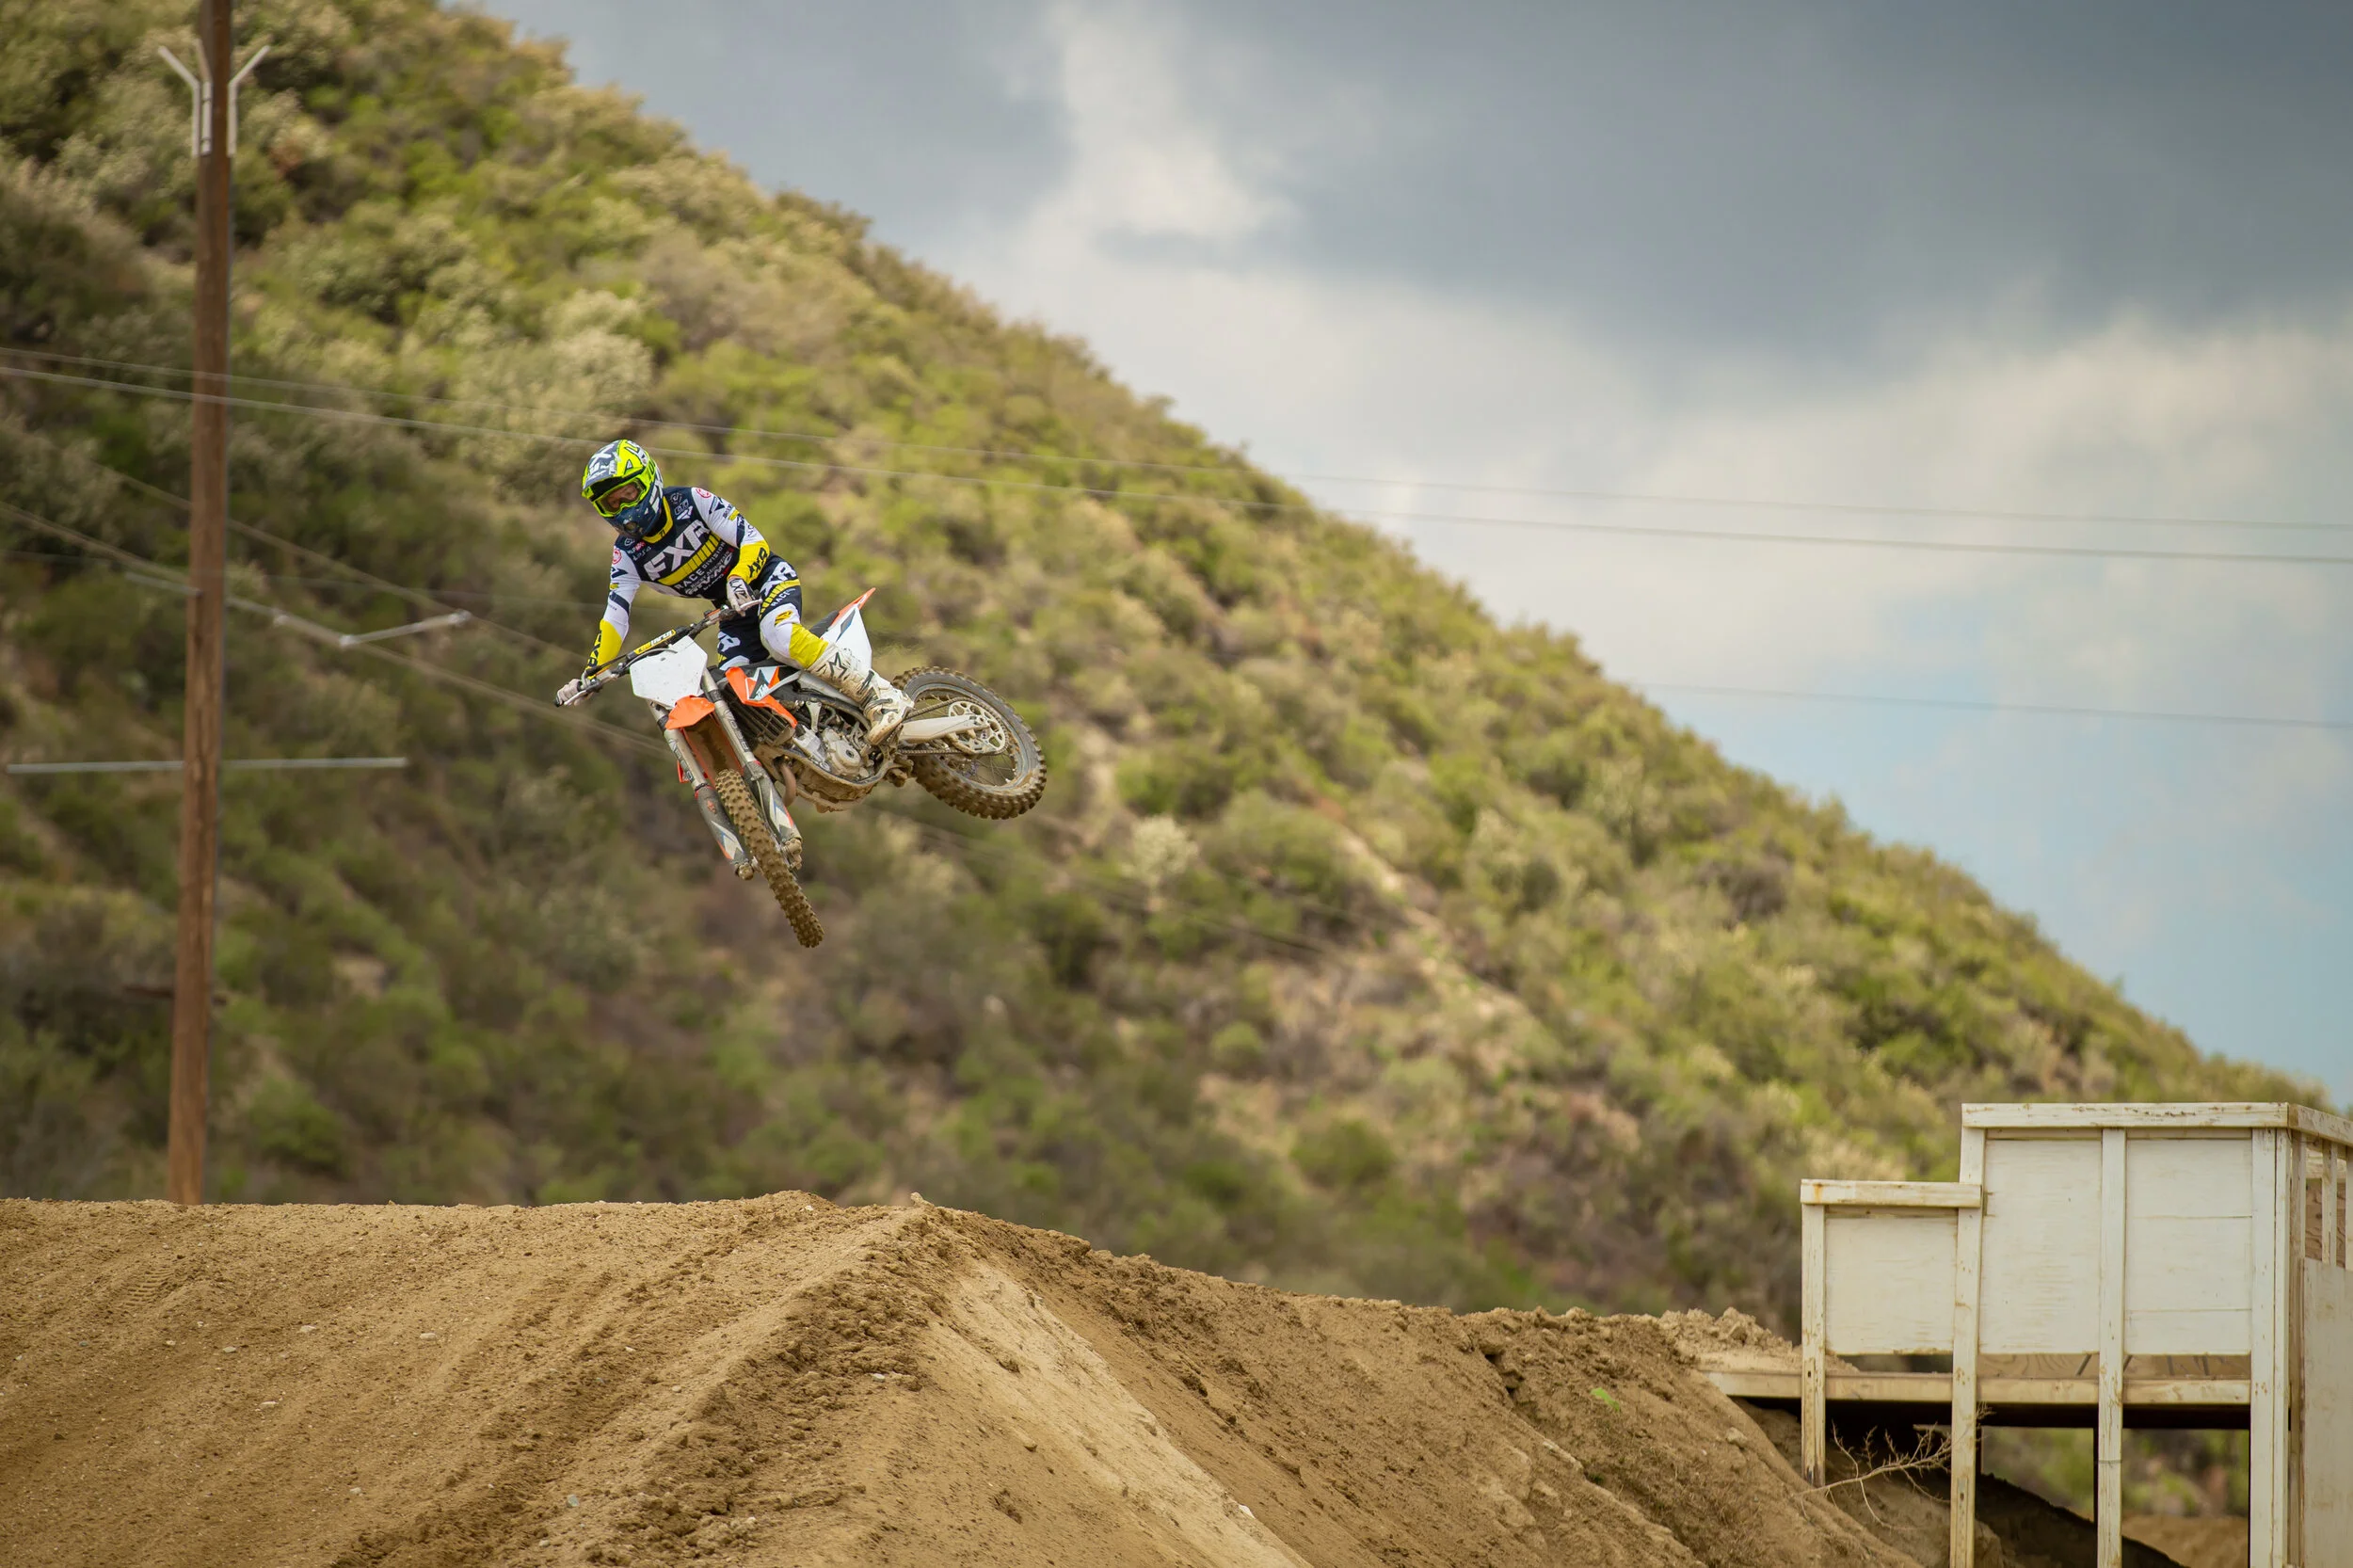
People always ask, “what would you do to your own bike”? Most of the time that question gets answered at the track or through email, but I thought I would put it out there for the world to see through my site. The KTM 450 SX-F is one of my favorite bikes to ride and race. In stock form the 2022 KTM 450 SX-F has an easier to ride smooth roll-on power than other 450s in its class and that lets the rider get on the throttle sooner through corners. The stock suspension is decent but needs some better lean angle front end traction, more consistency in the front end and more hold up (high speed compression) on the shock. Not all of my builds need to be extravagant, so I thought why not build a machine strictly on what the bike “needs” to make it even more fun to ride/race. Below is a parts list that I have created on parts that I strictly wanted personally on my 2022 KTM 450 SX-F. Since the 22 KTM 450 SX-F is virtually unchanged from the 2021 version, there is no need to do a FIRST RIDE!

Parts List:
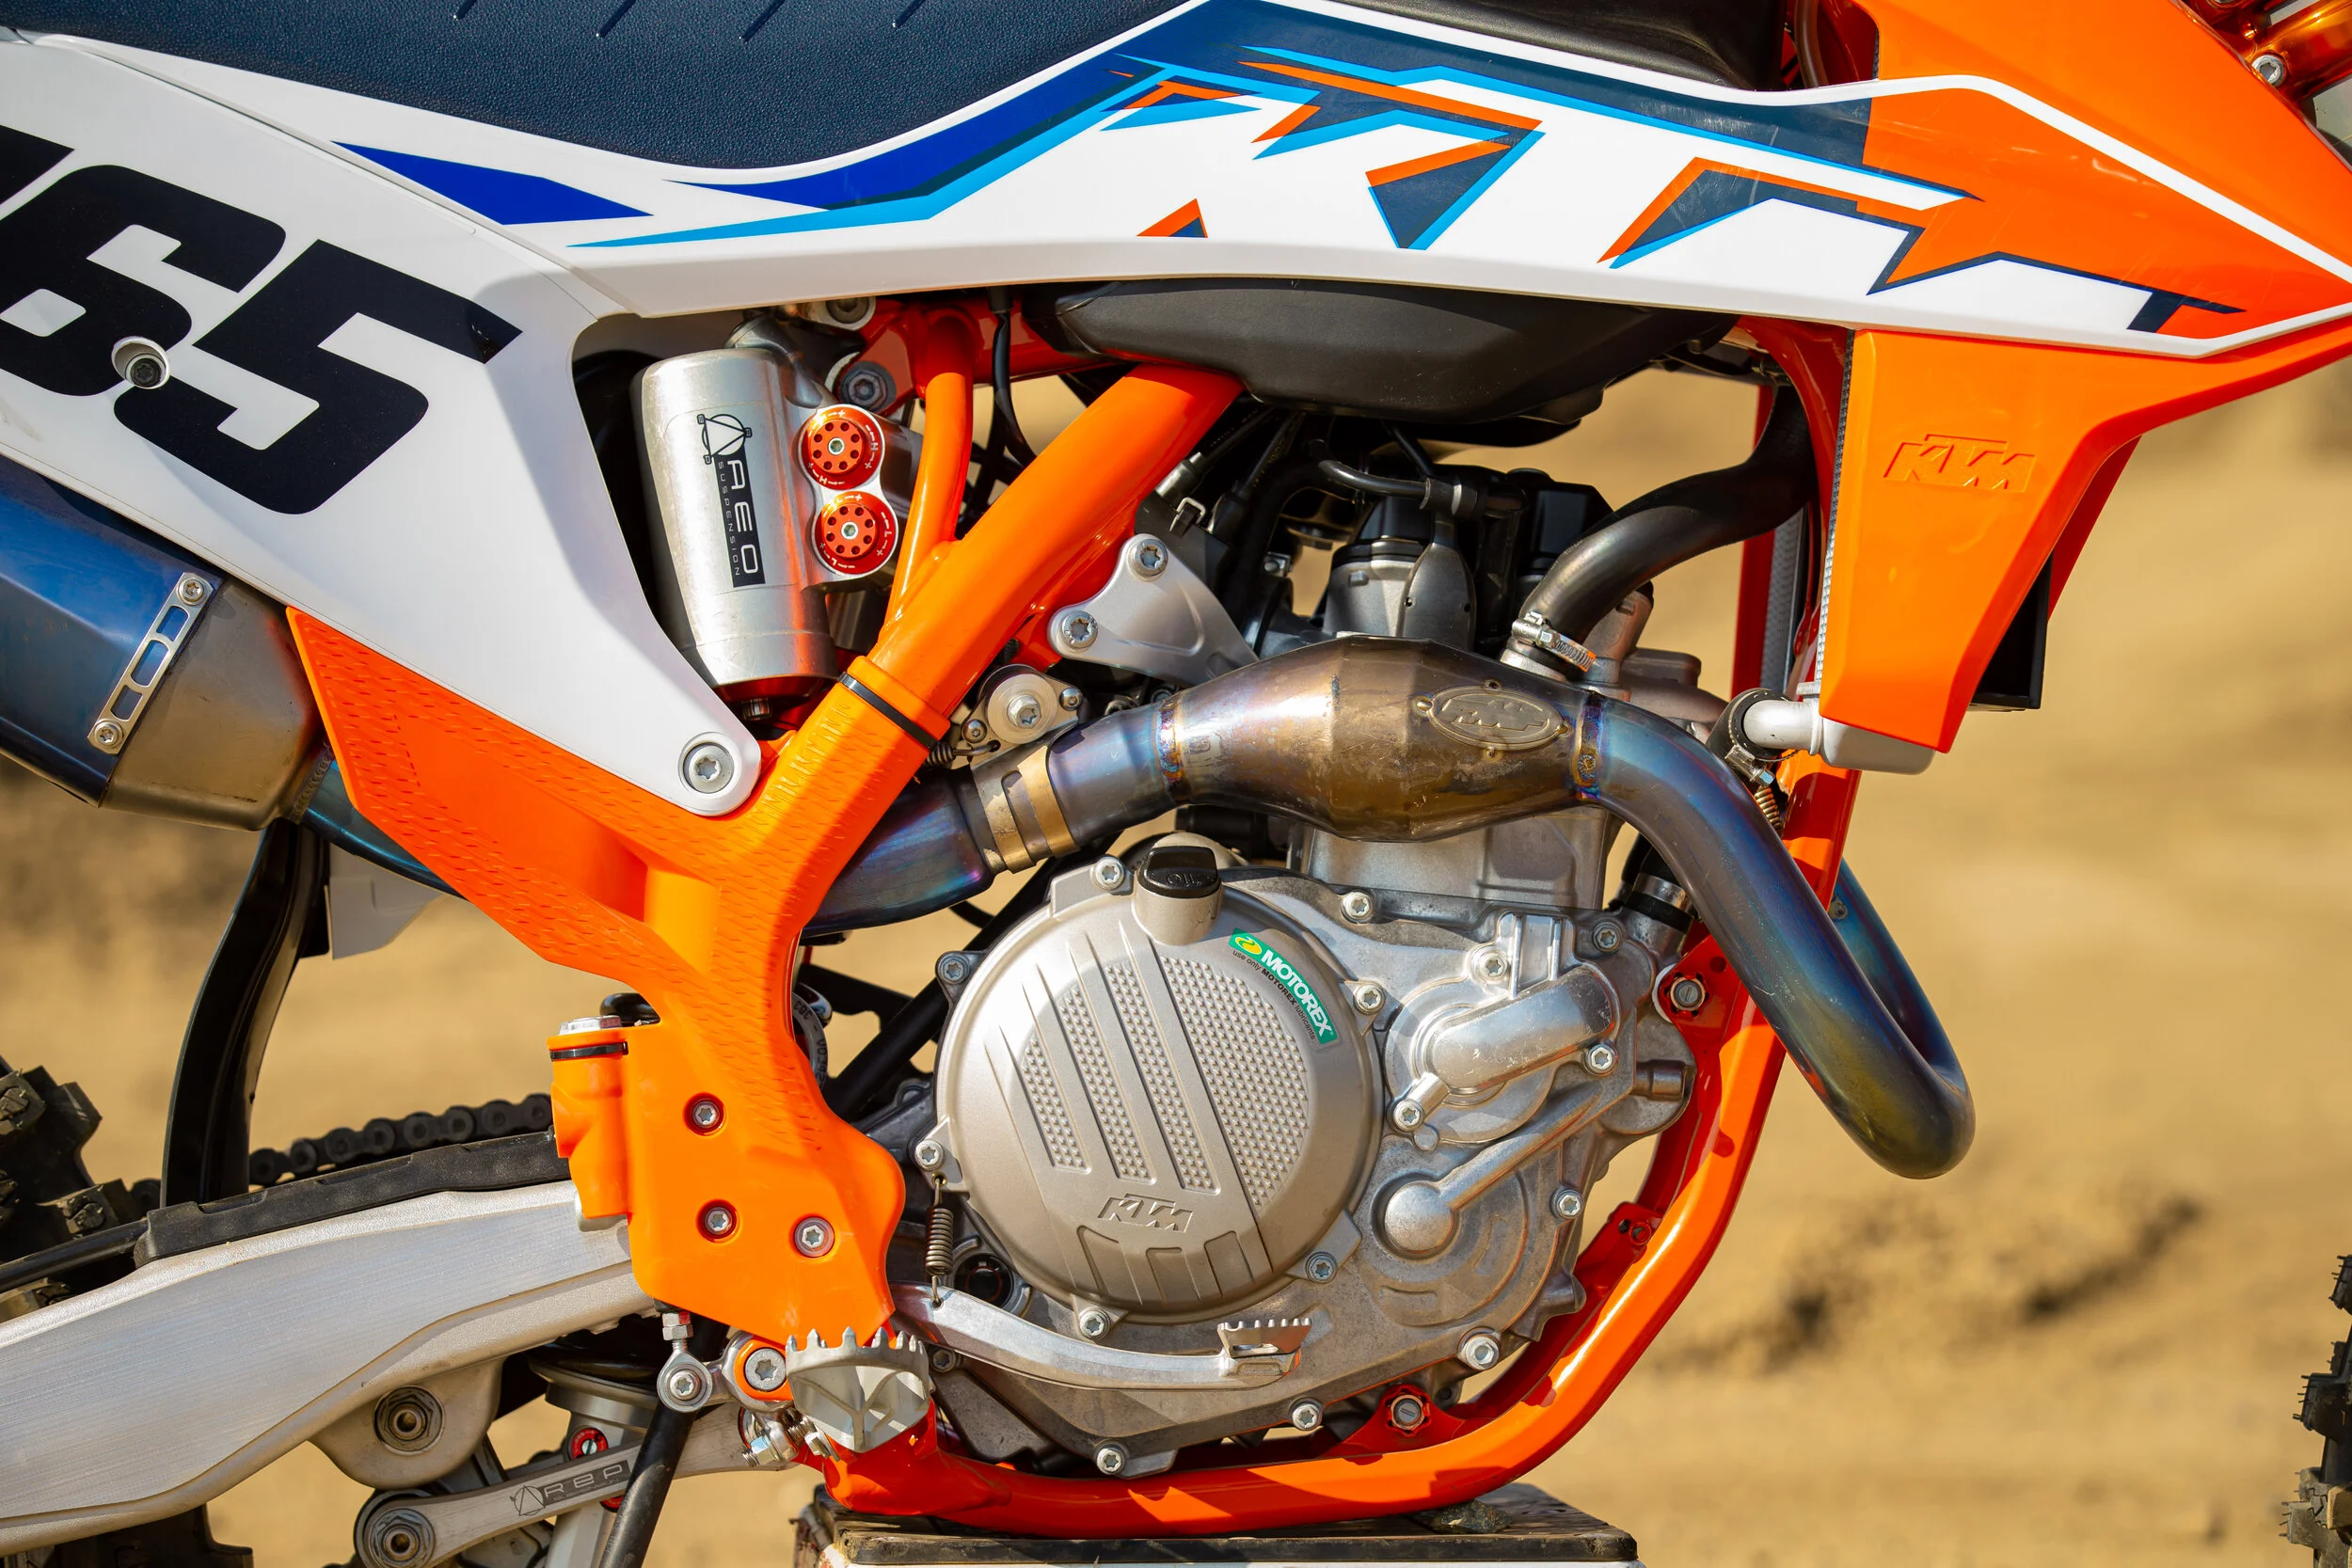
FMF 4.1
Titanium 4.1 Muffler System
Fmfracing.com
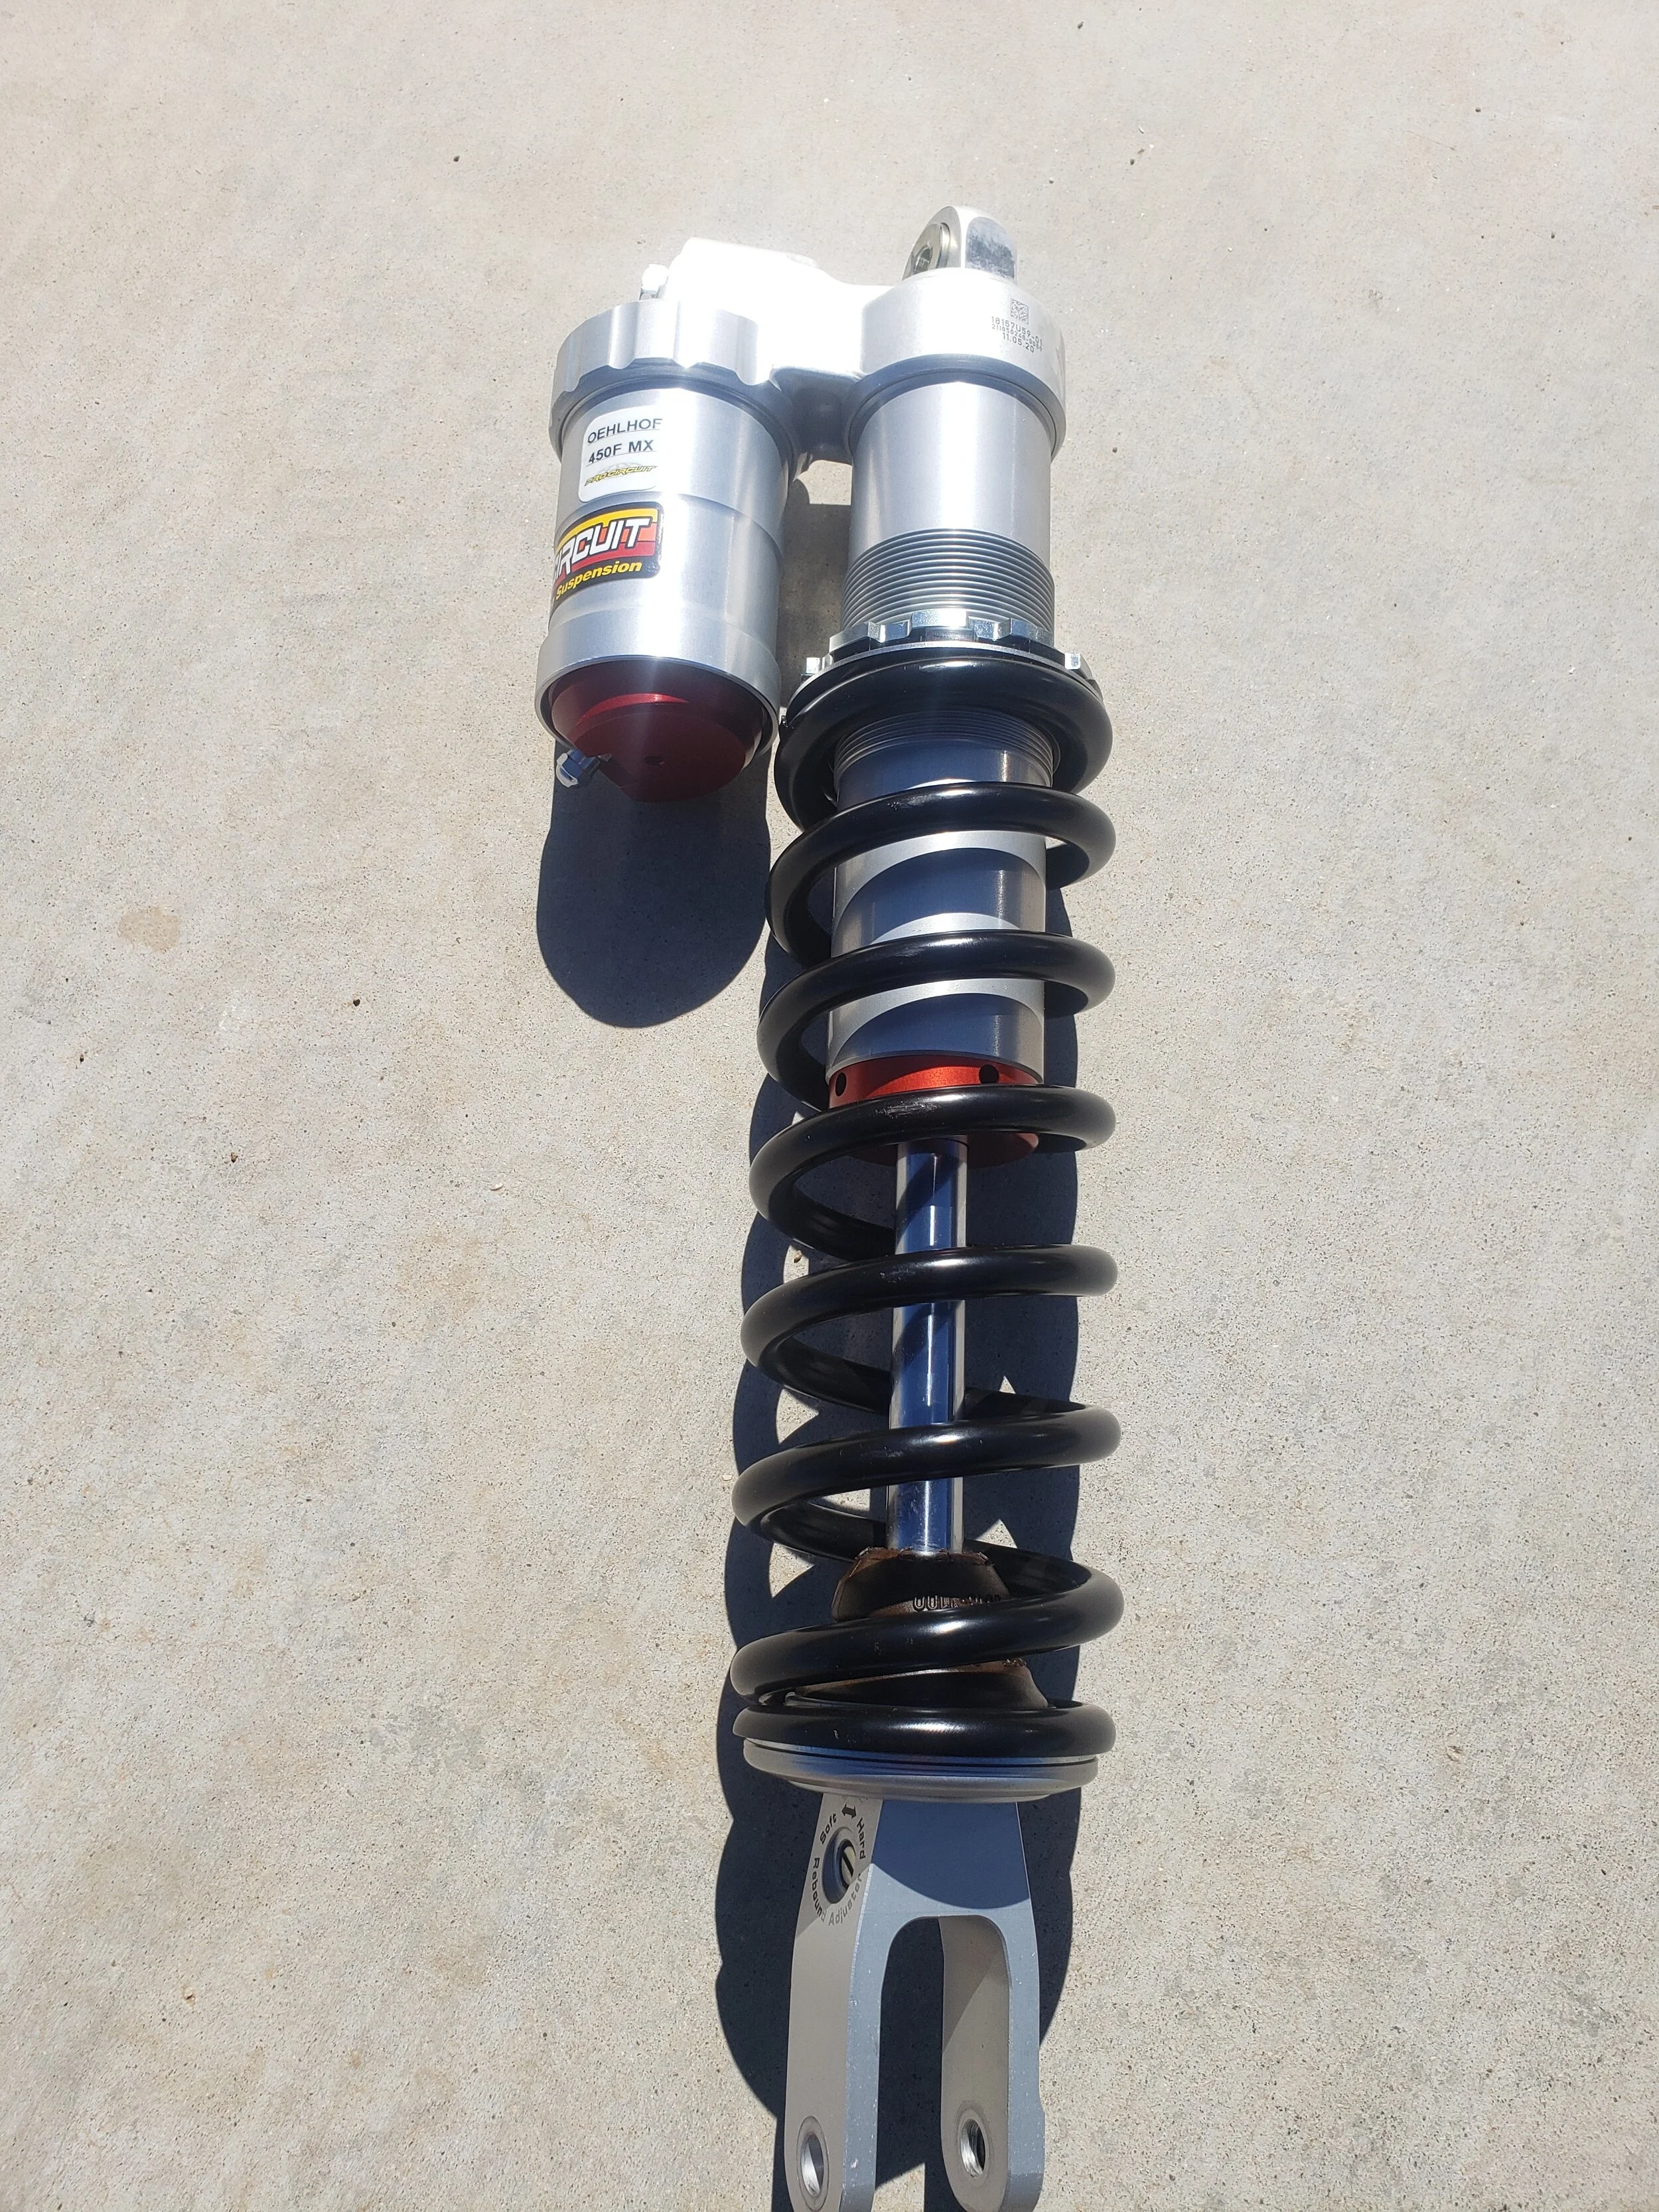
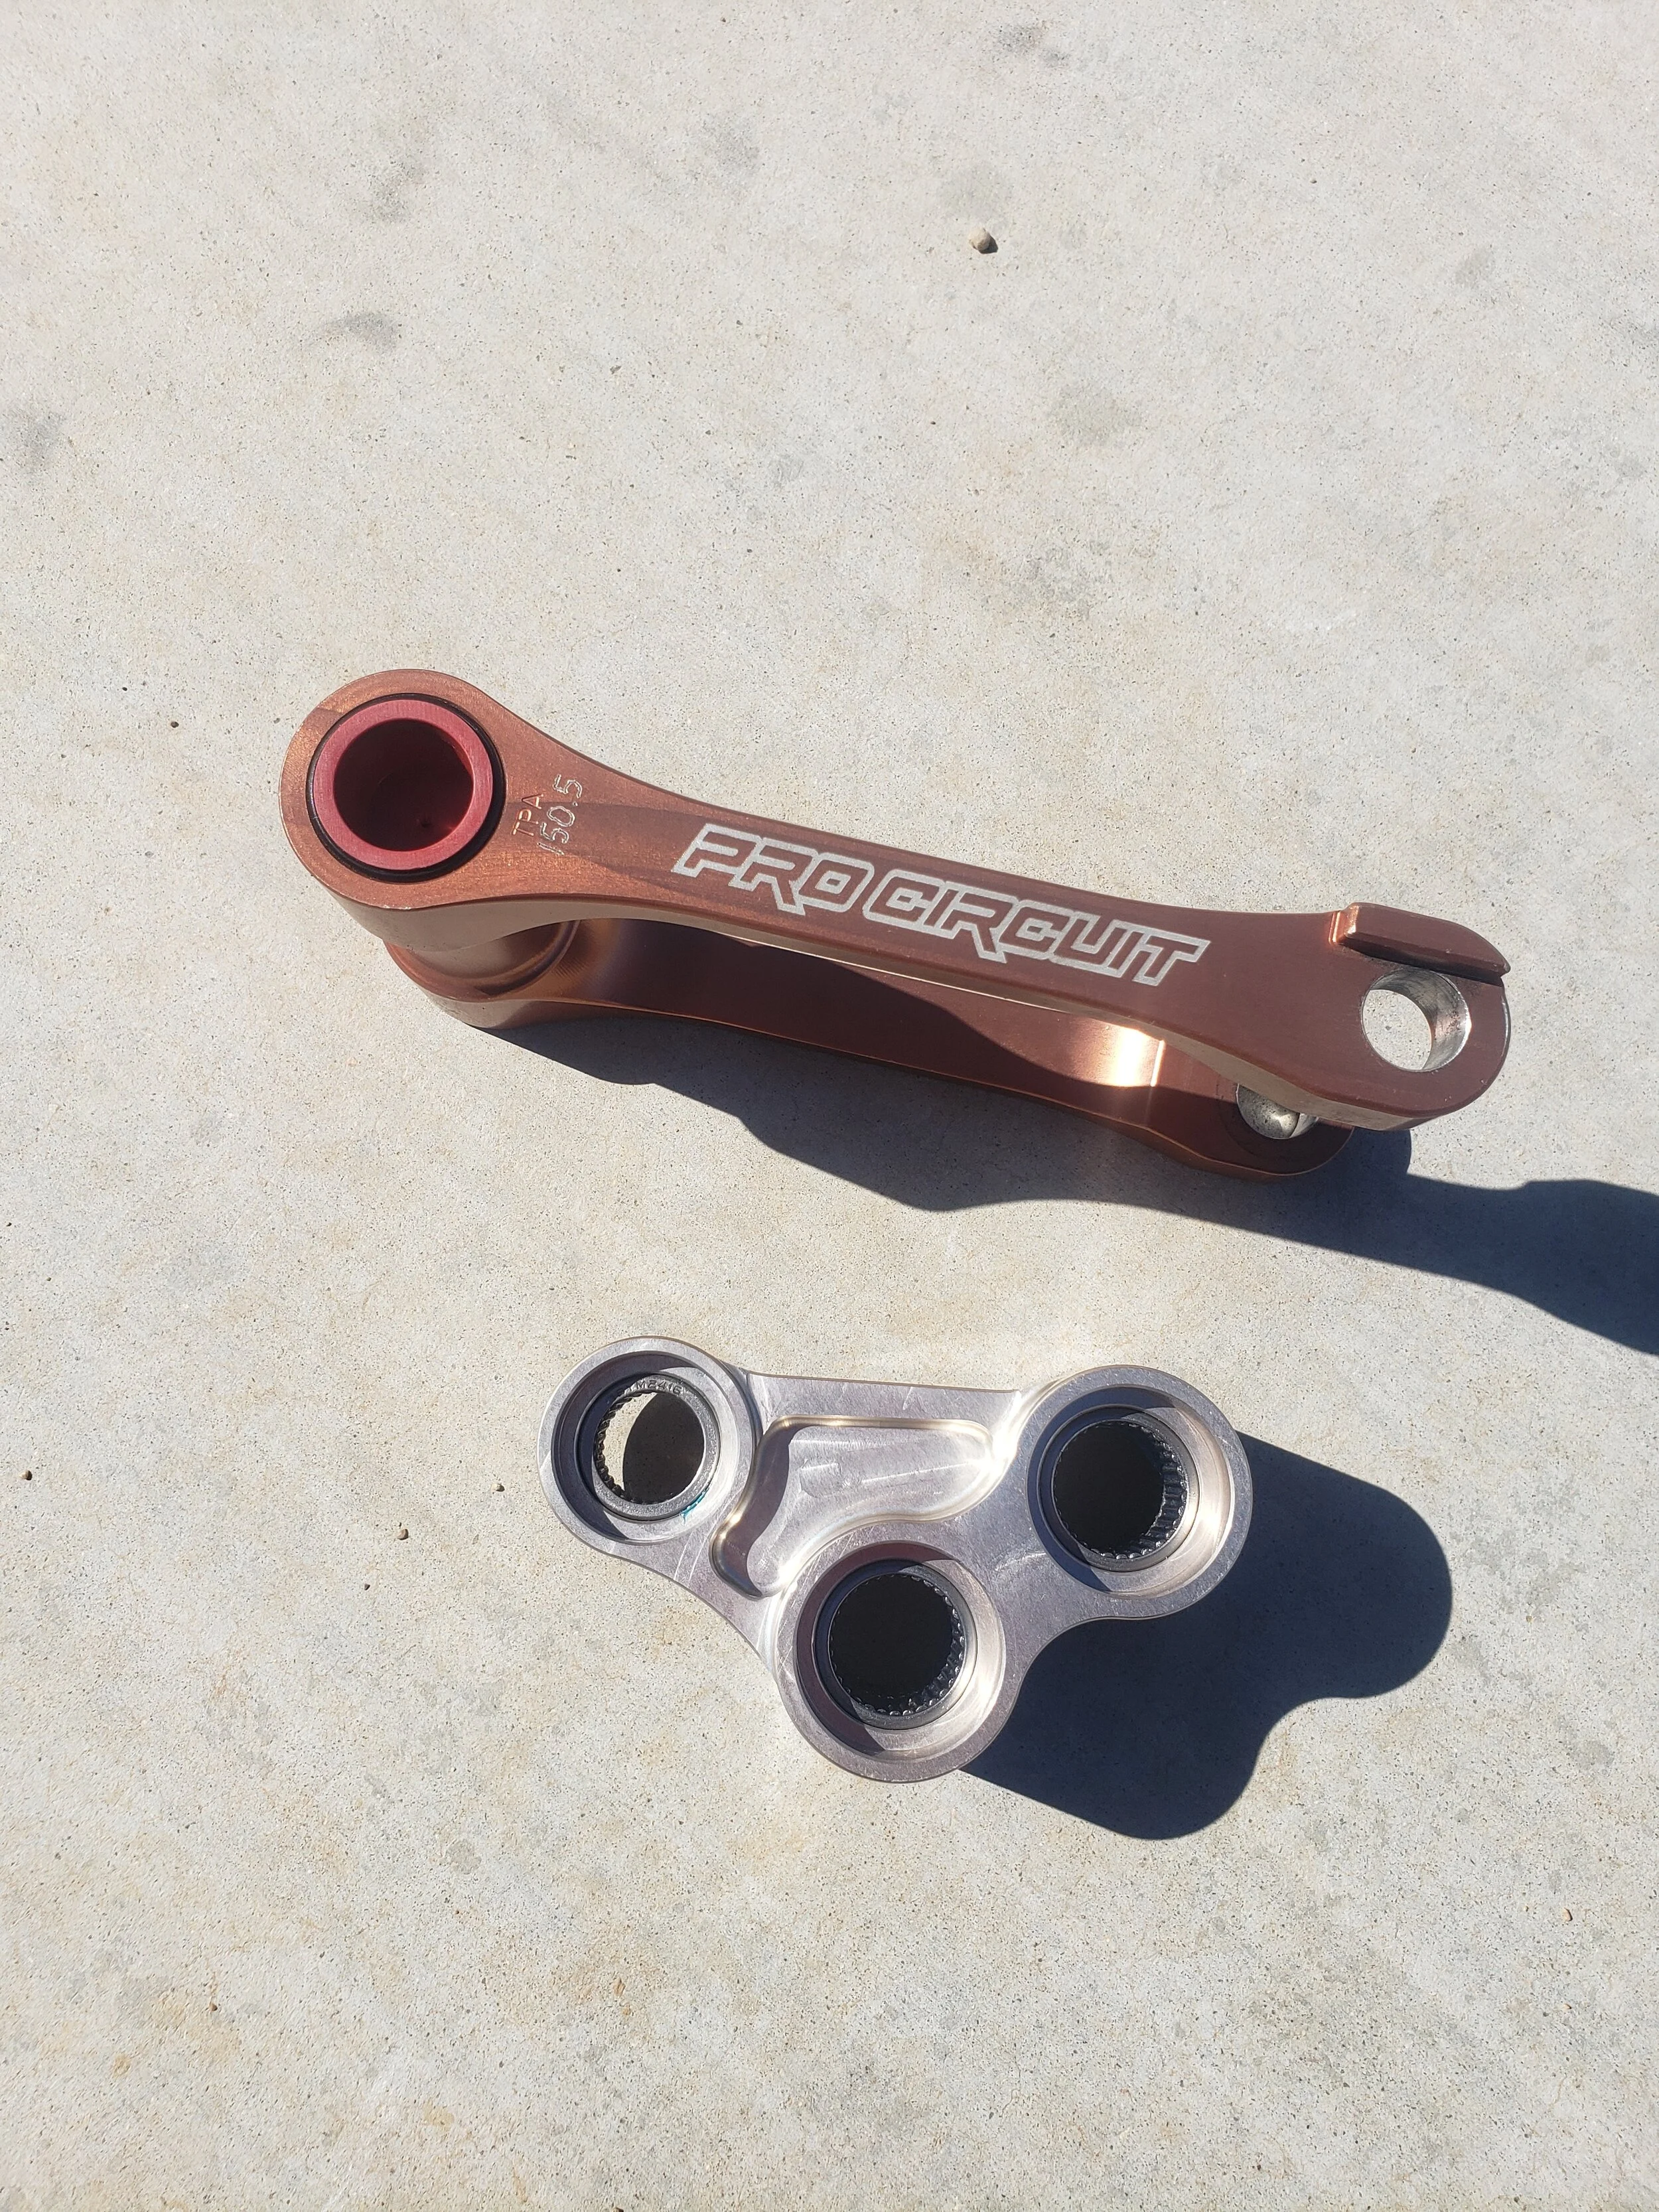
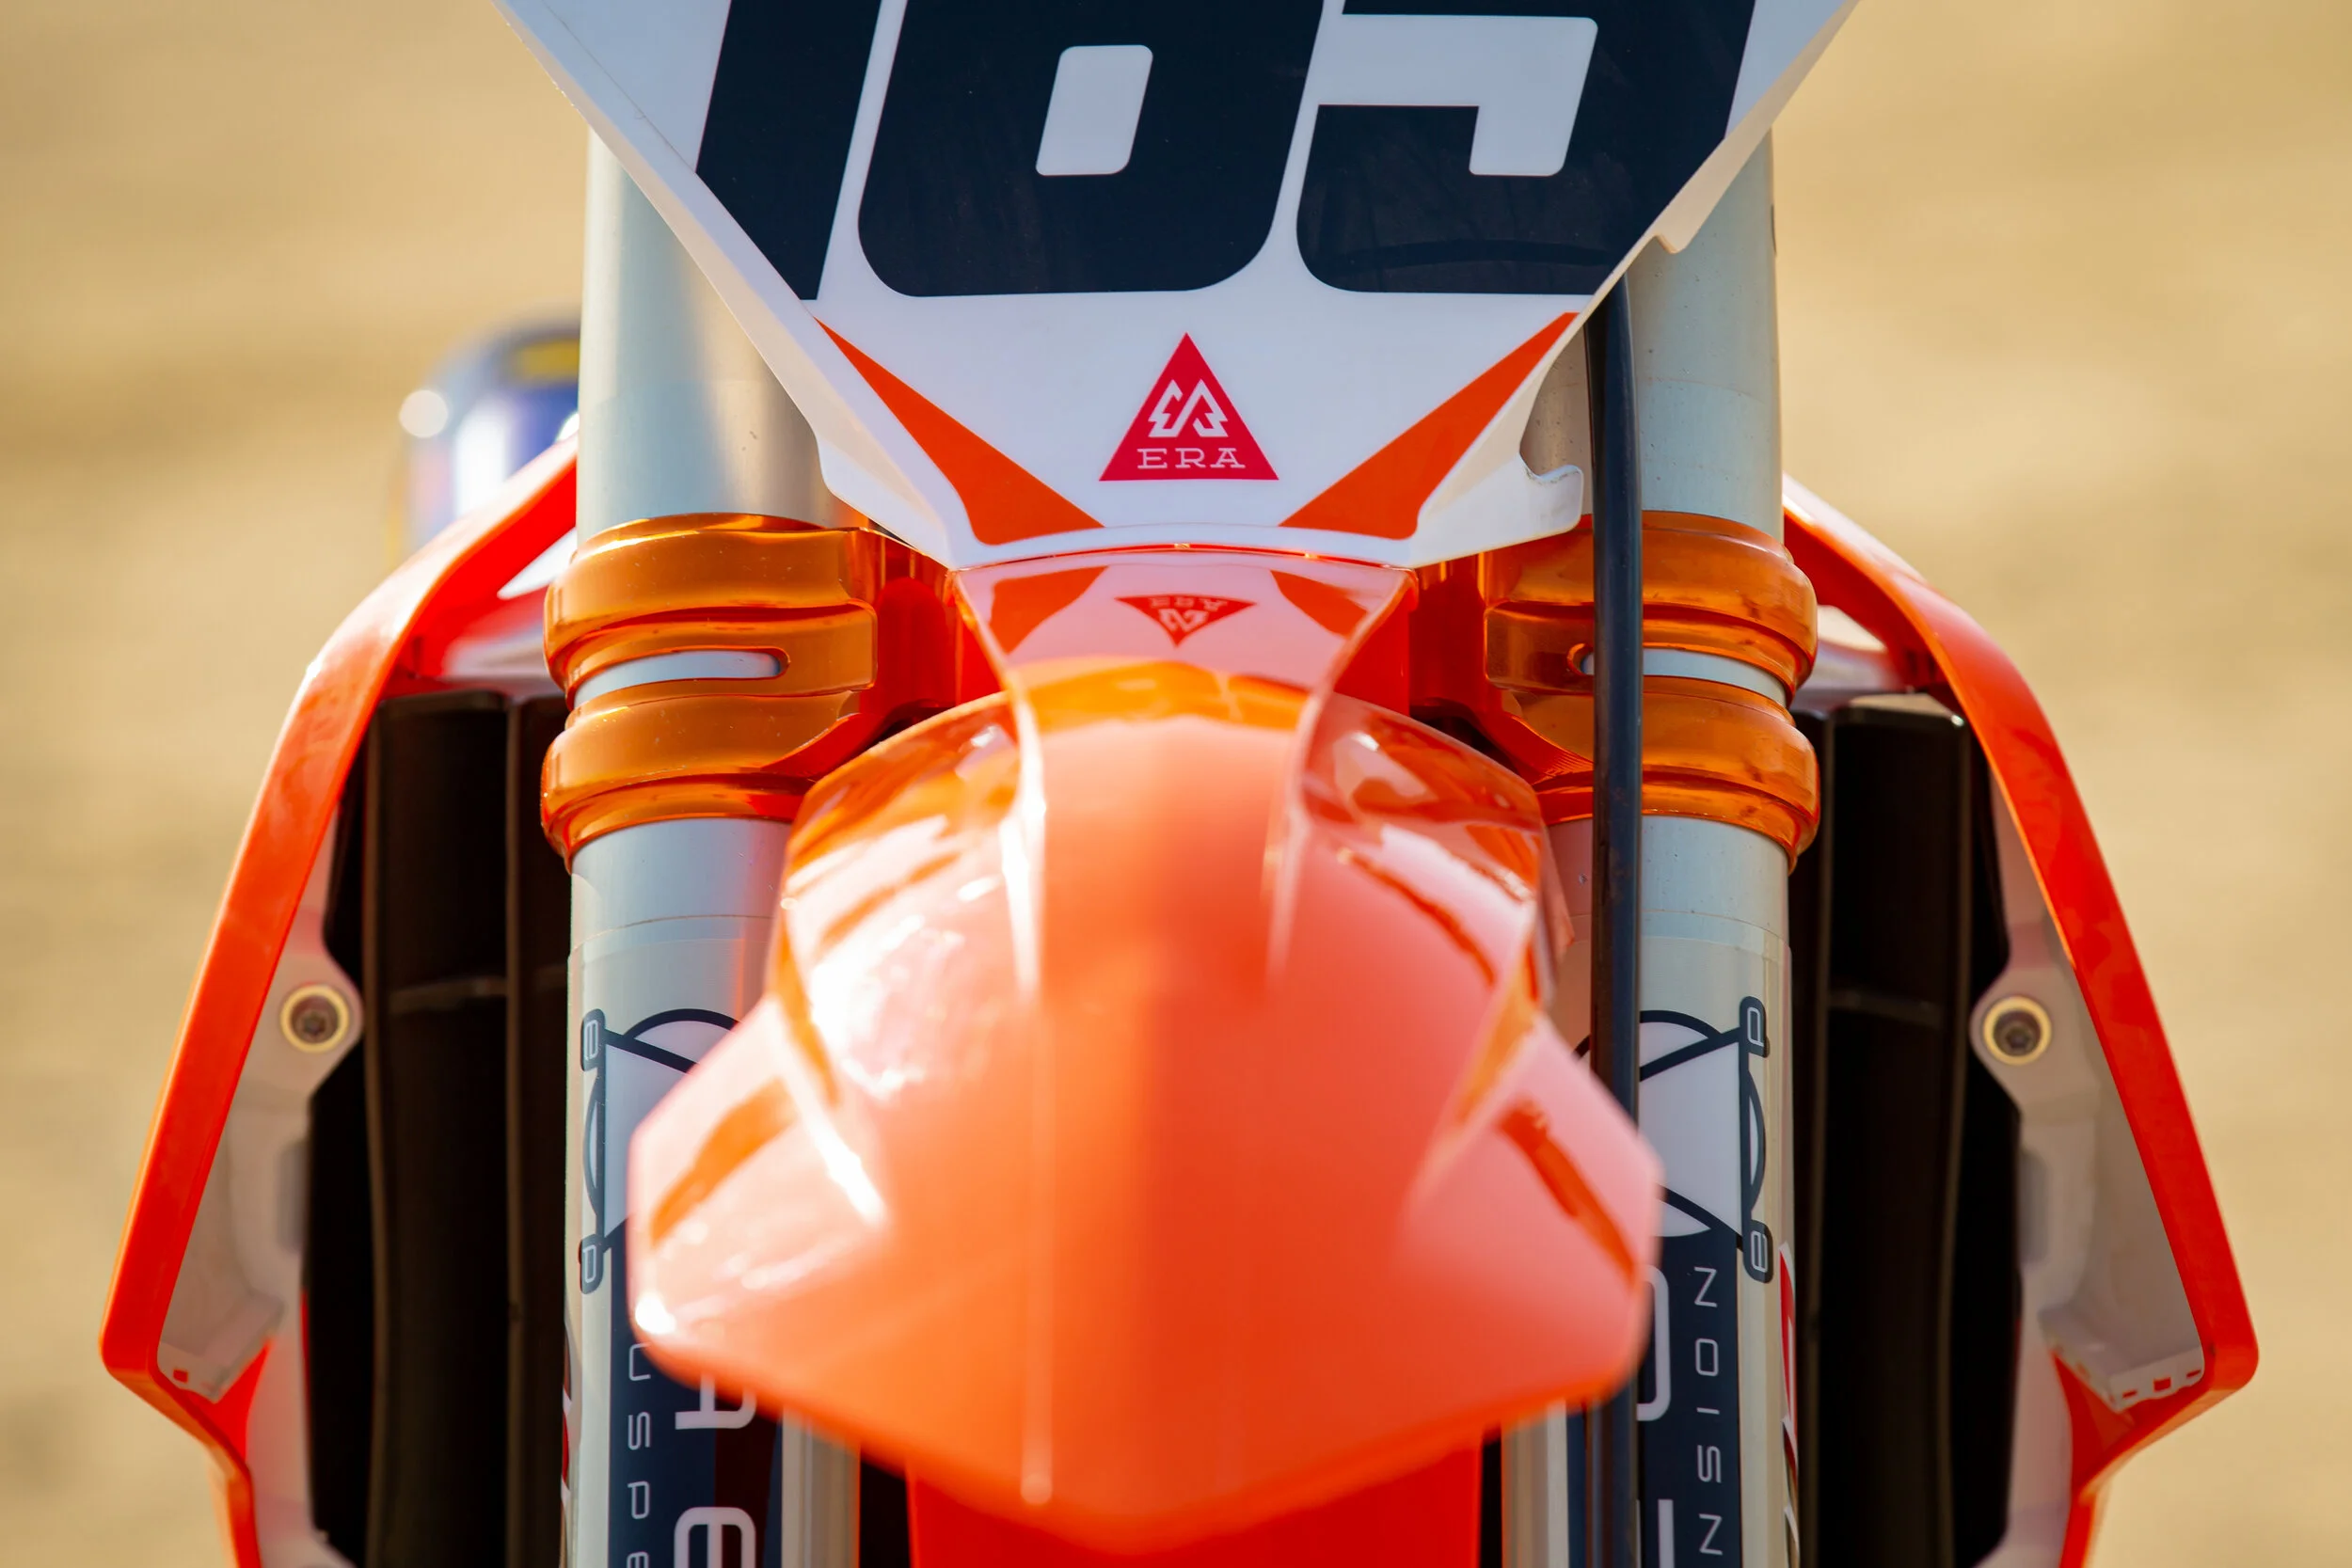
WP/REP Pro Components
CV Fork Re-Valve (REP Spec)
Trax Shock (REP Spec)
1mm Longer Shock Shaft
REP Knuckle/Rods
Repsuspension.com
KTM
Factory Split Clamps
Ktm.com
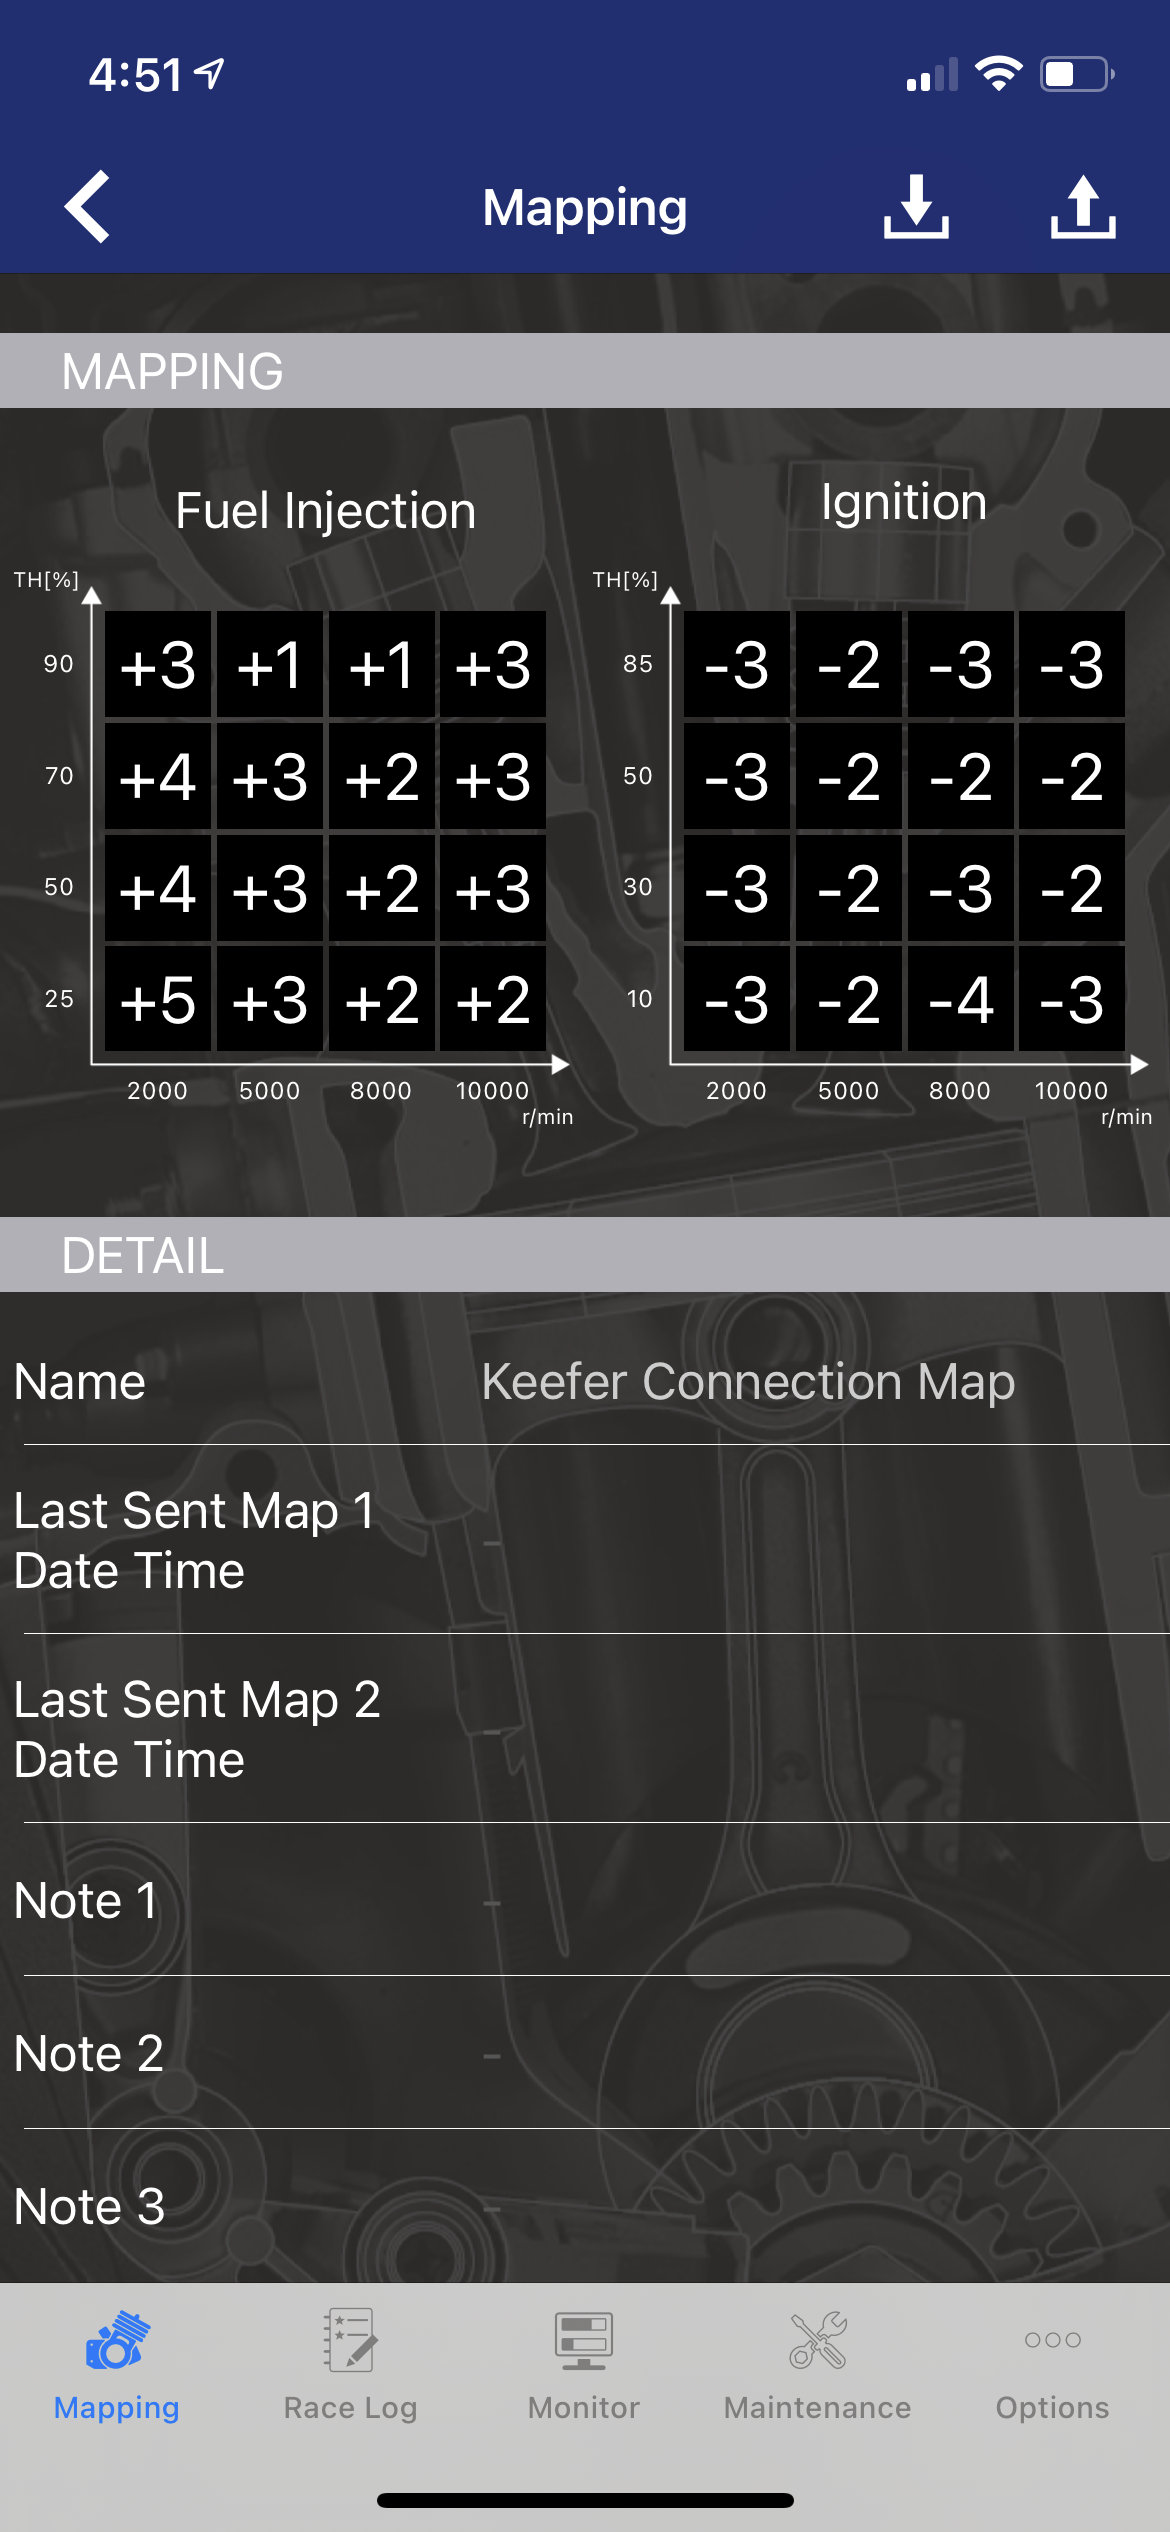
Vortex ECU
Mapped By XPR Motorsports
XPRMotorsports.com
VP Racing
MR PRO 6 HT
Vpracing.com
Pro Taper
EVO SX Race Bend
Protaper.com
Dunlop
MX3S Front Tire (80/100-21) 13.5 PSI
MX33 Rear Tire (120/80-19 12.5 PSI
Dunlopmotorcyclestires.com
ZRT
Zero Resistance Aluminum Throttle
Zrtthrottle.com
Twisted Development
Exhaust Flange
Td-racing.com
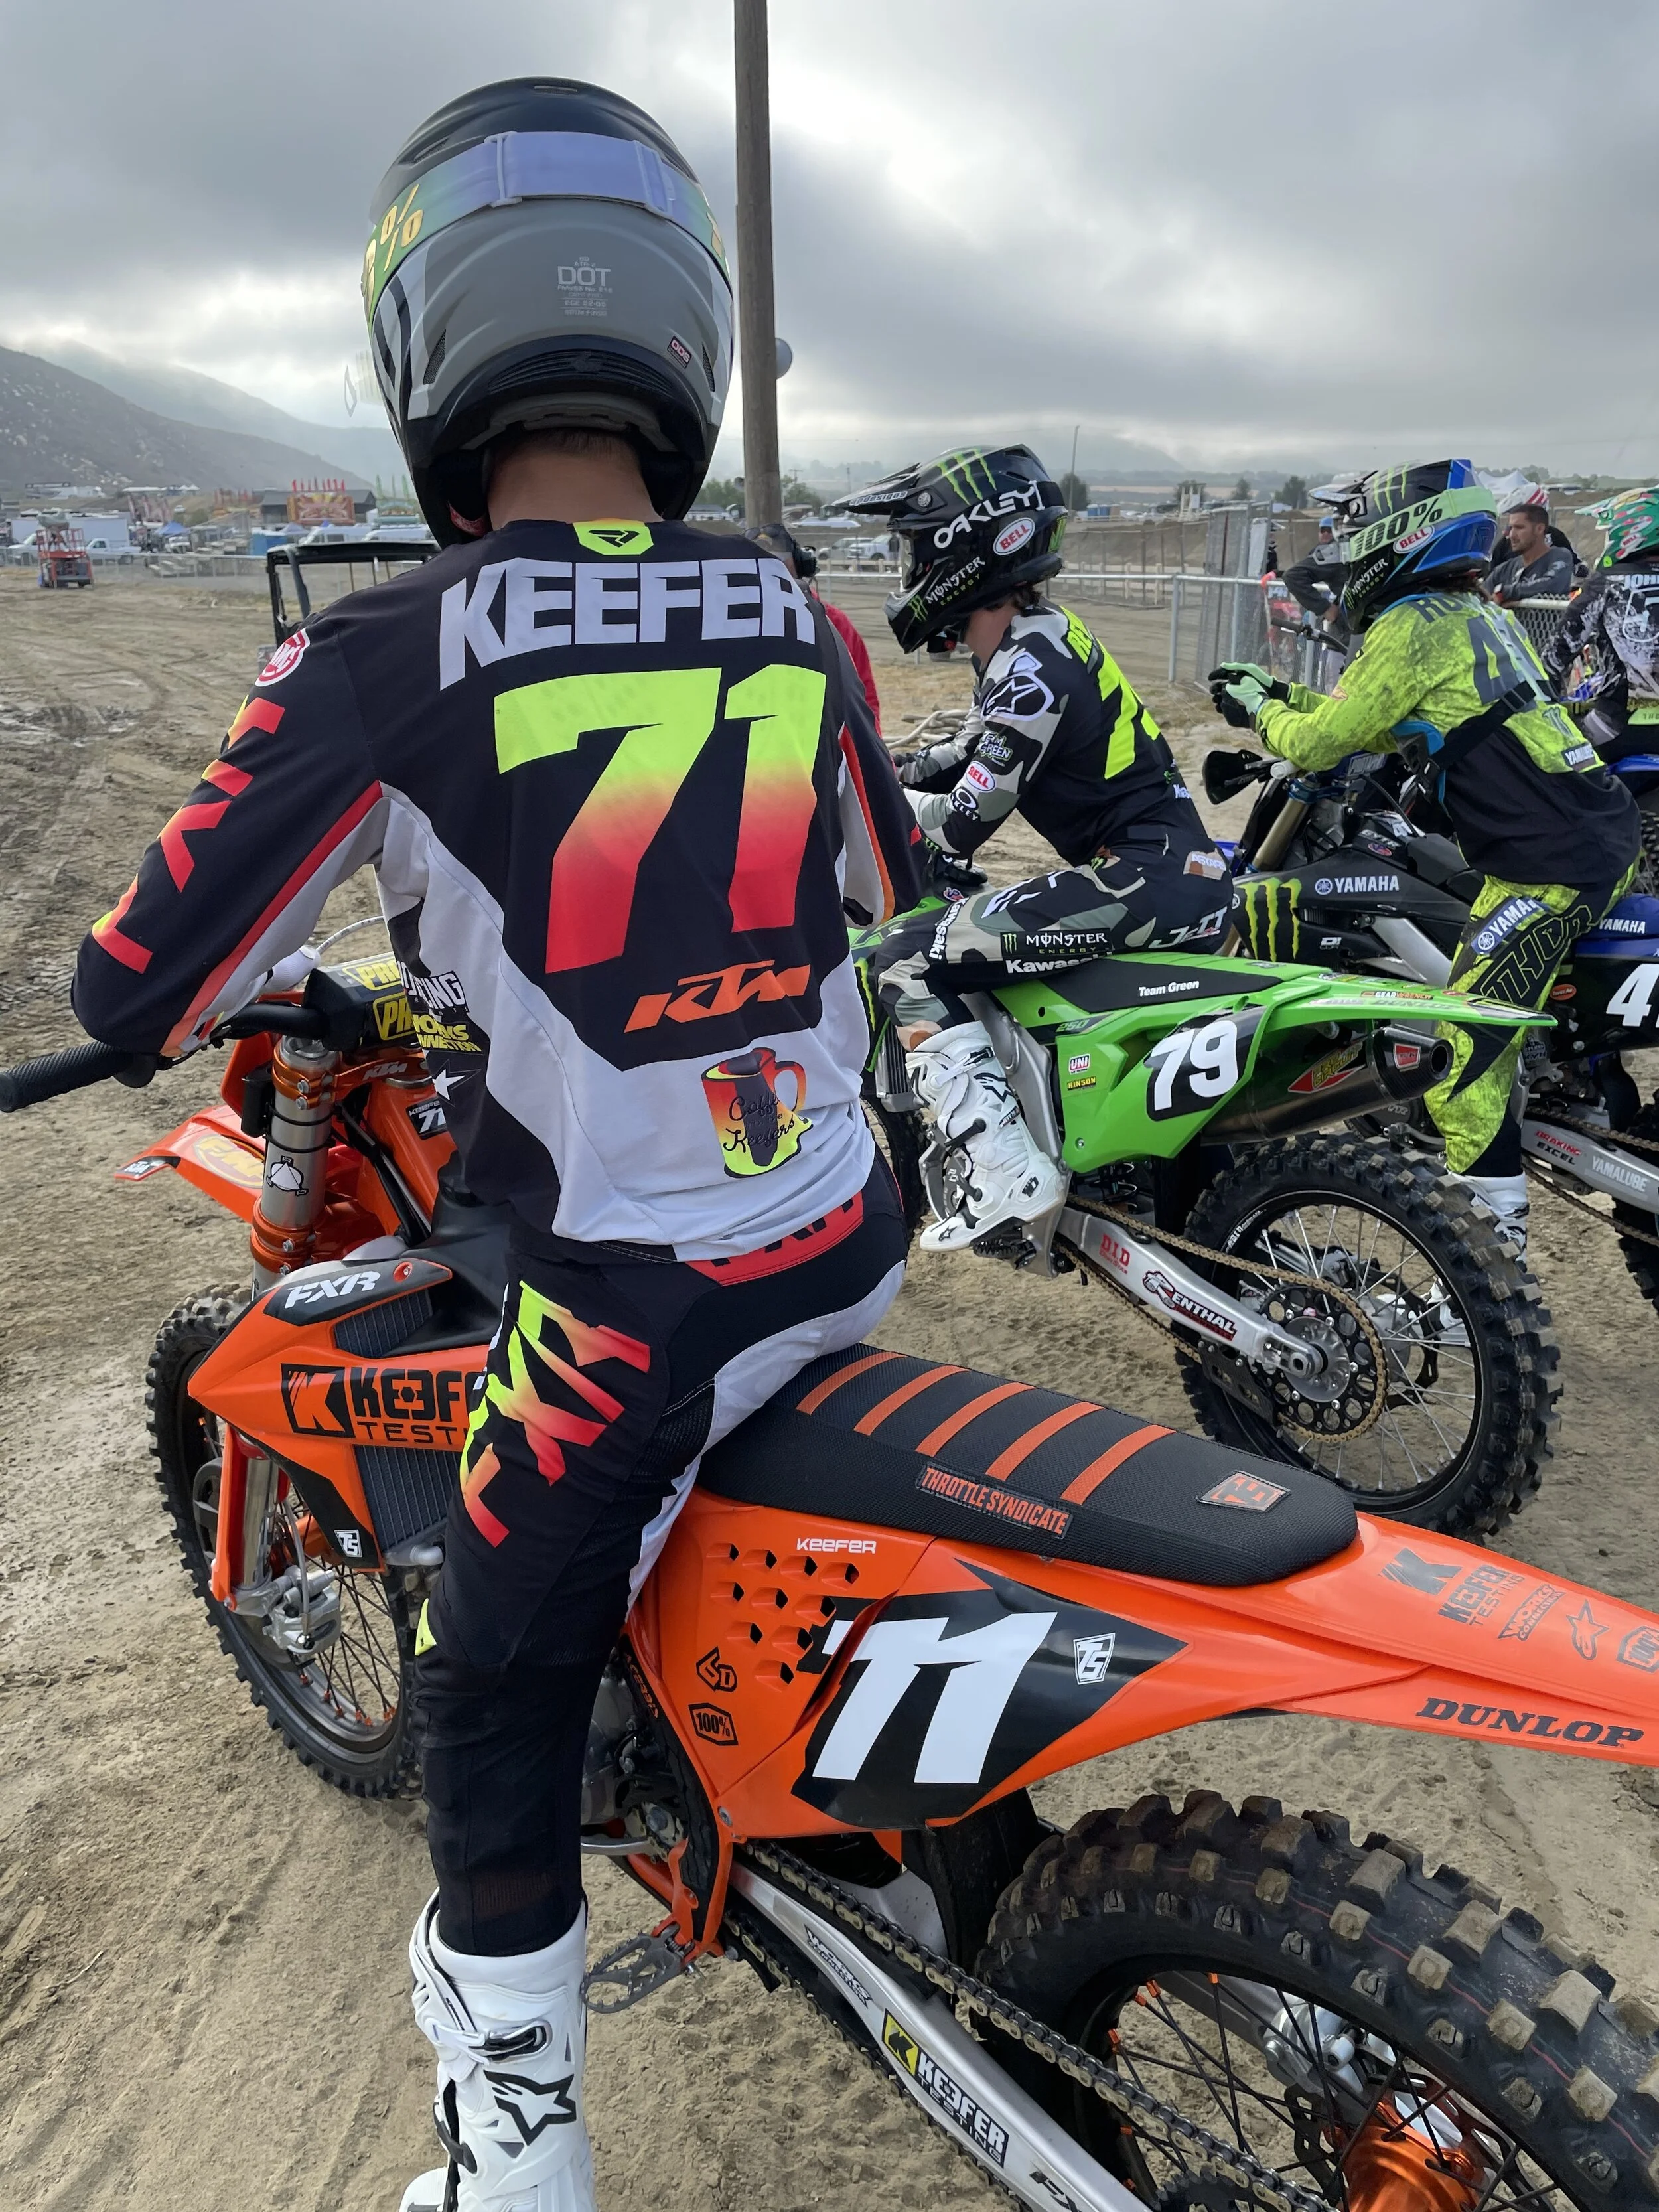
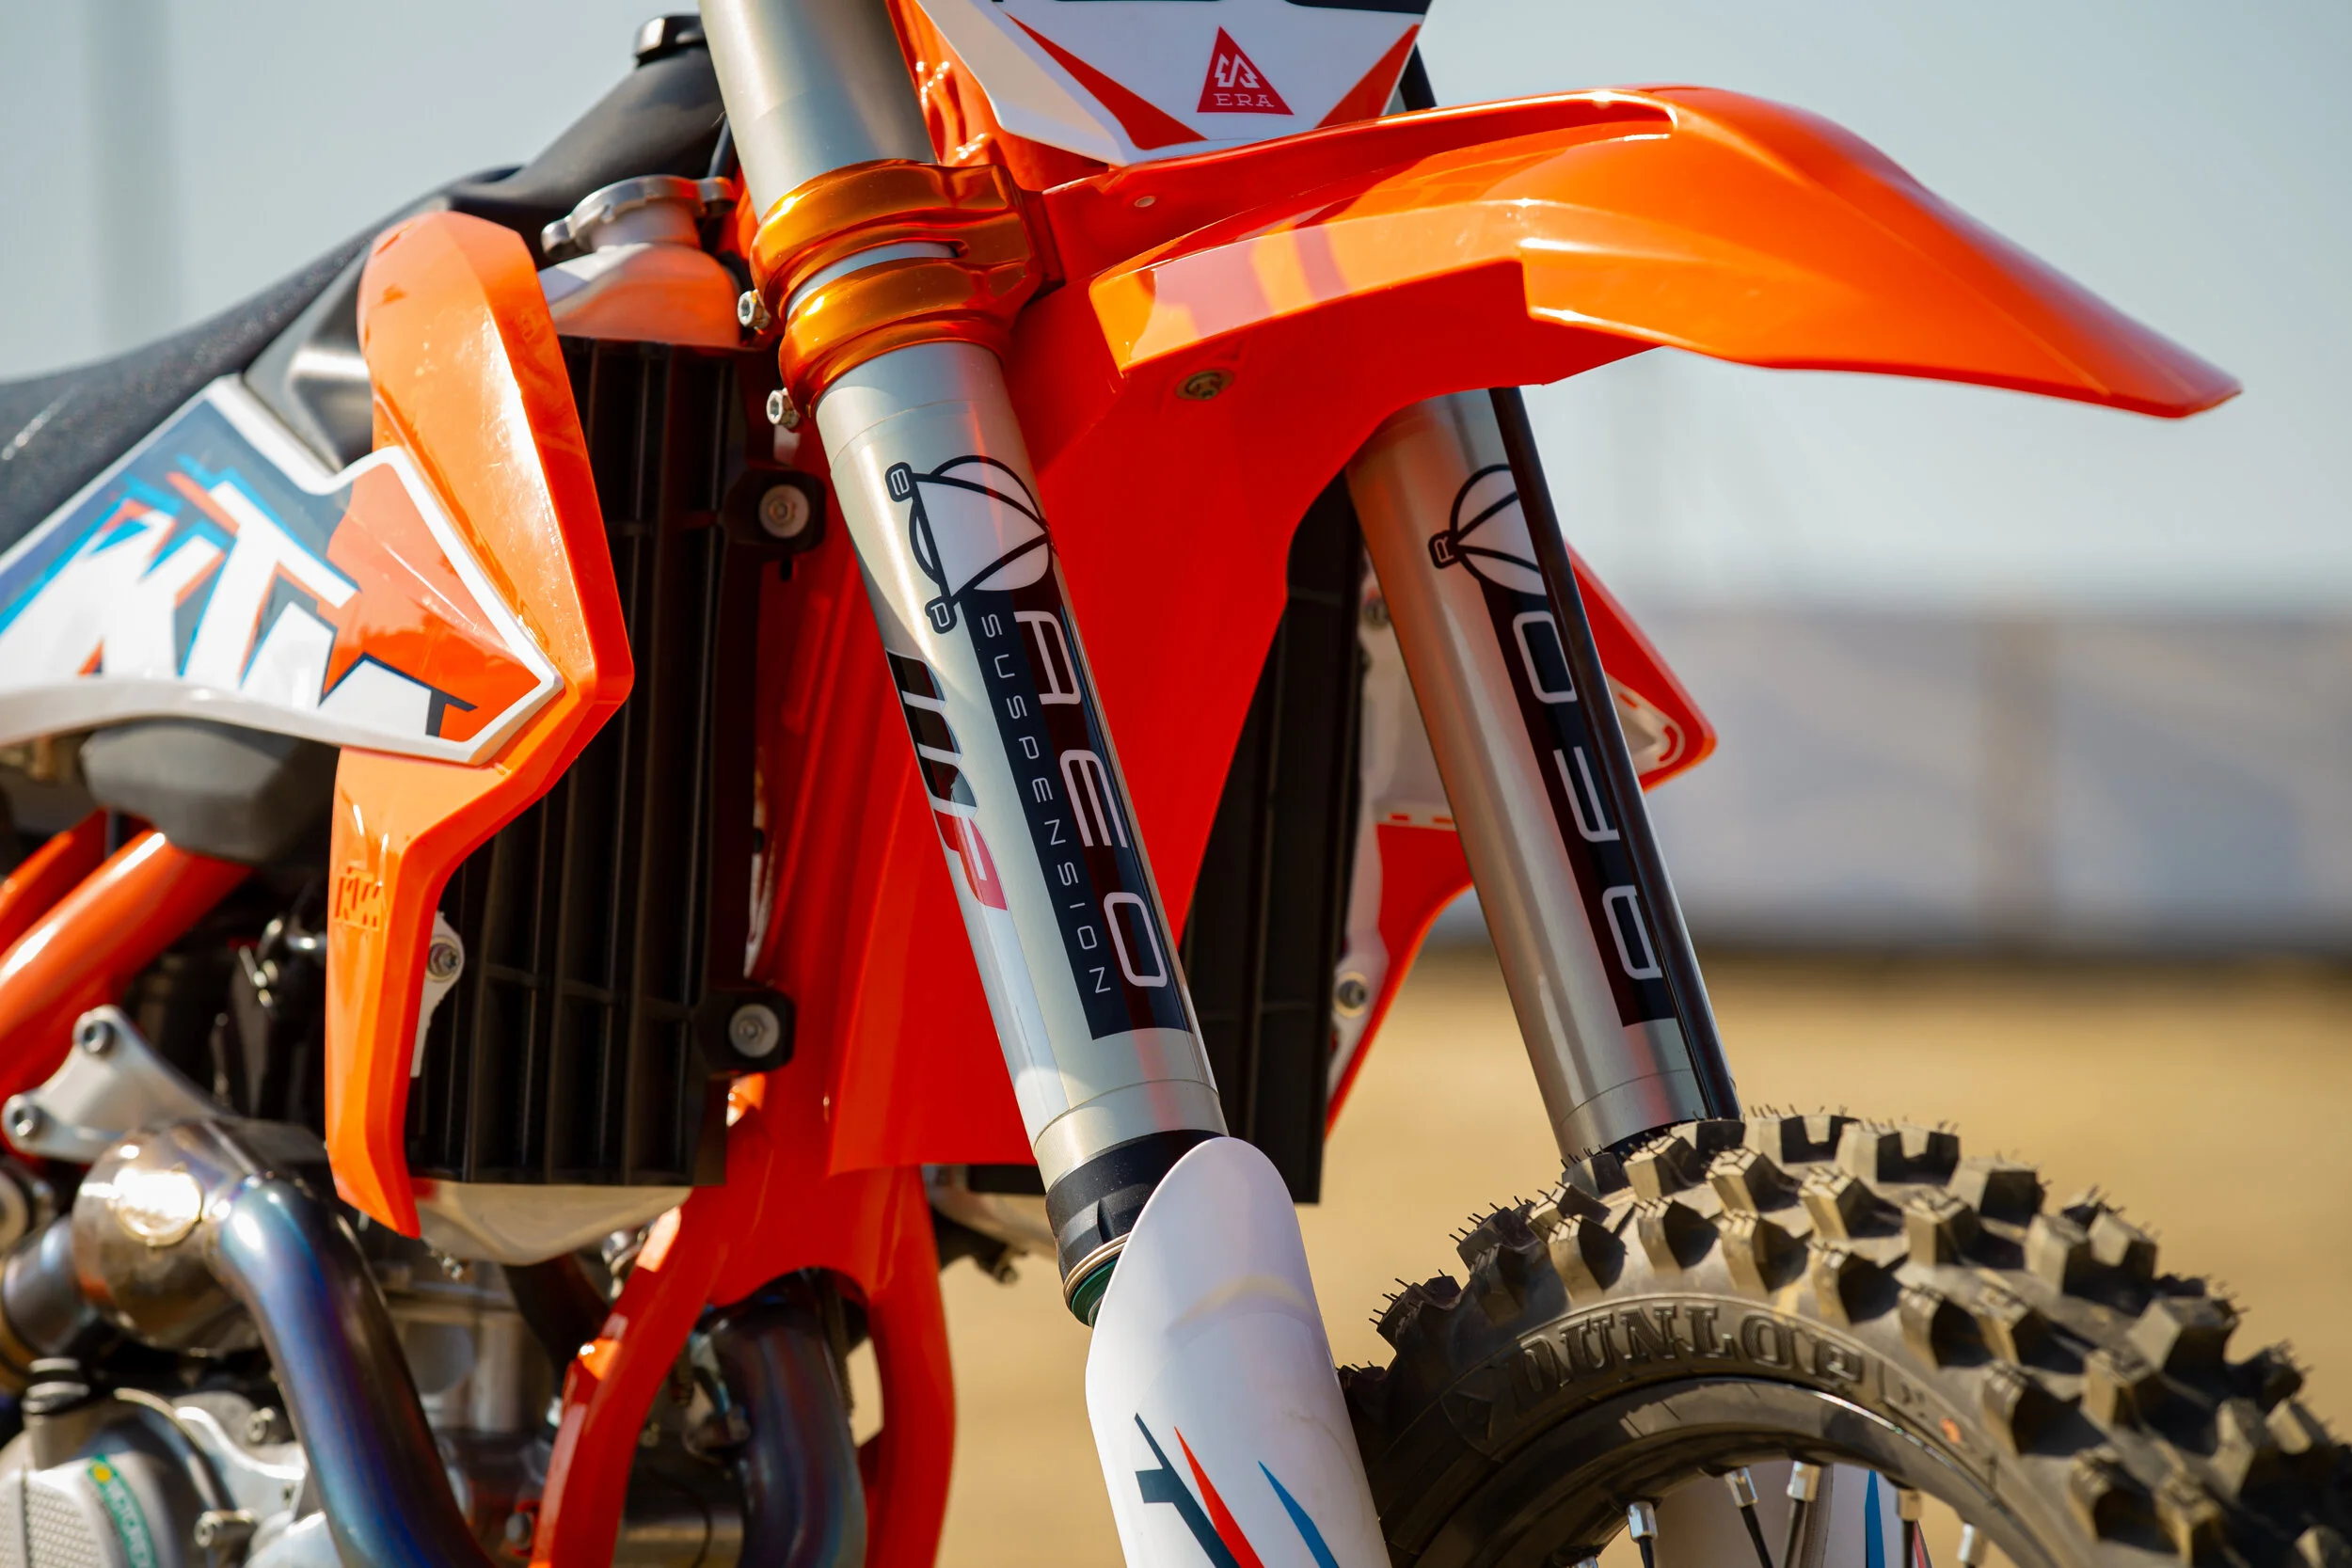
Although this parts list isn’t long, it is distinguished. The REP Pro Component suspension done up by Mark at REP has given me a lot more confidence in pushing this KTM 450 SX-F in longer motos under rougher conditions. REP has some unique parts that go inside the WP Pro Components which they make personally. The Pro Component (Cone Valve) fork now gives me more lean angle grip through corners and added comfort when the track gets rougher. I couldn’t say that with the stock AER fork, because it wasn’t consistent like this spring pro component REP fork. I always had a problem with my KTM’s riding rear end low, but with REP’s longer shock shaft accompanied by their linkage system, my new Garage Build has a balance that I have never had before. To go with my newfound balanced suspension package, I turned to Chad at XPR Motorsports to tune a programmable Vortex ECU for more excitement down low yet keep that stock linear character that I like so much. With the ECU installed along with Twisted Development’s exhaust flange the KTM now has a controlled snap out of corners that gives me the ability to hop over bumps better as well as gives the KTM a lighter feel. Did I mention it revved out like a 250? Yeah, that too! An FMF 4.1 exhaust rounds out the engine package and lightens up the KTM by over a pound, so there’s your bling. Sneaky mods that are a must have to me are a ZRT throttle that gives you a smoother overall feel and is much stronger than the plastic lock on system that KTM comes stock with. The ZRT is controlled via a bearing and that bearing gives you an unbelievable easier to use throttle even when your throttle cables get worn (which they will do around the 20-hour mark). These changes that I made make a huge difference and gets me excited to ride even when I am tired from a long week of testing. I don’t need all the bling with my bikes to get me excited, I just need a bike that performs out on the track and allows me to ride faster. I am more of a function over fashion type of rider with my machines and this KTM is now my type of vet racing 450.