
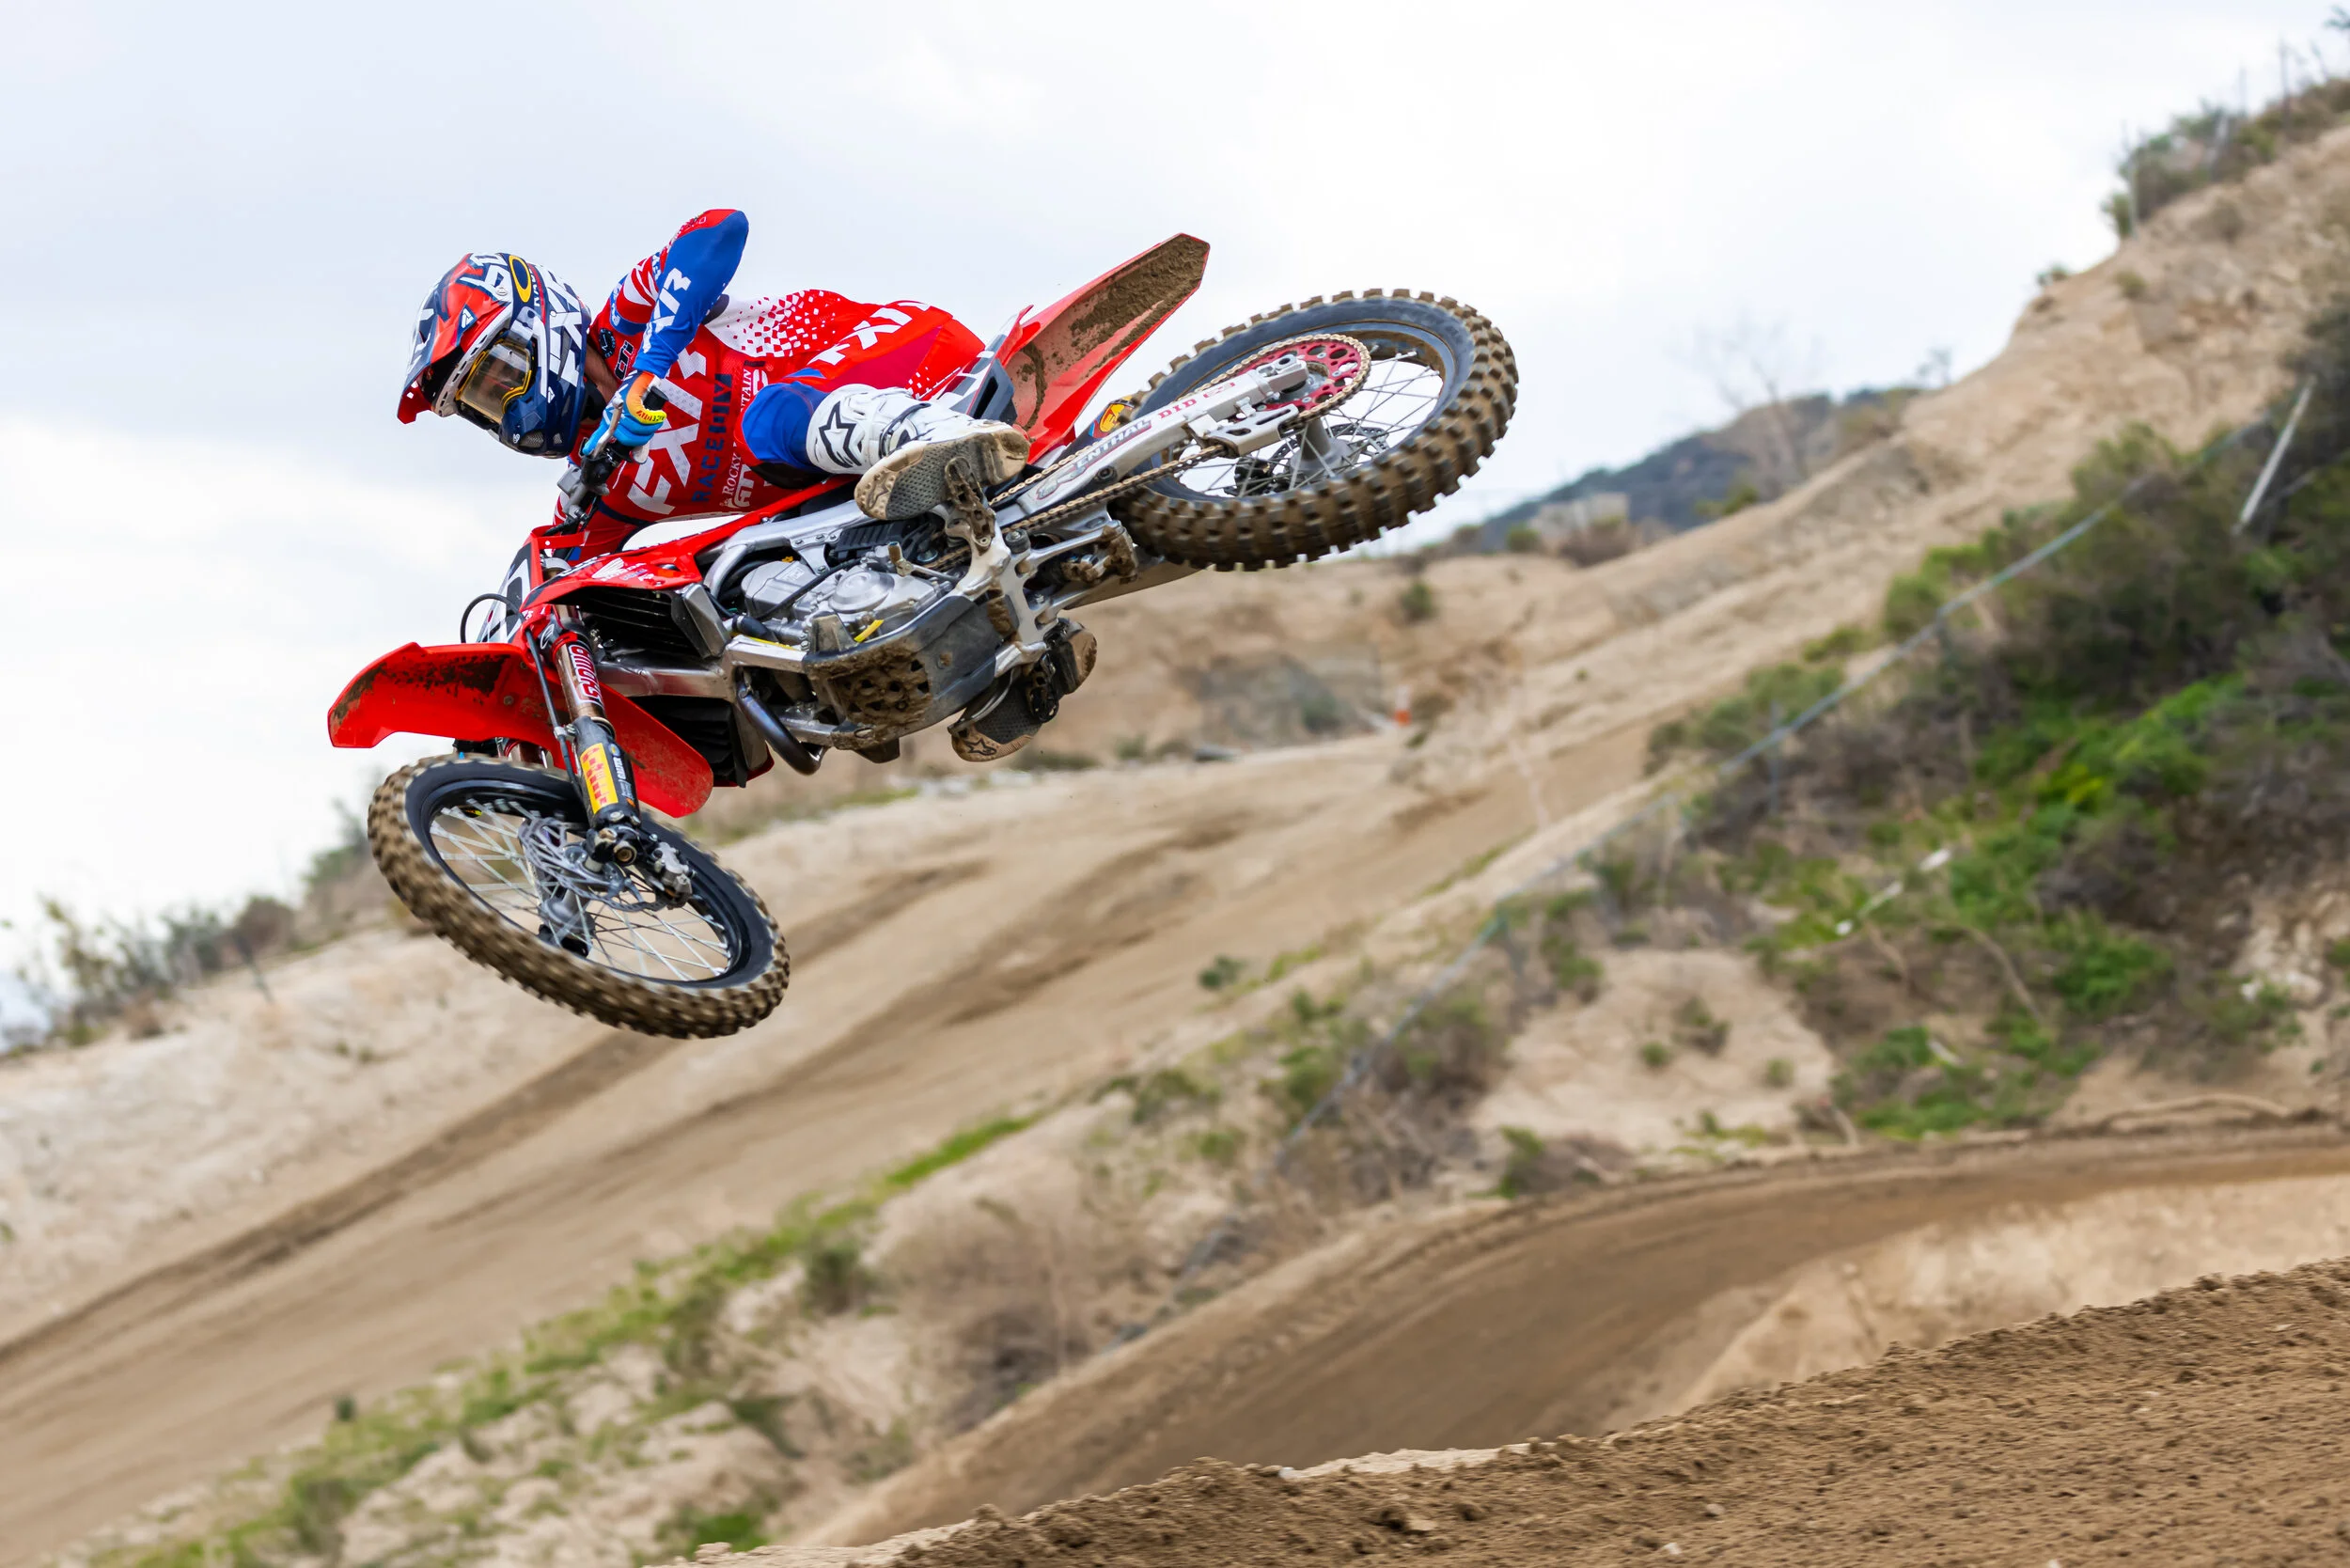
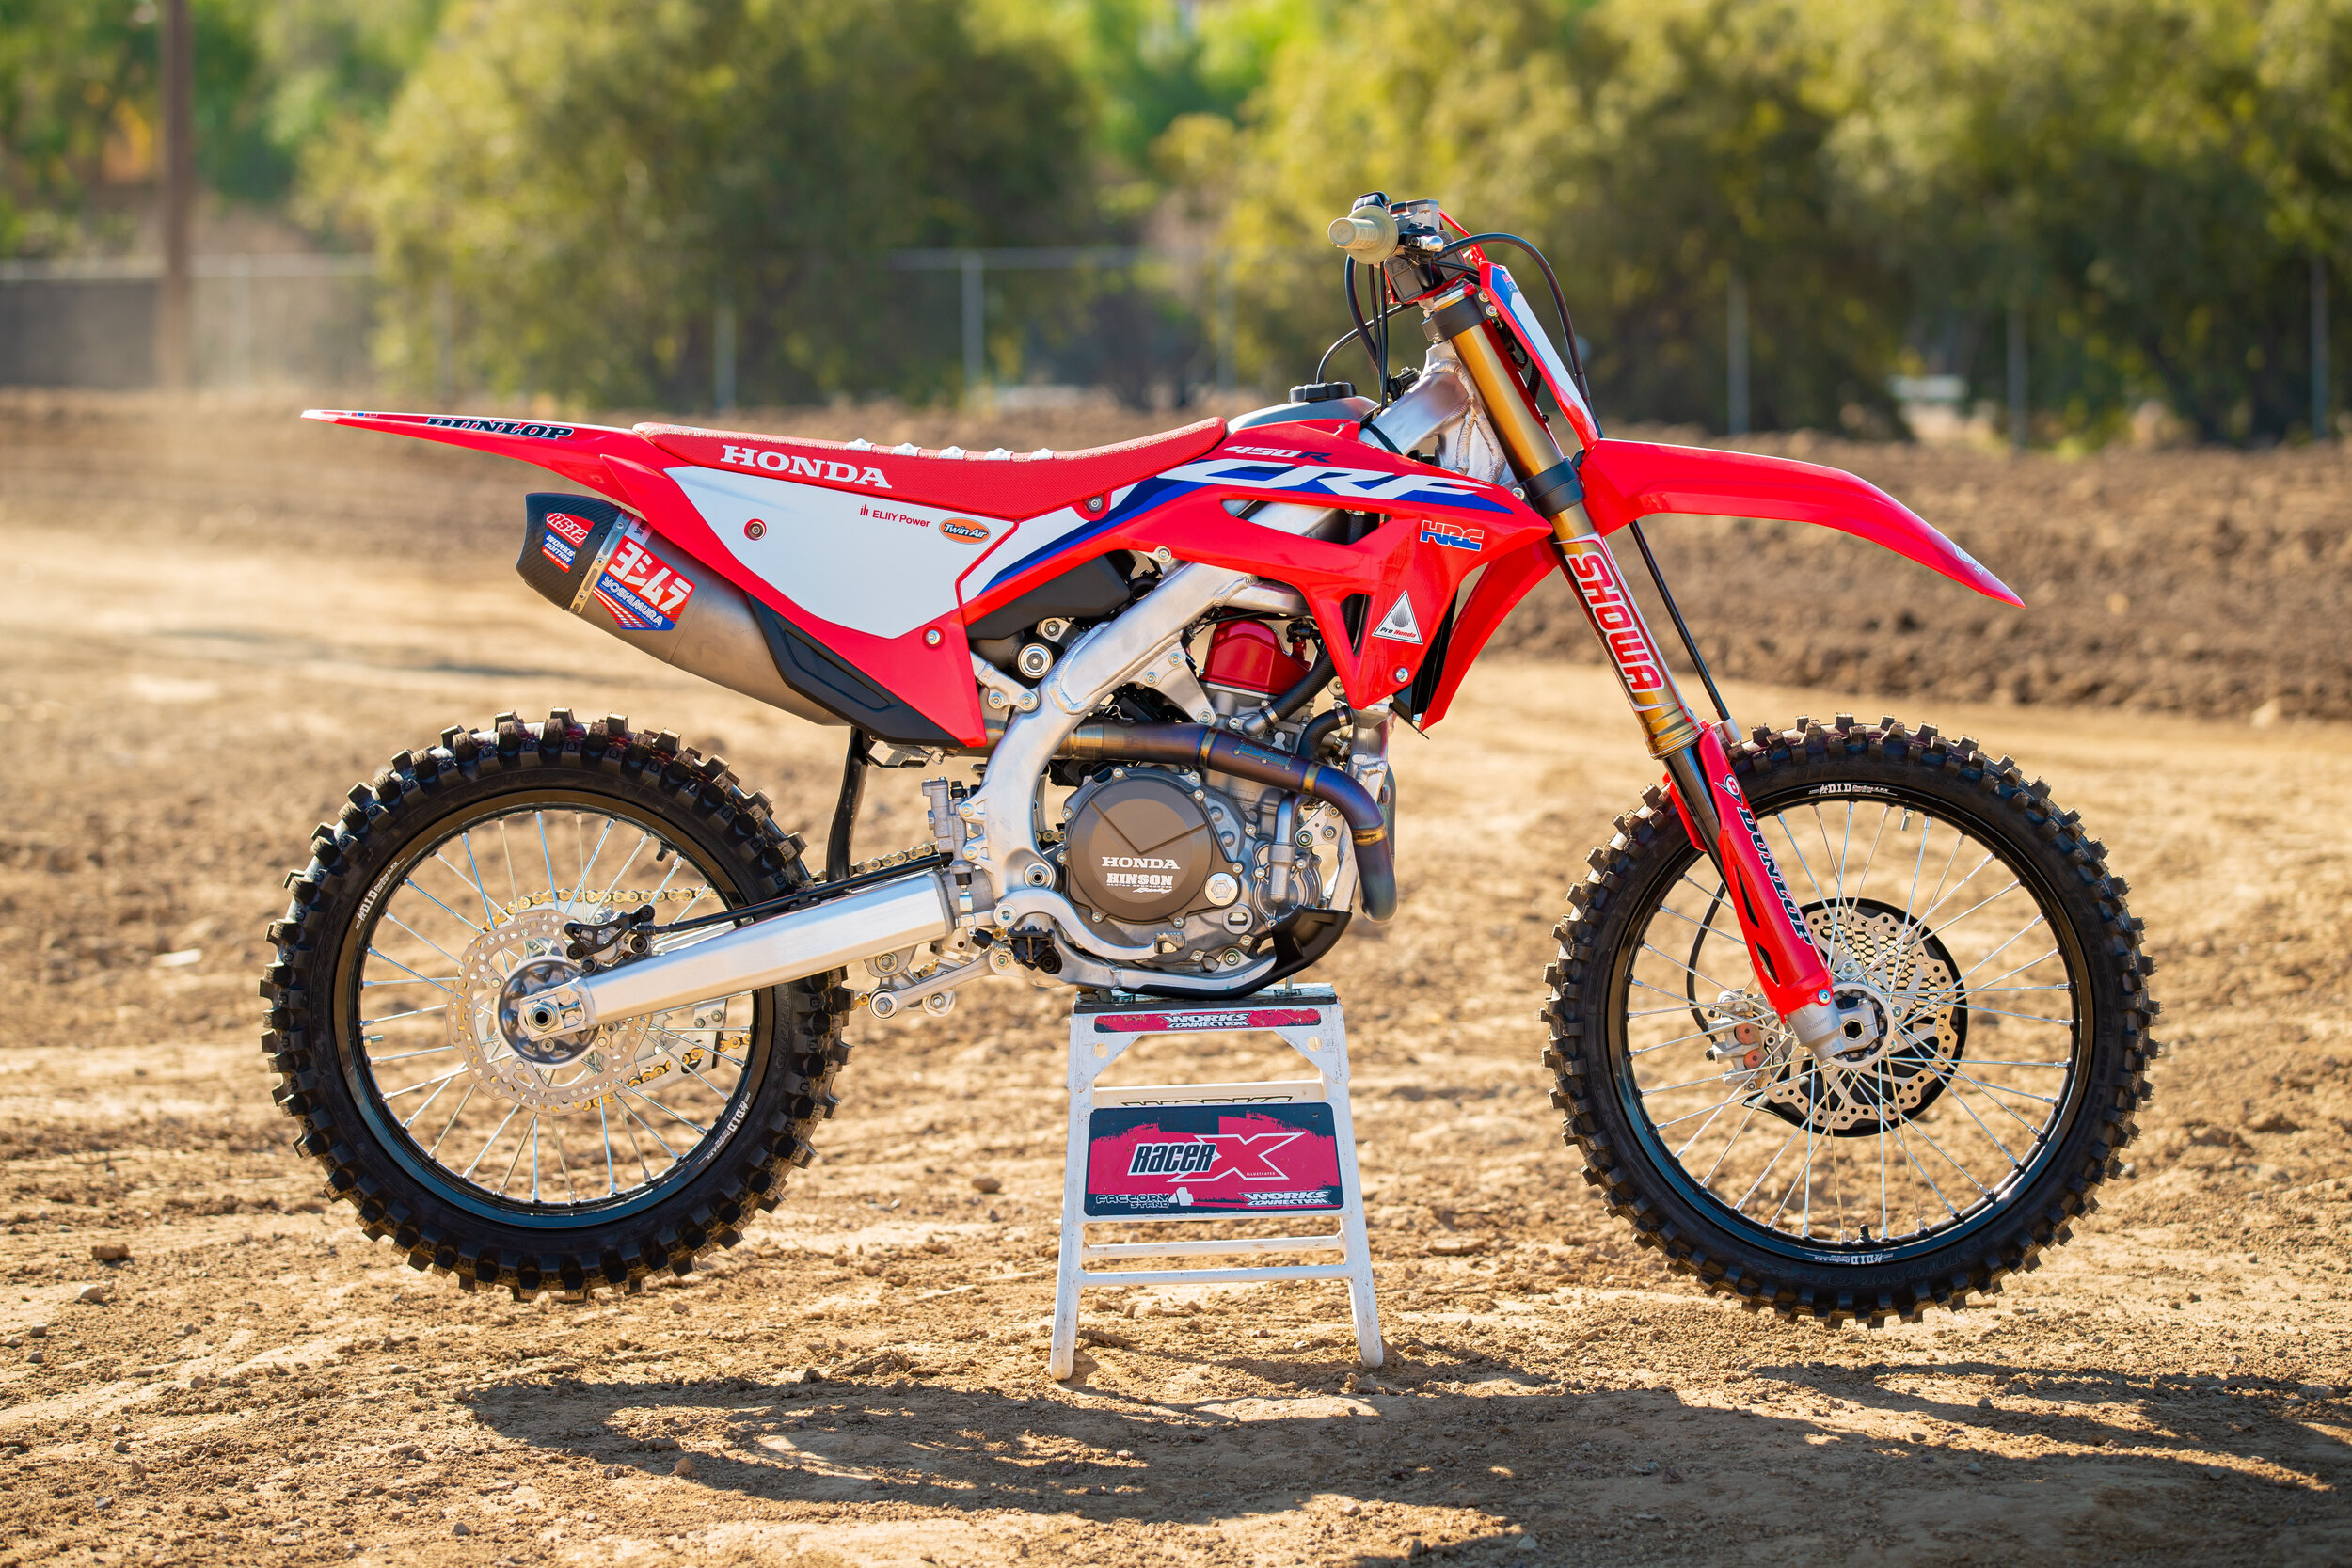
You have no idea how much I love/hate this 2021 Honda CRF450R/WE. This bike calls my name every time I walk out into the shop and like the sucker that I am, I always crawl back to it. Some of my best days at the track have come on the 2021 Honda CRF450R and also some of my worst. Even though the 2021 machine is less finicky than the 2020 version, it’s still tough to obtain a consistent level of comfort, out of the Honda’s chassis, from track to track. I am determined (for me and for you) to make it comfortable to go fast on and hit bumps at speed without feeling like I “HAVE” to find the smooth line. Here are a few things that I have been messing with a lot lately that is actually bringing me closer to the Honda CRF450R. No, it’s not as comfortable as a Yamaha or Kawasaki in the chassis department, but doing these mods below really has helped me take the Honda out of the shop and into my van for a happy moto day.

ECU:
Yes, you already know to get your stock ECU re-flashed from your Honda dealer right? Good! This will help make like a lot easier on you once out on the track. From what I am told this ECU update is basically the 2022 setting, so we all should be good to go on this updated stock ECU. However, if you want to take it a step further and go with a Vortex, I am not going to tell you no. A Vortex mapped by Chad at XPR or Jamie at Twisted Development really does help calm the chassis down, by giving it a longer/more linear type of power. Yes, it’s expensive at around 1K, but if you’re a serious rider this mod is worth the money! I have spent my own money on a few Vortex ECU’s on various machines and have always came back blown away. Plus they have great resale value! Get more rear wheel connection and more of a seamless power character from either of these tuners. You can always email me to get more of a background on either one of these gentlemen tuners. *If you are wondering if you should get your stock ECU re-flashed from one of these tuners or get the Honda OEM re-flash, I am always going to tell you to go with the OEM in-house re-flash*.
Optional Suspension Setting:
The stock suspension might be too soft for you if you’re anywhere over 180 pounds. Honda has a 5.0 N/m fork spring that is adequate for most, but the valving seems too soft. Out back the 54 N/m shock spring is also way too soft, so if you’re looking for a quick band aid to make your Honda CRF450R better, without going to a re-valve, going a spring rate up on each end has helped me feel more secure on high speed tracks, as well as soft bumpy tracks. Bringing both ends up a little in the stroke (with the heavier spring rates) has given me more front/rear wheel traction as well a Honda that corners better without over-steering. Unlike the 2020 Honda CRF450R going up a spring rate on the 2021 version has given the new red bike more track toughness. If you’re not into spending more money on a re-valve at this time, simply get some heavier springs and try this setting:
Fork:
Spring Rate: 5.1 N/m
Height: Flush-2mm
Comp: 11-12 out
Rebound: 11 out
Shock:
Spring Rate: 56 N/m
L/S Comp: 12 clicks out
H/S Comp: 2 3/4 clicks out
Rebound: 10 clicks out
Sag: 105-106mm
Throttle Tube:If you’re like me and think that the Honda CRF450R throttle tube is too fat feeling, go with a stronger, better feeling throttle tube of the ZRT. Tom over at ZRT turns these throttle tubes down a little on the lath, so they have a smaller OD size and have an easier twist because of the bearing ZRT incorporates with the throttle tube. I was skeptical about this throttle before using it, but since I put it on my KTM test bike, I have been running them on almost all of my bikes here and have been extremely happy with the product. They are a little pricey at almostst 200 bucks, but they are bulletproof, give you a buttery twist, and feel less fat in your right hand! Plus for being a aluminum throttle tube, the extra vibration is very minimal.
Handlebars/Vibration:Get a set of Pro Taper bars and get a little less vibration and more flex than the Renthal Fatbars. I currently run a Suzuki Race Team PT EVO bar (same as 996 Renthal) that will be on sale soon to the public. If you can’t wait for the Suzuki RT bend, go with a SX Race or YZ High bend (for rider height 5’8-6’1) from Pro Taper.
Muffler:Putting an aftermarket muffler system on isn’t necessarily about more horsepower, but about changing the character of the engine in a way that the Honda needs. I went out and tested three different versions of what FMF is about to offer the consumer and the one I chose looks to be the one that will go into production. So what does the 4.1 system do? What I liked about the 4.1 system right off the bat is that it calmed down the vibration feel that I get on the Honda. For whatever reason bolting on the 4.1 helped the harmonic vibration that I get when hitting higher RPM’s from the stock muffler. This actually gave the Honda more comfort, because it felt less rigid! The 4.1 also made the engine character broader with better low end RPM response, but with a smoother roll on. Mid range is increased as well as slightly more top end/over-rev in 2nd/3rd gears. Before you email me and tell me you CAN'T get the FMF 4.1 for your new Honda, chill down... I know... It's coming!
Torque Settings:For 2021, I thought I would revisit some torque specs on the CRF450R chassis and see if it helps as much as it did with the 2020 CRF450R. I spent a few days experimenting with torque settings and have came up with the spec chart below. What these updated torque specs do is slightly improve the bump compliancy and front/rear wheel traction of the 2021 CRF450R. This isn’t a cure all, but you will feel a little extra comfort in your red ride. If you don’t see a torque spec on a portion of the bike that is not below, don’t freak out, just go with the stock recommended torque spec. I experimented with a lot of different parts of the chassis with torque specs and the bolts/nuts below make the mosts difference on the red machine. It may not seem like much, but it’s the little things on this bike that can make the Honda chassis FUN for the average guy. Out of all of the machines that I have experimented with on torque settings, this bike reacts the most to it, so pay attention to your nuts/bolts on your Honda!
Follow the torque spec sheet below and make sure to blue Loc-Tite the bolts/nuts on each to ensure you have no issues down the road.
Rear Axle Nut (Qty. 1):
Stock: 128 Nm
Updated Spec: 120 Nm
Fork Top Clamp Pinch Bolts (Qty. 4):
Stock: 22 Nm
Updated Spec: 19 Nm
Fork Bottom Clamp Pinch Bolts (Qty. 4):
Stock: 20 Nm
Updated Spec: 16-17 Nm
Swingarm Pivot Nut (Qty. 1):
Stock: 88 Nm
Updated Spec: 81 Nm
Front Engine Hanger Plate Bolts (Qty. 4):
Stock: 26 Nm
Updated Spec: 24 Nm
Front Engine Hanger Plate Nut (Qty. 1):
Stock: 54 Nm
Updated Spec: 51 Nm
Cylinder Head Hanger Bolt (Qty.2):
Stock 54 Nm
Updated Spec: 51 Nm
Cylinder head Hanger Plate Bolts (Qty 4):
Stock: 32 Nm
Updated Spec: 29 Nm
Shock Absorber Upper Mounting Bolt (Qty. 1):
Stock: 44 Nm
Updated Spec: 42 Nm
Things You Can’t Do To Your 2021 That You Could With Your 2020:
Gearing:You can’t install a 14 tooth countershaft sprocket without damaging the hydraulic clutch slave cylinder so don't do it!
24mm Offset Clamps:Currently no one is making a 24mm offset clamp for the 2021 CRF450R at the time of this article. However, you can use a 2020 24mm offset clamp if you go with the 2020 front fender and number plate combo. The 24mm offset helps calm the chassis down under acceleration as well as help decrease rigidity feel. This was all a plus for me on the 2021 CRF450R. Installing a 24mm offset clamp with the fork height at 4mm gives the rider a more positive feel when the track gets beat up and rutty. Ride Engineering is currently working on a 23.5mm offset clamp that I will be doing a review on shortly. My two top clamps for this model would be either a X-Trig ROCS or Ride Engineering Split Clamp.
Vibration:
If you’re noticing a vibration up through your pegs into your handlebars on low RPM (4000-6000 RPM) try this with your 2021 CRF450R engine. I stumbled across this mod when Chad at XPR unexpectedly did this to my 2020 CRF450R without me even knowing. When I came off the track and commented I felt less vibration though my feet/handlebars as well as a better initial lean coming into corners he was kind of blown away. Since then I have tried this on another 2021 CRF450R and got similar results, so I thought it was worth mentioning to you. The first step to tilting your CRF 450R engine in the chassis is to loosen off all motor mounts and engine hangers,(without completely removing the bolts or nuts) seeing how you are going to have to quickly tighten the motor mounting nuts while holding the engine in place. This includes the swingarm pivot bolt, lower engine bolt, three upper engine bolts that mount to frame and engine, finally the left and right engine hangers on the sides of the frame and engine. Next step is to find a long flat blade screw driver or a longer tire iron works best. Place the tire iron or screw driver in between the frame and the engine in the middle of the lower engine bolt and the upper engine bolts. By pushing down on the tire iron or screw driver you will notice the motor lift up and back in the chassis. While continuing to push down on the tire iron or screw driver begin to tighten the three upper engine bolts/nuts first and then the lower engine bolt /nut. Get these nuts and bolts tight enough to hold the engine in place without the motor sliding down again. Torque these four nuts to the manufacturers specifications then move to the swing arm axle nut and finally to the engine hanger bolts and torque them to the manufacturers specifications.
Hopefully some of these inexpensive tips help you get some added happiness out of your 2021 CRF450R! Email me at kris@keeferinctesting.com and tell me how it's going!


