Shock

Helpful Suspension Set Up Tips

twl3z8tY.jpeg

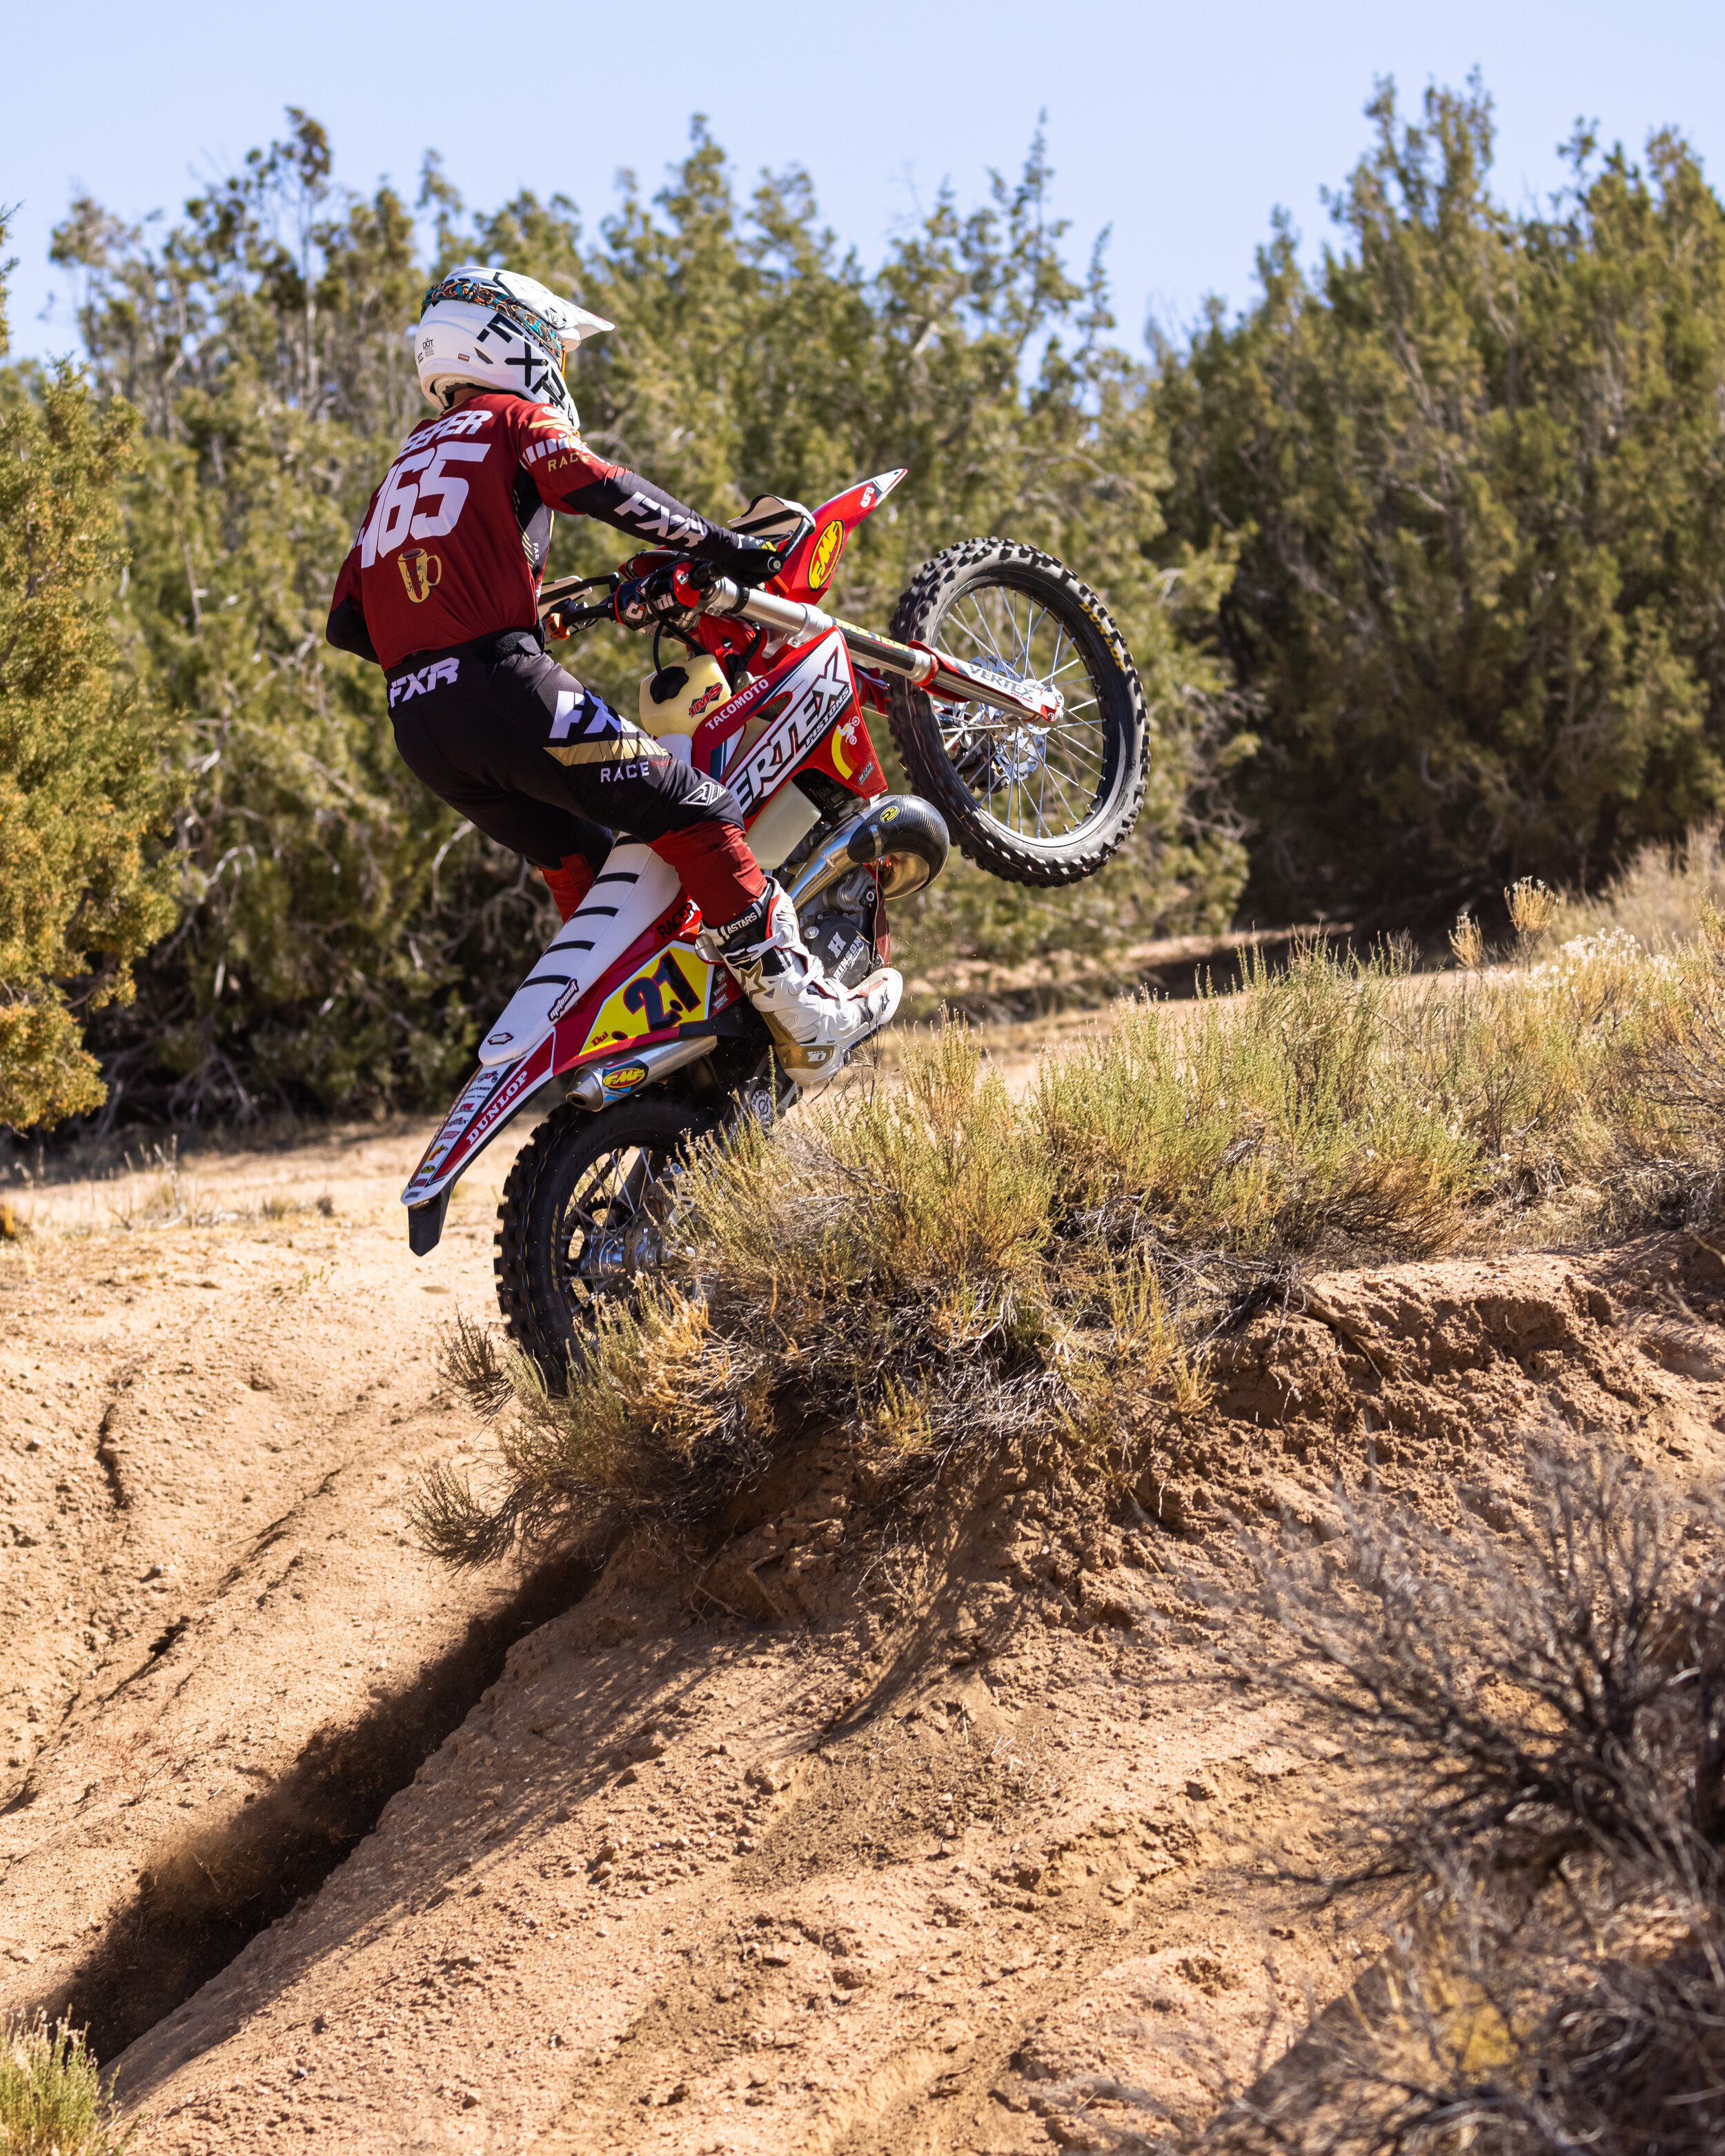
Suspension is hard to understand. Especially if you’re somewhat of a novice when it comes to setting up your bike. It took me a long time to understand what my bike was doing and how I could make it better. If you’re struggling to set up your suspension or maybe you just want to arm yourself with some knowledge, here are some tips to help you when you’re in your garage or out on the track.

Adjustments are there for you to “customize” your set up and feel on the track. The compression and rebound damping adjustments on your machine are known as your “clicker” adjustments. Making the correct changes with your clickers will make your bike handle better and give you a friendlier riding experience. Clickers control the amount of oil flow that is allowed to bypass your fork/shock valving stack. They work like a fuel screw and can fine tune your suspension.

A shock has both low-speed and high-speed compression adjustments. The low-speed adjuster controls the damping at low shock speed velocities like rolling whoops and acceleration bumps. The high-speed adjuster controls damping when the shock is moving at high speeds like g-outs, jump faces and can affect the ride height of the machine. If you’re on an older KYB PSF2 fork (may god be with you by the way) you’re stuck with high and low speed compression and high and low speed rebound. Before you start messing around with clicker adjustments here are some things you should do first:

keefer 2.JPG

Check where your clickers are set at and write them down.

Start out with recommended stock settings first for baseline.

Adjust your tire pressure for the type of riding and terrain. 13-14 psi is usually standard.

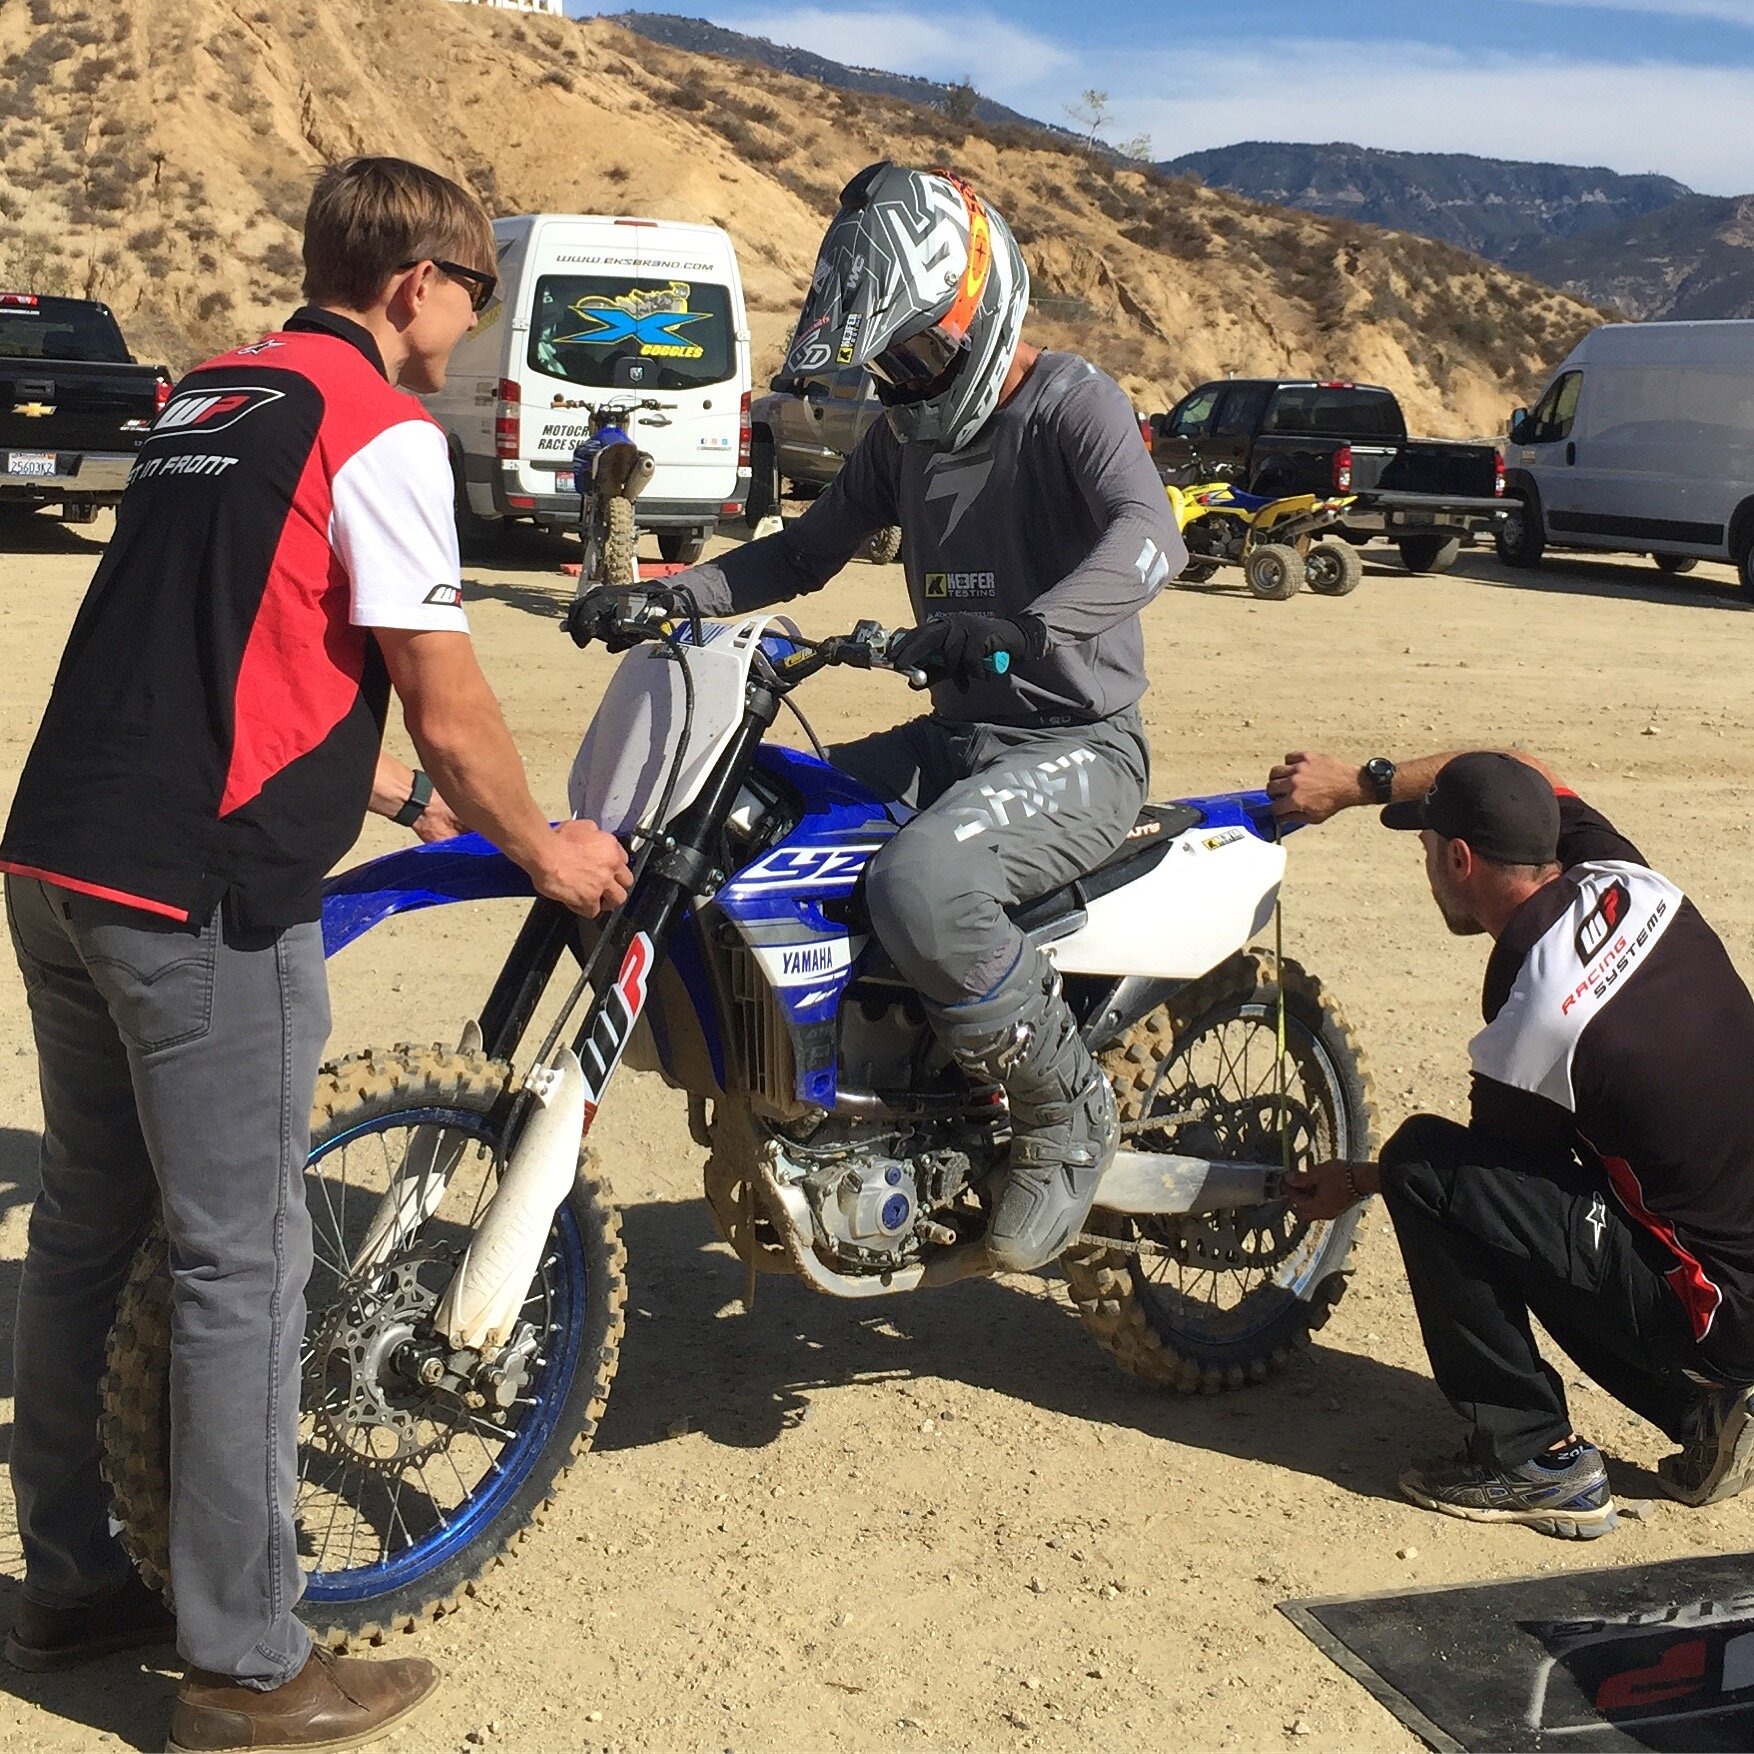
Make sure you have the correct spring rate for your weight and set your sag.

Bleed the air out of the forks every time you ride, if you have a spring fork.

If using air forks, makes sure to check air pressure and if you’re on AER forks, there is an air bleed for them as well.

Start off by riding your machine with your clickers set in the stock position. This will give you a good base setting of how your bike handles. Ride only a few laps (2-4) at a time when you try new settings so you will not be second guessing your initial impression of each adjustment. When you stay out too long you will start to second guess your initial thoughts. Ride the same lines/bumps every lap so you get a feel for the changes you make and do not ride around the bumps you are trying to test on. If you change lines this will alter your perception of how well your stuff is working. Cheating doesn’t nothing for you here! This will only hurt you in the long run, so buck up and take the rough line! Make changes to your clickers 1-2 “clicks” at a time and one adjustment at a time (rebound or compression). Changing compression and rebound on the fork and shock at the same time can confuse you as to what setting is actually improving your machine. There is the old 2 for 1, which is for every two clicks of compression you go in or out on rebound. For example, if you’re on a KYB spring fork and you go two clicks in stiffer, you might want to back out one click of rebound to compensate for the stiffer comp setting. For beginners, just chill down and do one adjustment at a time. Soft terrain usually requires more compression damping (stiffer) because the bumps are softer in nature and usually taller. Same goes for when the bumps are soft/big and spaced further apart, so in that situation the machine can require a slower rebound damping to minimize kick. If there is a hard base underneath, the bumps will usually be closer together and square edges will develop. In this case a softer/faster setting can be used, especially when speeds are higher.

IMG_3715.JPG

 You can also run your front end higher (drop your fork height) and the rear end lower (higher sag number) if possible for stability, to combat any twitchiness your bike may have.

On hard pack dirt it is better to adjust the rebound and compression to a softer setting while still maintaining control and bottoming resistance. Try to find a happy medium between bottoming and comfort. It’s ok to bottom out once or even twice a lap, so don’t freak out if you bottom out once in a while. That doesn’t mean you need to stiffen your suspension if you’re bottoming out. All of your suspension is meant to be used, that’s why it’s there, so let it do its job. If you are bottoming out more than that, you would adjust your compression clickers to a stiffer setting. Adjusting your rebound damping to a stiffer setting will help if your bike feels unstable (loose feel) or if you are blowing through the stroke on jump faces. In very rare cases adjusting the rebound clicker one way or the other could work. While it is common to stiffen the shock rebound when your bike kicks over bumps (because you feel like it’s bucking you), many times it is caused by compression that is too stiff. Try going one or two clicks softer/faster to see if it soaks up the bumps and calms the chassis down. If that doesn’t seem to help check your riding position on the bike or yes, it could be that your rebound is too fast/soft. Getting the shock to not “kick” on top of jumps is difficult to diagnose so be ready to try both sides of the spectrum with rebound on this type of tricky obstacle.

Again, be patient. Designate a day where you just play around with your settings and get familiar with your bike. I feel like suspension tuning is kind of like dating. You must learn your partner before you can get married right? Getting a balanced, comfortable suspension setting is no different than dating. Get to know your bike before you decide to dump it and blame it all on her. Maybe it’s you? Maybe you didn’t give it a chance? Play around and see what works for you. If the rear of your bike kicks to the side, the cause can be that it’s too stiff of a setting. Again, try one adjustment at a time. Lack of traction (wheel spin) on acceleration bumps can usually be improved by softening the low-speed compression on the shock or speeding up the rebound, so the rear tire follows the ground better. Keep in mind that faster riders generally prefer stiffer settings to maintain control at speed (performance) while slower riders prefer softer settings for comfort

When it comes to air forks messing with the air pressure can be a pain. Just to let all you know, 2 psi is one full spring rate on any air fork, so that is why I usually adjust using “bar”, not psi. How many times have you changed a spring out at the track? Not very much right? Unless you are very light or on the heavier side, the stock air pressure settings from the factory are usually a great place to start and keep within .2-.4 bar (softer or stiffer). Adjusting your compression and rebound clickers on air forks is much easier and a simpler way to dial in these types of forks. Air pressure will change throughout the day as heat builds up, so if you are checking your air pressure in the middle of the day, make sure the fork is cooled down to ambient air temperature.

Follow some of these easy steps and I can guarantee you that you will get your set up even better and enjoy riding that dirt bike of yours even more. If you have any set up questions you can email me at kris@keeferinctesting.com as we will always try to be here for you!

Action And Reaction (Shock)

With every action there is a reaction right? This is no different when it comes to dirt bikes and the mechanics of each change/adjustment. Since suspension is always a hot topic with motocross machines, I thought why not give you guys some insight on what each change point/adjustment available to you is on the shock, as well as what it can do out on the track (good or bad). The action of one change can have reaction on the opposite end of the machine as well, not just the focused area. Here is a breakdown of action and reaction, shock edition. If you’re looking for the “fork” portion of this article, check it out here: https://www.keeferinctesting.com/offroad-testing/2021/6/22/action-and-reaction-fork

GasGas racerX HV-5103.jpg

Shock: 

Low Speed Compression: Low speed compression damping will allow your shock’s stroke to stiffen or soften when compressed at lower load situations. 

Action/Stiffer: Stiffening the LSC can allow your bike’s ride attitude to be flatter with less pitching on/off throttle, can help with wallow feeling through rollers, can help keep rear end down on initial bump impact, bump absorption can improve if shock is riding too low in the stroke, give the rider a firmer feel to allow them to ride more aggressively (more performance).

Reaction/Stiffer: Going too stiff can cause harshness or a too firm feel when hitting bumps, can cause deflection when shock is light in its stroke (off throttle situations), can cause less rear wheel traction (especially on lean angle), can give rider a less plush feel on bump impact, less movement in rear end which can give a rigid feel through seat, can overpower fork and allow bike to be front end heavy down hills.

Action/Softer: Softening the LSC can increase plushness, allow the shock to move further down in the stroke under load or increase comfort on initial bump impact, make the action of the stroke faster, can increase rear wheel traction (especially on lean angle), give a more supple feel through the seat when accelerating out of choppy corners. 

Reaction/Softer: Allow the shock to go through stroke too much (low rear feel), which can create a fast moving rear end feel, less damping feel on bump impact, create a low rear end feel that allows the rear end to kick you on braking bumps (which can make transfer of weight to front end, too abrupt off throttle), oversteering through area 2 of corners because rear end unloads to fast on de-cel which causes front end to knife, make fork feel too high on throttle, which can make fork deflect, causes shock tp bottoming more than 2-3 times per lap.

Keefer JB bike GH -5984.jpg

High Speed Compression: High speed compression damping will allow your shock’s stroke to stiffen or soften when compressed at high-speed load situations, but can also can act like a secondary ride height.  

Action/Stiffer: Depending on if you’re a Showa, KYB, or WP rider will depend on how much you will want adjust the HSC knob to feel a difference. A Showa shock is more sensitive to turns than that of a WP or KYB shock. I would adjust HSC on a Showa shock by 1/6 turns to feel a difference versus a 1/4 turns on a WP/KYB shock. Going to a stiffer HSC setting on your shock will raise your rear end and give you more hold up in g-outs, up faces of jumps, out of corners (on-throttle) as well as create more front end bite when entering into corners (area 1-2). Adjusting the high speed is sometimes scary to weekend riders, but shouldn’t be feared as it is one of the most notable changes you can make to your shock. Adjusting the HSC can give a  rider a plusher feeling if he/she is too low in the stroke. Increasing HSC can get you out of the harsh portion of the shock’s stroke if you’re too low on accel/de-cel. HSC can make the ride attitude of the bike more balanced front to rear.

Reaction/Stiffer: Negative affects of going stiffer on HSC can range from deflection on/off throttle, rigidity feeling up, low front end feel, too firm of a feel when hitting bumps on acceleration, harsh feeling through your feet, oversteer (knifing on lean angle), allow the bike’s ride attitude to be too front end low/rear end high and cause kicking on de-cel as well as nose end heavy off jumps.

Action/Softer: Softening the HSC can increase plushness on braking bumps, give the bike a flatter overall feel when chopping throttle in soft dirt, allow the shock to move further down in the stroke under heavy load, make the action of the stroke faster (less damping feel), can increase rear wheel traction (especially on lean angle/more tire contact patch), give a more supple feel to the hands through the pegs. 

Reaction/Softer: Allow the fork to ride too high in the stroke, can cause front end pushing through corners, fork deflection, create a low rear end feel that can make the rear of the bike wallow through rollers/waves, causes too much pitching on/off throttle (teeter totter movement), harsh feeling (firm) around the track because the shock is riding in the stiffer part of the stroke/damping (mid-stroke), unbalanced feel around track (more comfort in rear end with less comfort on fork). 

Rebound: The rebound damping allows the shock’s shaft to move faster/slower when compressed/released. It can also act as a type of damping force as well. 

Action/Faster: More rear end traction because the shock is moving faster, which in turn is causing the rear tire to get back to the ground quicker over bumps/square edges, can help straight line stability, can increase plushness through the beginning to mid stroke, can help get more lift off jumps.  

Reaction/Faster: Can cause side to side movement on throttle under slight lean angle (edge of tire), could make shock feel too soft/low on acceleration bumps (diving), can cause pushing sensation of rear tire through area 2-3 (middle to end) under throttle, can put too much weight on front end through corners.

Action/Slower: Can allow for more damping feel (firmer), slow the rear end down off throttle which can give you increased front end traction in ares 2 (middle) of corners, more planted feeling coming into deep braking bumps, less movement of the initial stroke/under throttle while hitting acceleration bumps, can allow bike to soak up jump faces more (less air).

Reaction/Slower: Can give rider a harsher feeling on/off throttle when hitting bumps, could make shock feel too firm on acceleration through choppy bumps (too high/harsh), can give less rear wheel traction on hard pack chop, front end high feel off jumps, can cause a ride attitude that is too low off throttle, that low feeling can give the rider less cornering stability through choppy ruts because it will pack and give the front tire less contact patch.

Sag: The sag measurement is important because it gives the correct preload on the shock spring for your weight. Sag is also important because it gives the bike its intended ride attitude when designed. 

Action: Getting the correct ride height (or sag) is crucial because when the bike is designed, it’s designed with the a certain amount of preload. The chassis will not act like it is intended (when developed) if the sag is not set to the correct setting. Having the correct sag will give you the ride attitude/balance around the track. 

Reaction: If you’re sag is too high, the rear of the bike can be harsh/deflect on square edge, cause the front end to be too heavy (or low feeling) off throttle, front end oversteer in corners, as well as give the balance of the motorcycle a stinkbug feel. Having the sag too low can allow your front end to be vague in corners (less front end bite), give the rider less rear wheel traction out of corners (under load) and could even cause more pitching on/off throttle. If you’re looking for a little more front end bite or more front end steering then try going up slightly (less sag) on your preload. If you want more stability on faster tracks or on deep sand tracks try going with more sag (rear end lower) for increase stability and a less front end heavy feel. 

Testing Terms Explained (Suspension/Chassis)

Since we are in some weird times right now with this quarantine stuff, I thought it could be cool to learn a little about what each testing term means. What better way to get more in tune with your motorcycle than learning what the definition is to each term. If you listen to the Keefer Tested Podcast or read anything here on keeferinctesting.com you will hear/see these testing terms being used. Some of you have emailed me and asked what the hell some of these terms mean, so below is your template on what each means. Hopefully you can use these to your advantage next time you are talking about your machine or need to get a certain point across to your suspension/chassis tuner.  

IMG_1041.JPG

Pitching: This word is used when the rider lets off the throttle and the weight of the motorcycle forces the front end down. This usually happens when there is a lot of engine braking or the fork is too soft. The 2018 YZ450F was notorious for having a lot of this pitching when coming into a corner. Pitching can upset the chassis balance and can cause some oversteer through area 1 and 2 of corners. Pitching can also mean that a certain bike can squat (shock) too much under throttle out of corners causing the bike to have too much movement fore and aft. Pitching can make the machine seem unstable and cause the rider to not set up properly for corners. 

Hold Up: Hold up is mostly used when the fork or shock is riding too low in the stroke. When a rider is asking for more hold up he is usually wanting a stiffer compression setting so the fork or shock isn't “blowing through”. 

IMG_2776.JPG

Harsh: This term has got to be the worst feeling to a rider. A harsh feeling is when the suspension is either too soft or too stiff. Yes, it can actually be both! If the suspension is too stiff the rider will complain about a harsh or firm feel through the handlebars. This stiff/harsh feel is caused by the suspension not being able to use all of its stroke. If the harsh feel is coming from the stiff side, opening the compression or the rebound can help alleviate some of this feeling. If the harsh feeling is coming from a soft sensation it’s because the suspension is riding too low in the stroke. Riding too low in the stroke can cause a harsh feeling because you are now in the mid stroke where the valving starts to ramp up to get stiffer. By stiffening the suspension a little you are now stiffening the initial part of the stroke which can actually make your bike feel plusher because your machine is riding higher up in the stroke around the track. “Harsh” is a tricky term because the cause of the harsh feeling can be from a too soft or too stiff of a setting.

Plush: I have never been a huge fan of this term, but the word plush means soft or supple feeling. If I hit something at speed most riders want their bike to feel plush and not harsh. However be careful when using this term to suspension techs as they may want to set your suspension up too soft. Plush can also mean the same with frame feel. For example, the KX450 has a plusher feeling to its frame than the of the Honda CRF450R. I like to use the term “bump absorption” more than the word plush. When the Kawasaki KX450 hits a certain square edge at speed, it has a better bump absorption feel than the Honda CRF450R. Off-road riders look for that plush feeling because they have less jumps to deal with and can hit roots/bumps at higher speeds. A softer compression setting or a faster rebound setting usually leads to a plusher feel.

Crust: We can thank air forks for this term. I came up with this term when I was at home during thanksgiving and I was watching my wife make a french apple pie. I always liked the middle of the pie more than the crust, so it immediately made me think of air forks. In order to get to the gooey goodness of the pie, I have to break through the crust right? Well air forks are the same thing! The top of the stroke of almost any air fork is called the crust because it’s usually has a hard/harsh feel initially and then you have some comfort. The crust usually gives you some deflection and a harsh feeling through the handlebars on small chop. We use the word crust because air forks usually feel like you have to break through the stiff portion of the travel in order to get to the softer/more forgiving portion of the stroke. WP has improved the air fork feel over the years so let's hope they continue down the path of a less crusty initial stroke on their air forks.  

IMG_5714.JPG

Empty: This term can be used when talking about engine character or suspension feel. When talking suspension empty usually means there is not a lot of damping feel. If you say “I feel like my end stroke is empty”, it means that it blows through or simply doesn't have any damping feel. 

Rigidity Balance: Rigidity balance is an important term when testing any chassis. If the bike has a firm feel and its rigidity balance is too firm it could mean that it corners excellent, but feels very harsh and has deflection on rough/fast straights. If the rigidity balance is too soft the bike can have a wallow feeling when under throttle as well as give the rider less confidence on braking bumps because of its unpredictable feel. Rigidity balance is something that every manufacturer works a lot on when developing their machine. A bike has to corner with precision, but also have enough comfort in order to have good bump absorption. A machine that has great rigidity balance is a Kawasaki KX450 because it turns well and can hit bumps at speed with a consistent feel.   

Performance: Performance is a word we used in the testing world when a rider is looking to ride at a higher level as well as be able to push the motorcycle without having it be too soft. Getting a chassis or suspension package to have better performance is basically asking the tuner that you understand that you’ll sacrifice some comfort, in order to get a machine that you can slam into obstacles harder without getting blow through. Usually riders that are faster or heavier want a performance based setting so they can hit jumps as well as bumps at a faster rate. 

Comfort: A comfort setting is something most vet riders want so they don’t feel every little bump on the track. A comfort setting usually involves a softer setting that moves more in the stroke, but also can bottom out when hitting bigger jumps or larger bumps at speed. The 2020 YZ450F’s suspension package is a great example of blending both performance and comfort together. 

Blow Through: This usually happens when hitting bumps/jumps hard and the suspension just dives without much damping force feel. If your suspension feels like it’s blowing through then you need to try and get a stiffer setting through clickers or internally with valving.  

IMG_9298.jpg

Vague: Vague is usually a term used by describing front wheel traction. Front wheel lean angle traction can feel vague when the fork setting is too stiff, have the wrong offset triple clamps, or if you have the wrong compound front tire. A vague feel means that you will be washing your front tire out under lean angle and the bike may have less of a contact patch. Running too much air in your tire can also give you a vague feel.

Damping Feel: Damping feel or force is the feeling of the suspension when moving down. Damping feel is used when explaining to tuners that you either have a soft feeling and need more of a stiffer setting. Damping feel can also be helpful/used when asked if the action of the suspension is too fast or too slow. 

Deflection: Deflection happens when either a suspension setting is too stiff or a chassis setting is too rigid. Deflection happens when your front or rear end hits a bump/square edge and your bike simply doesn't absorb it. It’s like a pinball bouncing around from some side to side and can cause you to roll the throttle off in a hurry. Deflection also causes you to have less contact patch and makes the bike feel less planted. Going to a softer setting with the suspension or chassis usually alleviates some of this feeling. 

IMG_5227.jpeg

Contact Patch: Contact patch is a feeling of how much tire is felt underneath you. Contact patch can be increased by running less air pressure in your tires, running a softer suspension setting, chassis setting and/or increasing/decreasing offset. I like using this term a lot with my evaluations because without the feeling of a wide contact patch it will feel like you are running bicycle tires on your dirt bike. Having a wide contact patch feel gives you more confidence to roll the throttle on sooner when exiting corners. 

Race Tech Suspension Review (2018 Honda CRF450R)


I am going to hit you all with some truth right out of the gate here. I wasn't a fan of Race Tech suspension back when I last tried it in 2006-2007’ish. I couldn't find a setting that I liked because it was either too mushy feeling or had a harsh feeling near the end of the stroke. Fast forward ten years or so and I came into contact with Chris and Rob at Race Tech. They asked if I was available to help test some stuff and if I wanted to try a setting for my 2018 Honda CRF450R test bike? Honestly I was hesitant, but being a test rider I must practice what I preach and have an open mind to everything I try, so I accepted their offer and set my suspension off to Corona, California where their headquarters is located. It took them five business days to complete and my suspension was back on my bike and ready to rip. 


IMG_6886.jpg

Race Tech installed Gold Valves in the fork and shock of the CRF450R. I didn't know Race Tech offered as many different types of Gold Valves as they do, so here is a break down of different types of Gold Valves. These types are available for motocross and off-road applications from the Race Tech website:

Fork Gold Valves (Direct From Race Tech)


    •    TYPE 1 - High flow valving piston enables outstanding bottoming resistance while retaining a plush controlled ride. Extremely versatile.


    •    For Motocross, Offroad, Trial, Hillclimb, Supermoto, Street, Road Race, Drag Racing and many other applications. 


    •    TYPE 2 - Smaller ports increase bottoming resistance for more extreme types of riding. NOTE: These Kits will be harsher than Type 1. 


    •    For Aggressive Motocross, Supercross and Supermoto.


    •    G2-R - This valve offers the ability to change port size by changing restrictor shim diameter. It also has the ability to preload the valving stack for dive control. G2-R Damping Curves can be produced to mimic both Type 1 and Type 2 Kits. It can produce curves not available to T1 & 2 as well. The G2-R can be setup for any type of riding. It is the most versatile valve design in the world!


    •    For Motocross, Offroad, Trial, Hillclimb, Supermoto, Street, Road Race, Drag Racing and many other applications. 


    •    Rebound Gold Valves - Many rebound valving systems are grossly inadequate. No matter what modifications are attempted, the forks will never perform with precision and control. These Kits offer the advantage of both adjustable Mid-Valve and Rebound. Available for most Dual Chamber Showa, KYB and WP Forks. 


    •    For Motocross, Offroad, Trial, Hillclimb, Supermoto, Street and Road Race. 


    Shock Gold Valves:


Shock Gold Valves control both Compression and Rebound.

    •    TYPE 1 - High flow valving piston enables bottoming resistance and "feel" while retaining a plush controlled ride.


    •    For Motocross, Offroad, Trial, Hillclimb, Supermoto, Street, Road Race, Drag Racing, and many other applications.

    •    TYPE 2 - Smaller compression ports increase bottoming resistance for more extreme types of riding. NOTE: These Kits will be harsher than Type 1.


    •    For Aggressive Motocross, Supercross, and Supermoto.


On The Track: 

Let’s get to the reason why you are reading this. Does it work better? Before getting on the Race Tech valved suspension I recently tested and spent time on the stock suspension, Enzo, Factory Connection and Pro Circuit re-valved sets. Although the 2018 stock suspension has a better balance than the 2017 CRF450R stuff I was still looking for some increased mid-stroke comfort in the fork and more damping out of the end stroke on the shock. The companies above provided me with most of what I was looking for, but I felt when the track got hacked out with square edge and chop, the sets I have tried felt on the firm side and was difficult to ride for a longer duration of time. With the firmer Honda chassis I wanted to get more comfort out of my suspension. The Showa A-kit fork you see on this test bike is basically the same fork that is on your stock 2017-2018 Honda CRF450R with only a few special coatings. 


IMG_6889.jpg

Race Tech Fork: Initially when I went out on the 2:00PM bumpy Glen Helen track I immediately thought the fork was moving too much in the stroke, but when I started to get my speed up and started to push, I quickly realized that wasn't the case. The fork moved in the stroke, but never bottomed in an un-ordinary fashion on the track. What it did do was give me more front end traction than stock as well as any other setting I have tried to date yet. The front tire followed the blown out Glen Helen terrafirma better than I usually feel coming from a Honda. Usually I get some type of deflection and or pitching from the CRF450R fork late in the day, but to my surprise the fork had an ample amount of damping and increased mid-stroke comfort. I did slow the rebound down one click and stiffen up the compression two clicks for the downhills at Glen Helen. Doing this just helped keep my front end up a little more on steep grade de-cel. I ran the fork height flush at Glen Helen and 2-3mm up in the clamp everywhere else I tested. If you have big downhills running the fork flush will help stability and help combat pitching sensation. When going to some softer dirt with larger braking bumps the Race Tech fork feeling/sensation didn't alter that much. The front end remained planted and didn't dive under heavy braking. This helped me corner quicker and let me dive into corners harder. I could get aggressive with my technique and not have to worry about unsettling the chassis while entering corners. Tracks with steeper jump faces I noticed I would like a little more hold up, so I am going to try and add a small amount of oil to see if this helps hold the front end up a little. However, I am only going to try 5cc's. What? Only 5? Yes, I can feel 5cc’s. Usually magazines go in 10cc increments, but to me that is too much. Pala Raceway in California has some bigger jump faces and is usually not the norm for a motocross track, so this is something that is an extreme case. All of the other tracks I went to the fork held up just fine. Note: Stock fork spring rate was used for my 170 pound carcass of a body. 


IMG_6896.jpg

Race Tech Shock: On previous settings I ran a 1mm Ride Engineering link, but for a starting point with this test I went back to a stock link. Now as you can see I am on a Showa A-kit shock, but the only big difference between the stock shock and the kit shock is that the shock shaft on these kit shocks are 18mm in size, the stock shock shaft is 16mm. To me I prefer a stock shock as the 18mm shaft makes the rear end feel to harsh/rigid compared to the standard 16mm shaft. This was one of the things I wanted to try and fix when talking to Chris and Rob at Race Tech. I needed more comfort out of acceleration chop and while I did get increased comfort on acceleration (out of corners) with the Race Tech set up, the action of the rear end had a slower feel. Usually a slower feel is good where off throttle de-cel bumps form, but not so good when on throttle square edge bumps come into play. The Race Tech shock/rear wheel, much like the fork, followed the ground much better than with other previous settings. In order to get that feeling, I would of had to resort to the Ride Engineering link, but now I got that rear wheel traction with the Race tech re-valve and the standard link. When accelerating out of corners the rear end felt plusher and it cut the harshness in half when hitting holes and square edge. Let me paint you this picture for a moment; instead of feeling a harsh point or spike through the rear end of the bike four out of the five bumps with the stock setting, I now only feel maybe two. The rear wheel sticks to the ground and absorbs more of the junk down in the rut instead of getting a spike and wheel spin. If you are looking to never feel any of the bumps out on a track, you are going to be looking for that feeling the rest of your life. Why? Because that is not ever going to happen! If there are bumps on a track you are going to feel most of them regardless, however it’s in what degree you feel those bumps that makes a good set of suspension or a bad set. On de-cel/braking bumps the Race Tech shock had that dead feel that I was looking for and never reacted too quickly when staying on the gas longer into corners. If there was one negative to the shock it was that I wanted a little more high speed damping on steeper jump faces. I tried going in on high speed compression and it just hurt my acceleration comfort. It wasn't worth the trade off for me. I decided on a sag setting of 108mm and that kept the bike balanced and working the best on all tracks and conditions. 


IMG_6897.jpg

Verdict: I don’t know if I was wrong about the Race Tech stuff in the past or maybe it’s just their settings/Gold Valves have evolved over time and improved? Whatever the reason is, I am pleasantly surprised with the first setting I received from them. I am going to send the shock back to see if I can get more high speed compression damping, but to me I could go race this setting on any track around these parts. This is the best Honda CRF450R setting I have tried to date and am looking forward to spending more time with this machine with this Race Tech suspension. Stay tuned as I will get back to you all with an update on the second shock setting. 


Price List: 

Racetech.com 

Fork Re-Valve $100.00

2 qt. Fork Fluid $ 39.98 

Fork Gold Valve $175.00

Fork Rebound Gold Valve $169.95

Shock Re-Valve $100.00

Shock Fluid $24.99

Shock Gold Valve $169.99

Rear 5.6 Shock Spring $119.99 

If you have any questions about this test or any other tidbits you must know please feel free to email me at kris@keeferinctesting.com