Most of the 2022 models haven’t changed, but there are some updates to a couple machines as well as a couple changes within our baseline settings chart for the 22 models. Just like with race settings, some of these production settings have evolved and these are the latest and greatest for the 22 450 MX’ers.
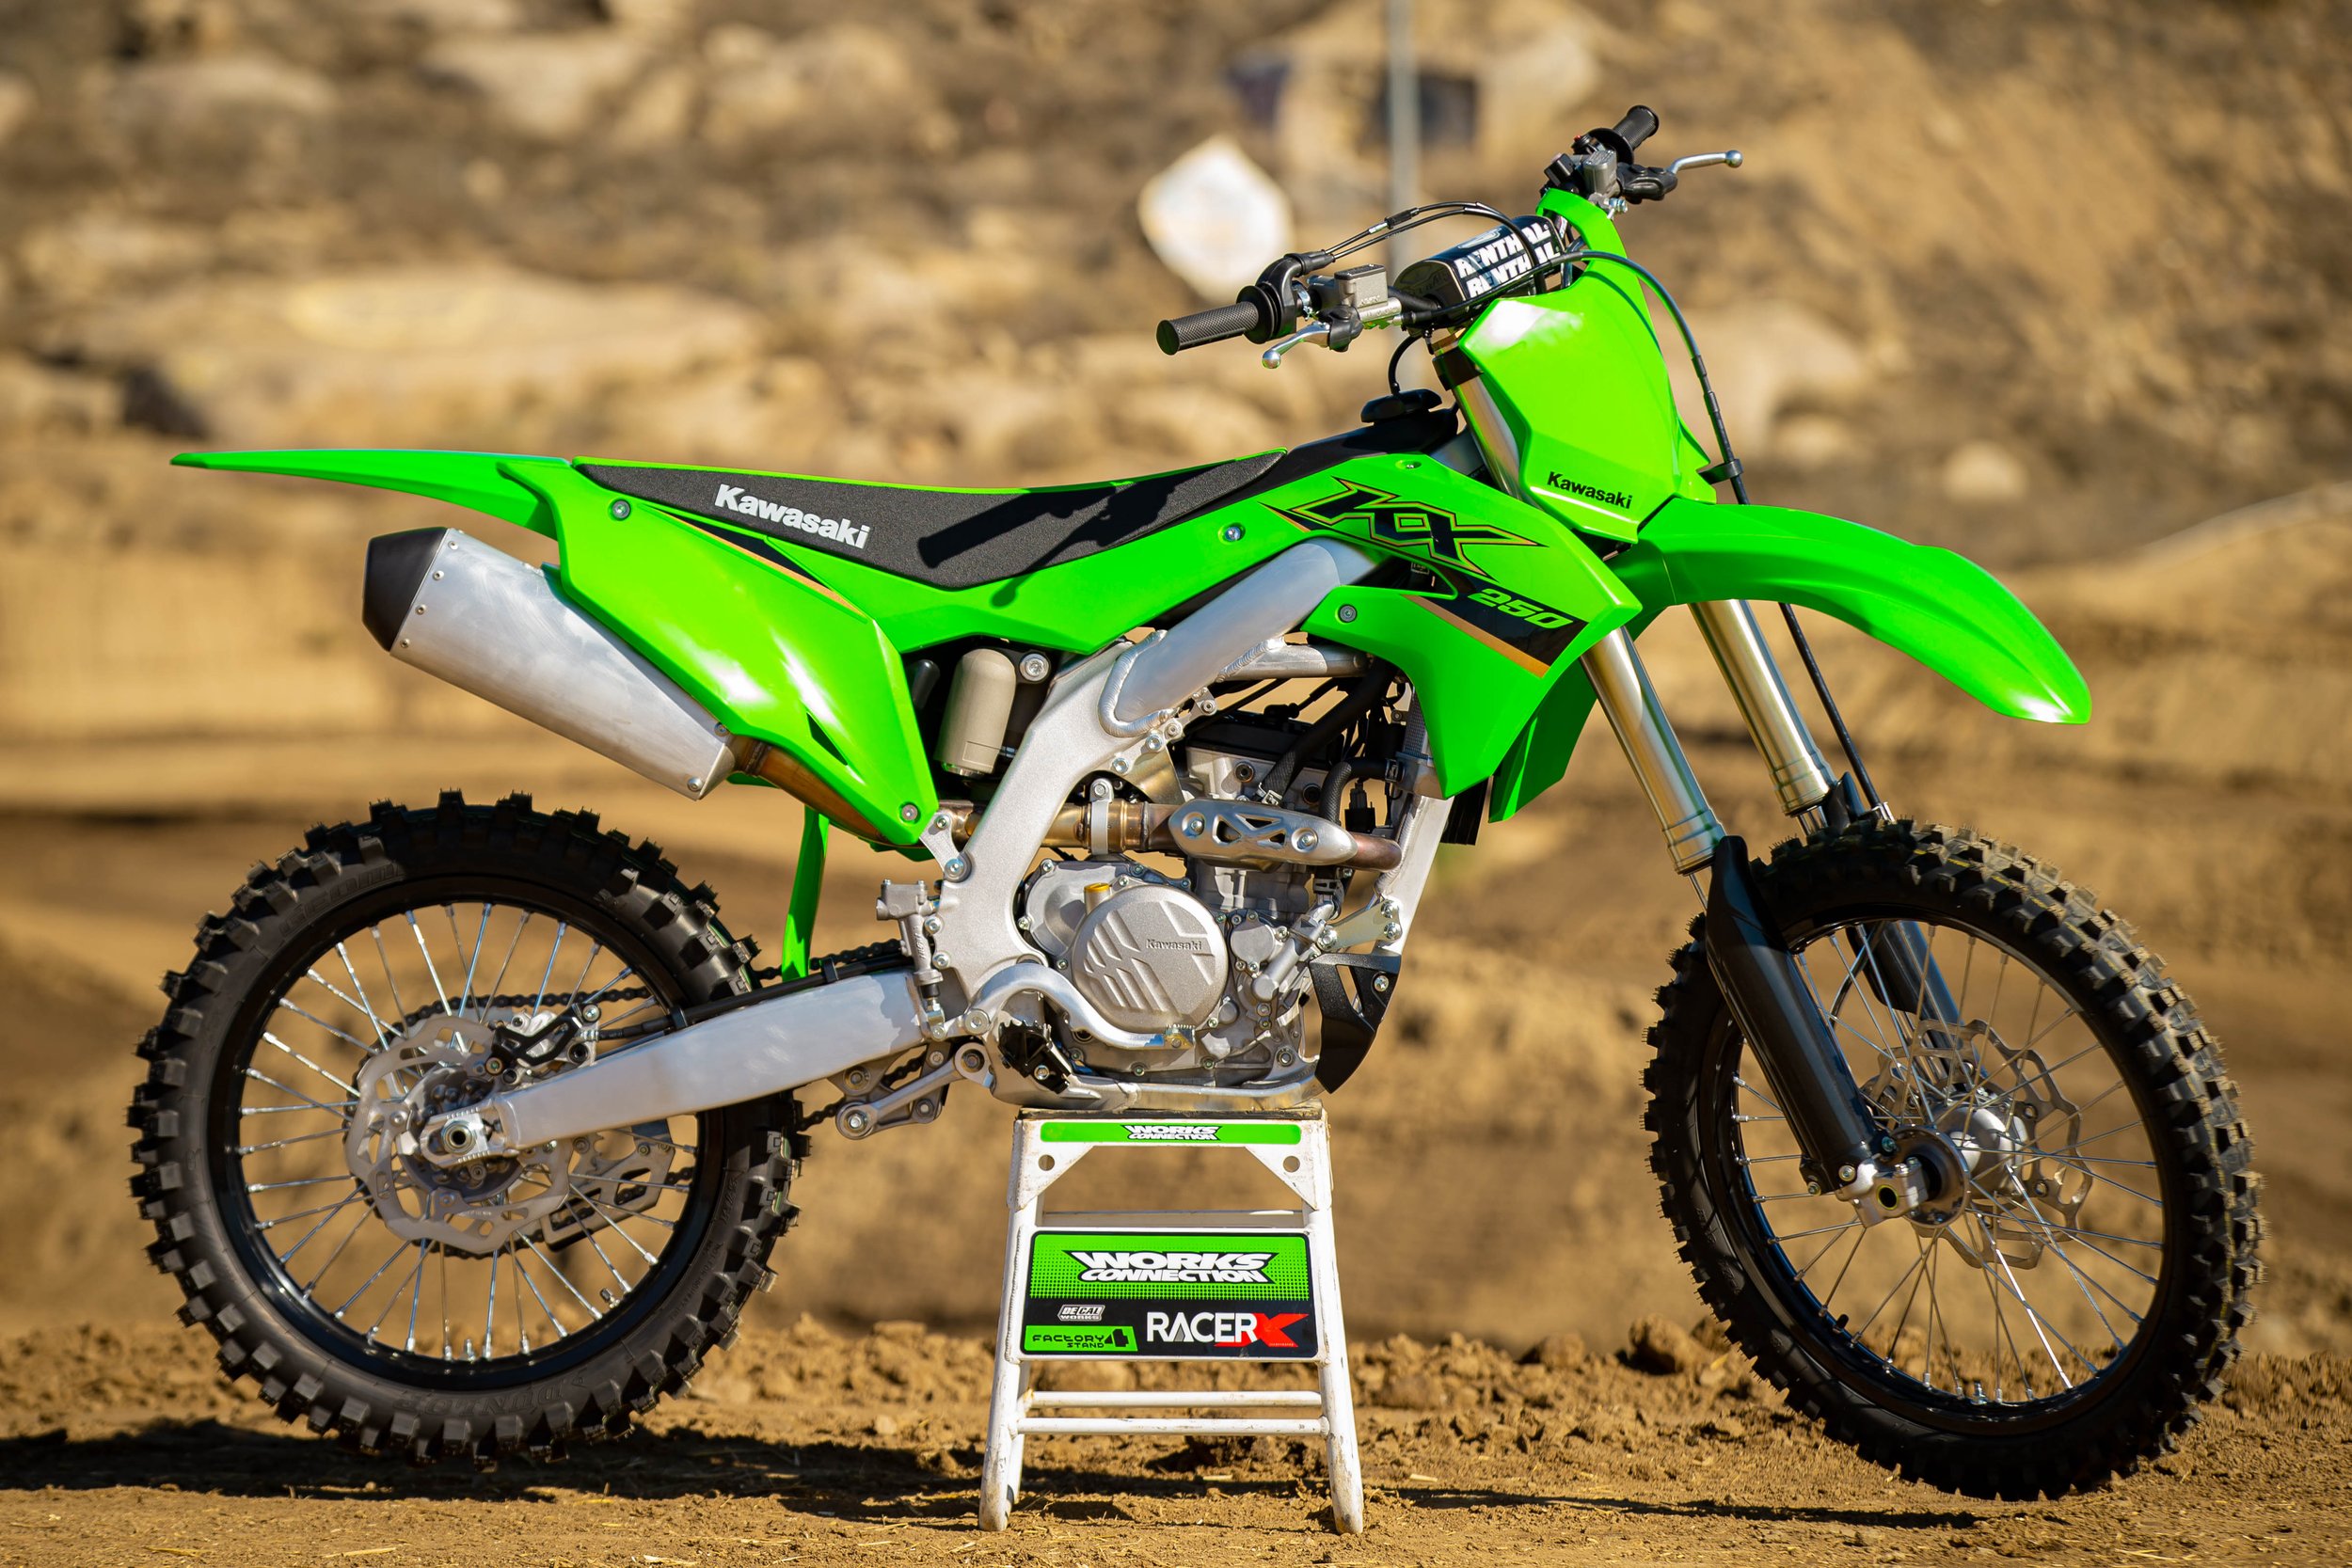
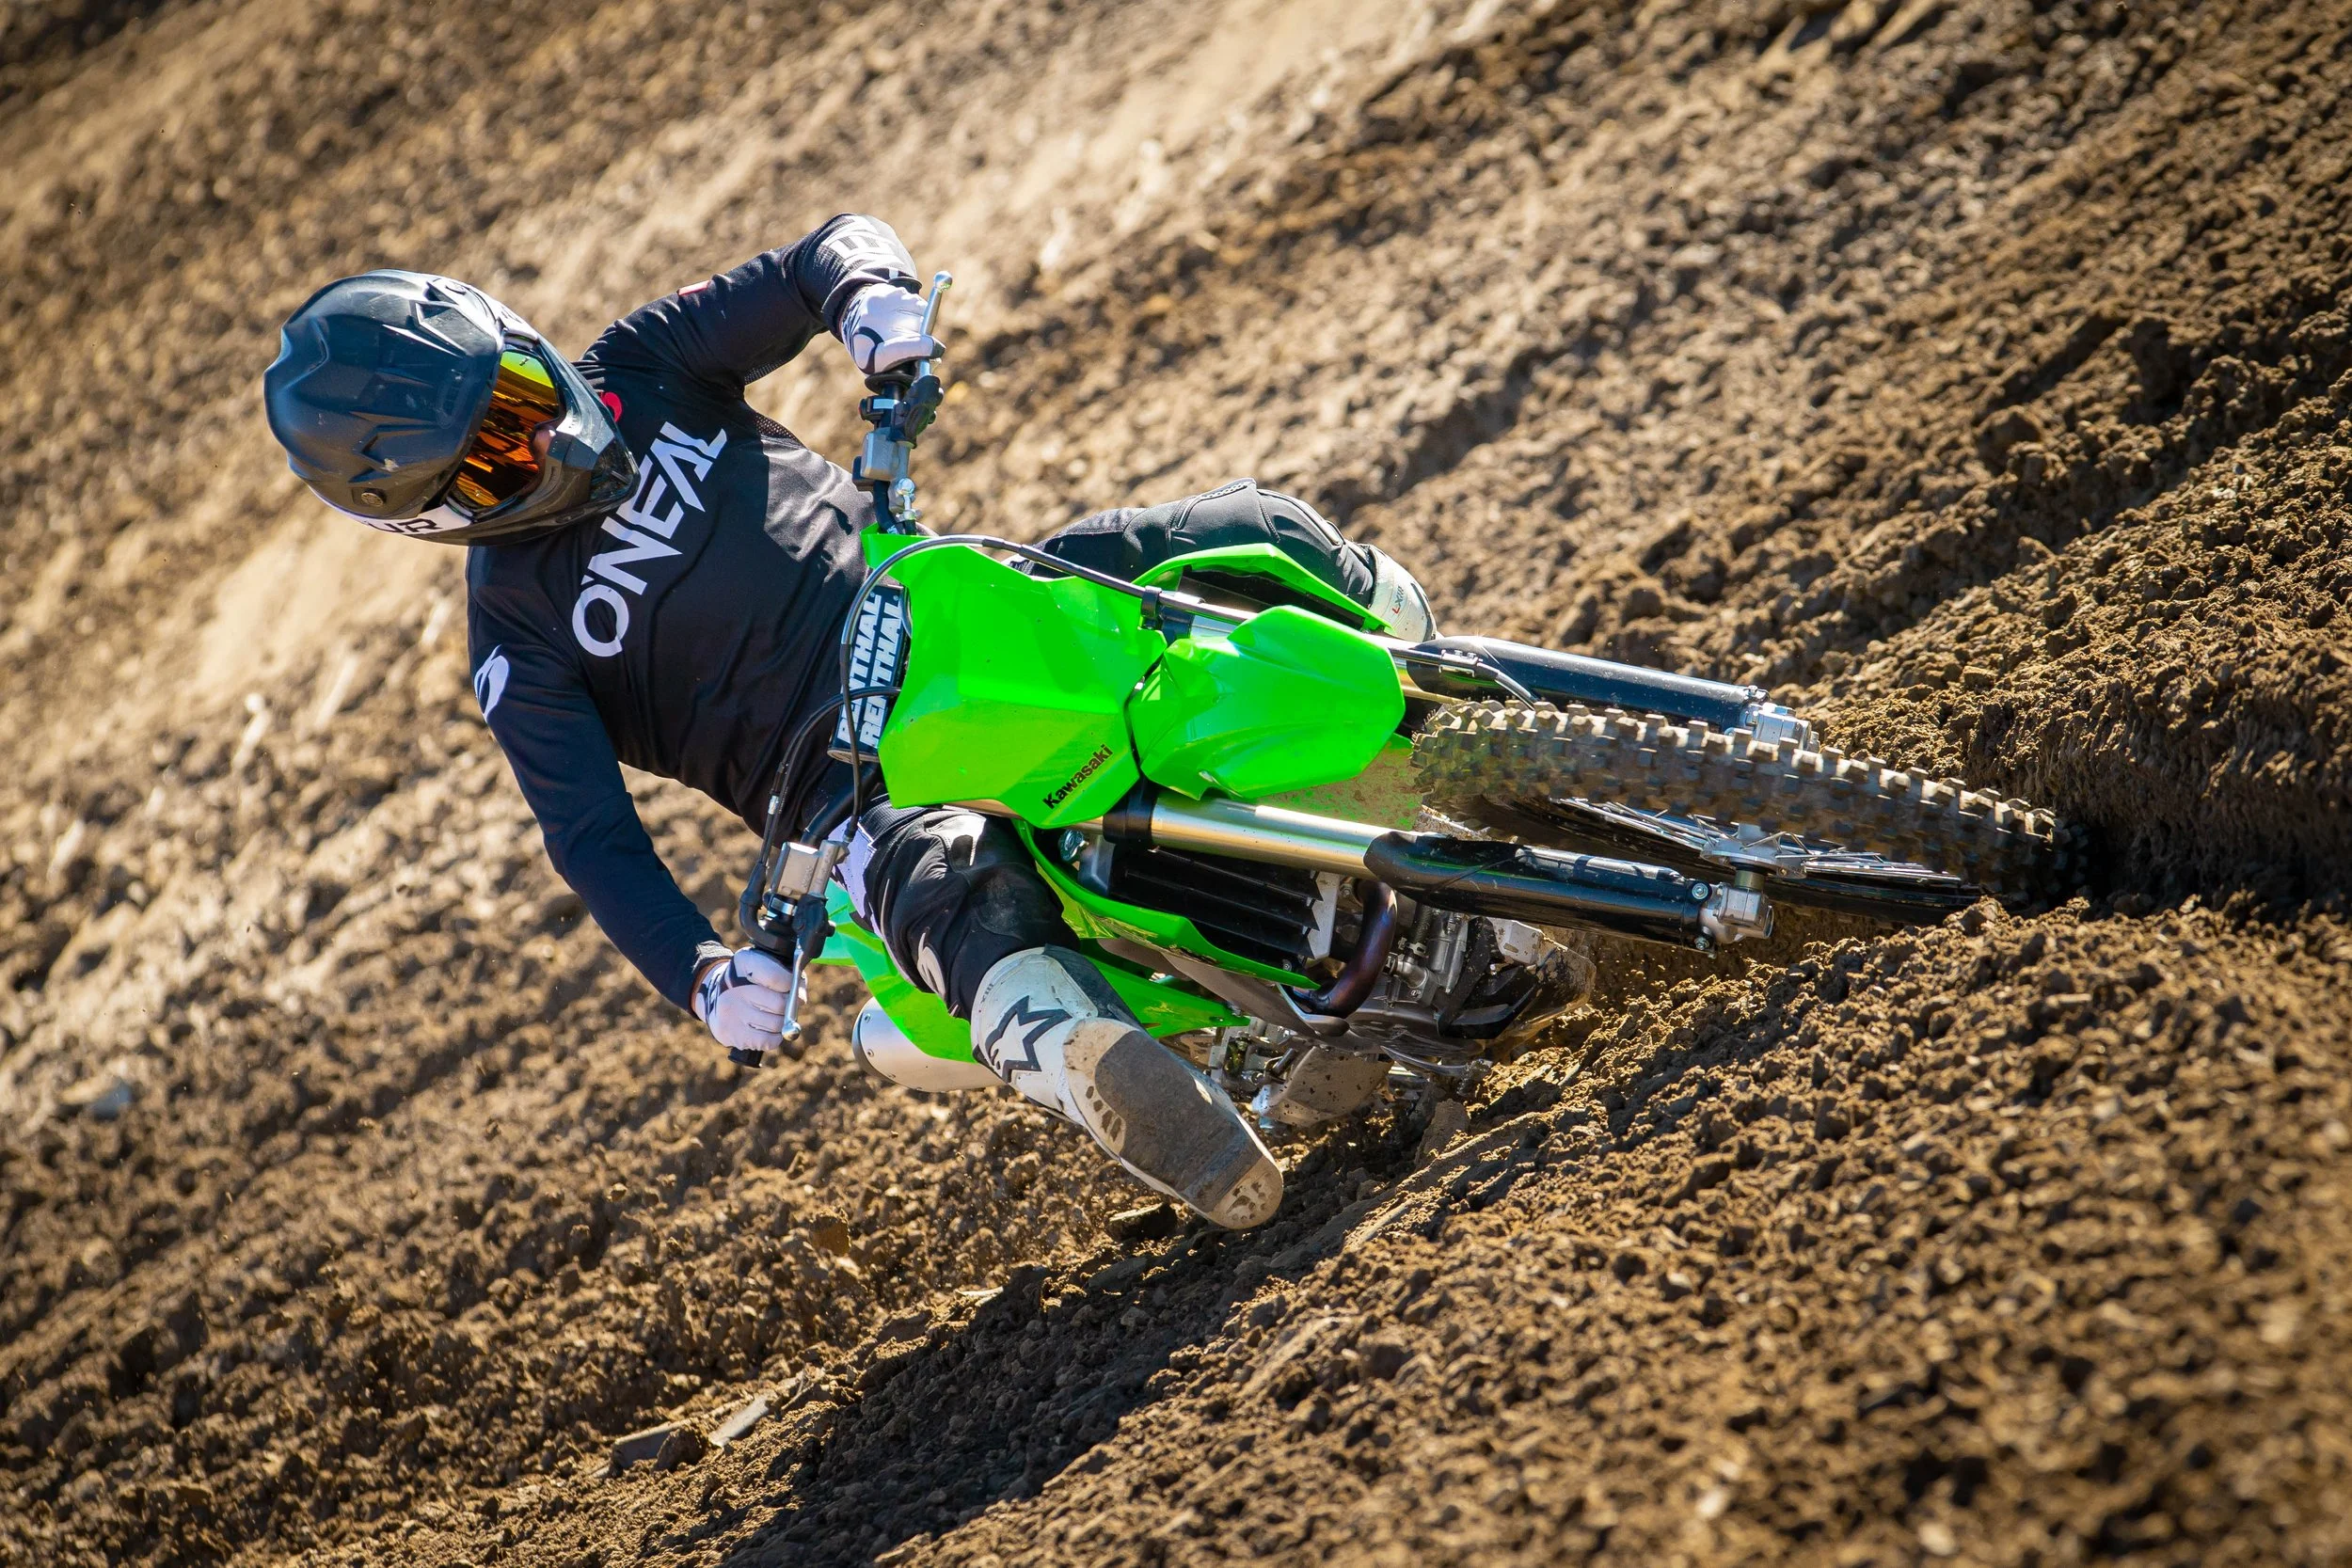
Kawasaki KX450:
The stock KX450 fork is too soft on de-cel and needs more hold up. These settings will help achieve this and leave you with enough comfort where your hands will not be screaming for mercy.
Fork:
Spring Rate 5.1 N/m Spring (5.0 N/m is stock) *If B level rider and over 200 pounds 5.2 N/m springs are also a great option*
Oil Level: Standard
Compression:11-12 clicks out (12 clicks out with 5.2 spring)
Rebound Range: 10-11 clicks out
Fork Height: 2-3 mm
Shock:
Sag: 104-105mm
Spring Rate: 54 N/m (190 pounds or over, try 56 N/m)
Low Speed Compression: 16 clicks out
High Speed Compression: 1 1/8 turns out
Rebound: 10-11 out
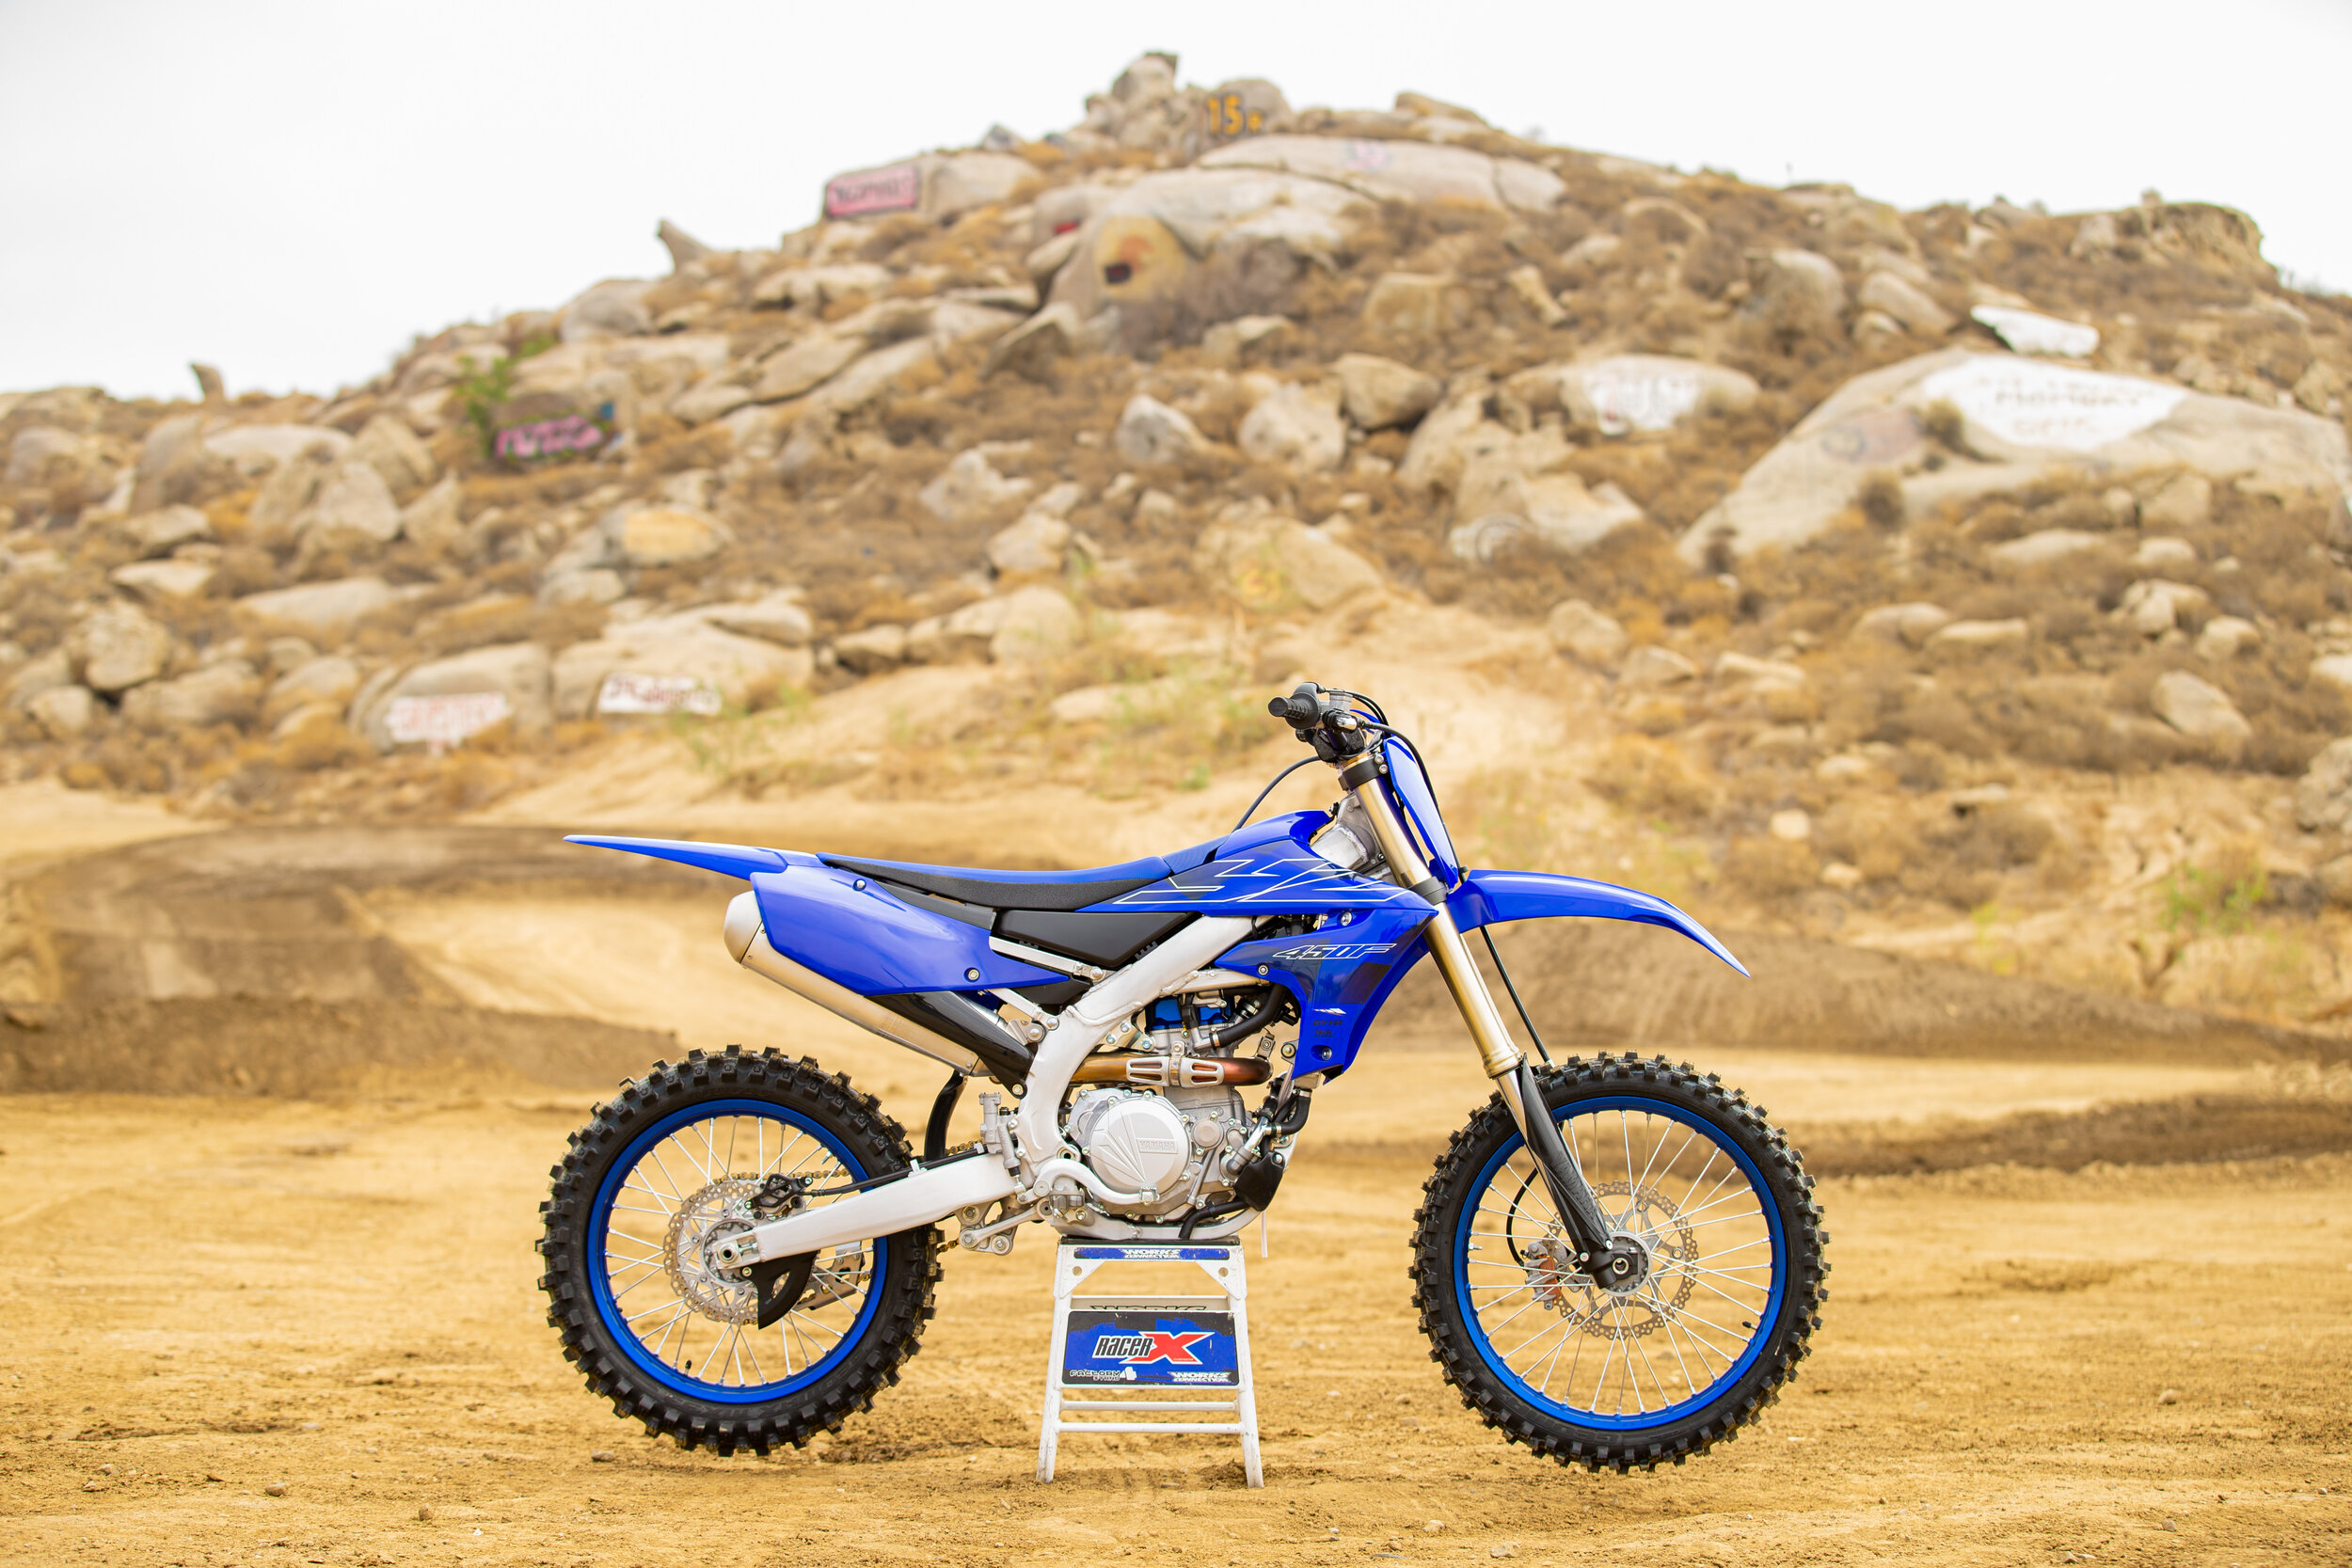
Yamaha YZ450F:
Suspension: If you’re sticking with stock valving the 2022 Yamaha YZ450F’s suspension settings are stiffer this year so pitching should be less of a problem rolling off throttle. Once broken in the suspension does get a little softer, but keeps the comfort we all know from a KYB/Yamaha set up. The shock is a little stiff on high speed compression so we do recommend backing that off a little bit so the rear can squat a little more coming out of corners. The comfort that the KYB SSS fork has is unmatched and the track toughness it provides makes your life so much less stressful on set up. This setting below will work for most riders ranging from 160-195 pounds with no gear.
Fork:
Height: 4mm
Compression: 10 clicks out
Rebound: 8 clicks out
Shock:
Sag: 104mm
Low Speed Compression: 10 clicks out
High Speed Compression: 1 turn out
Rebound: 13 clicks out
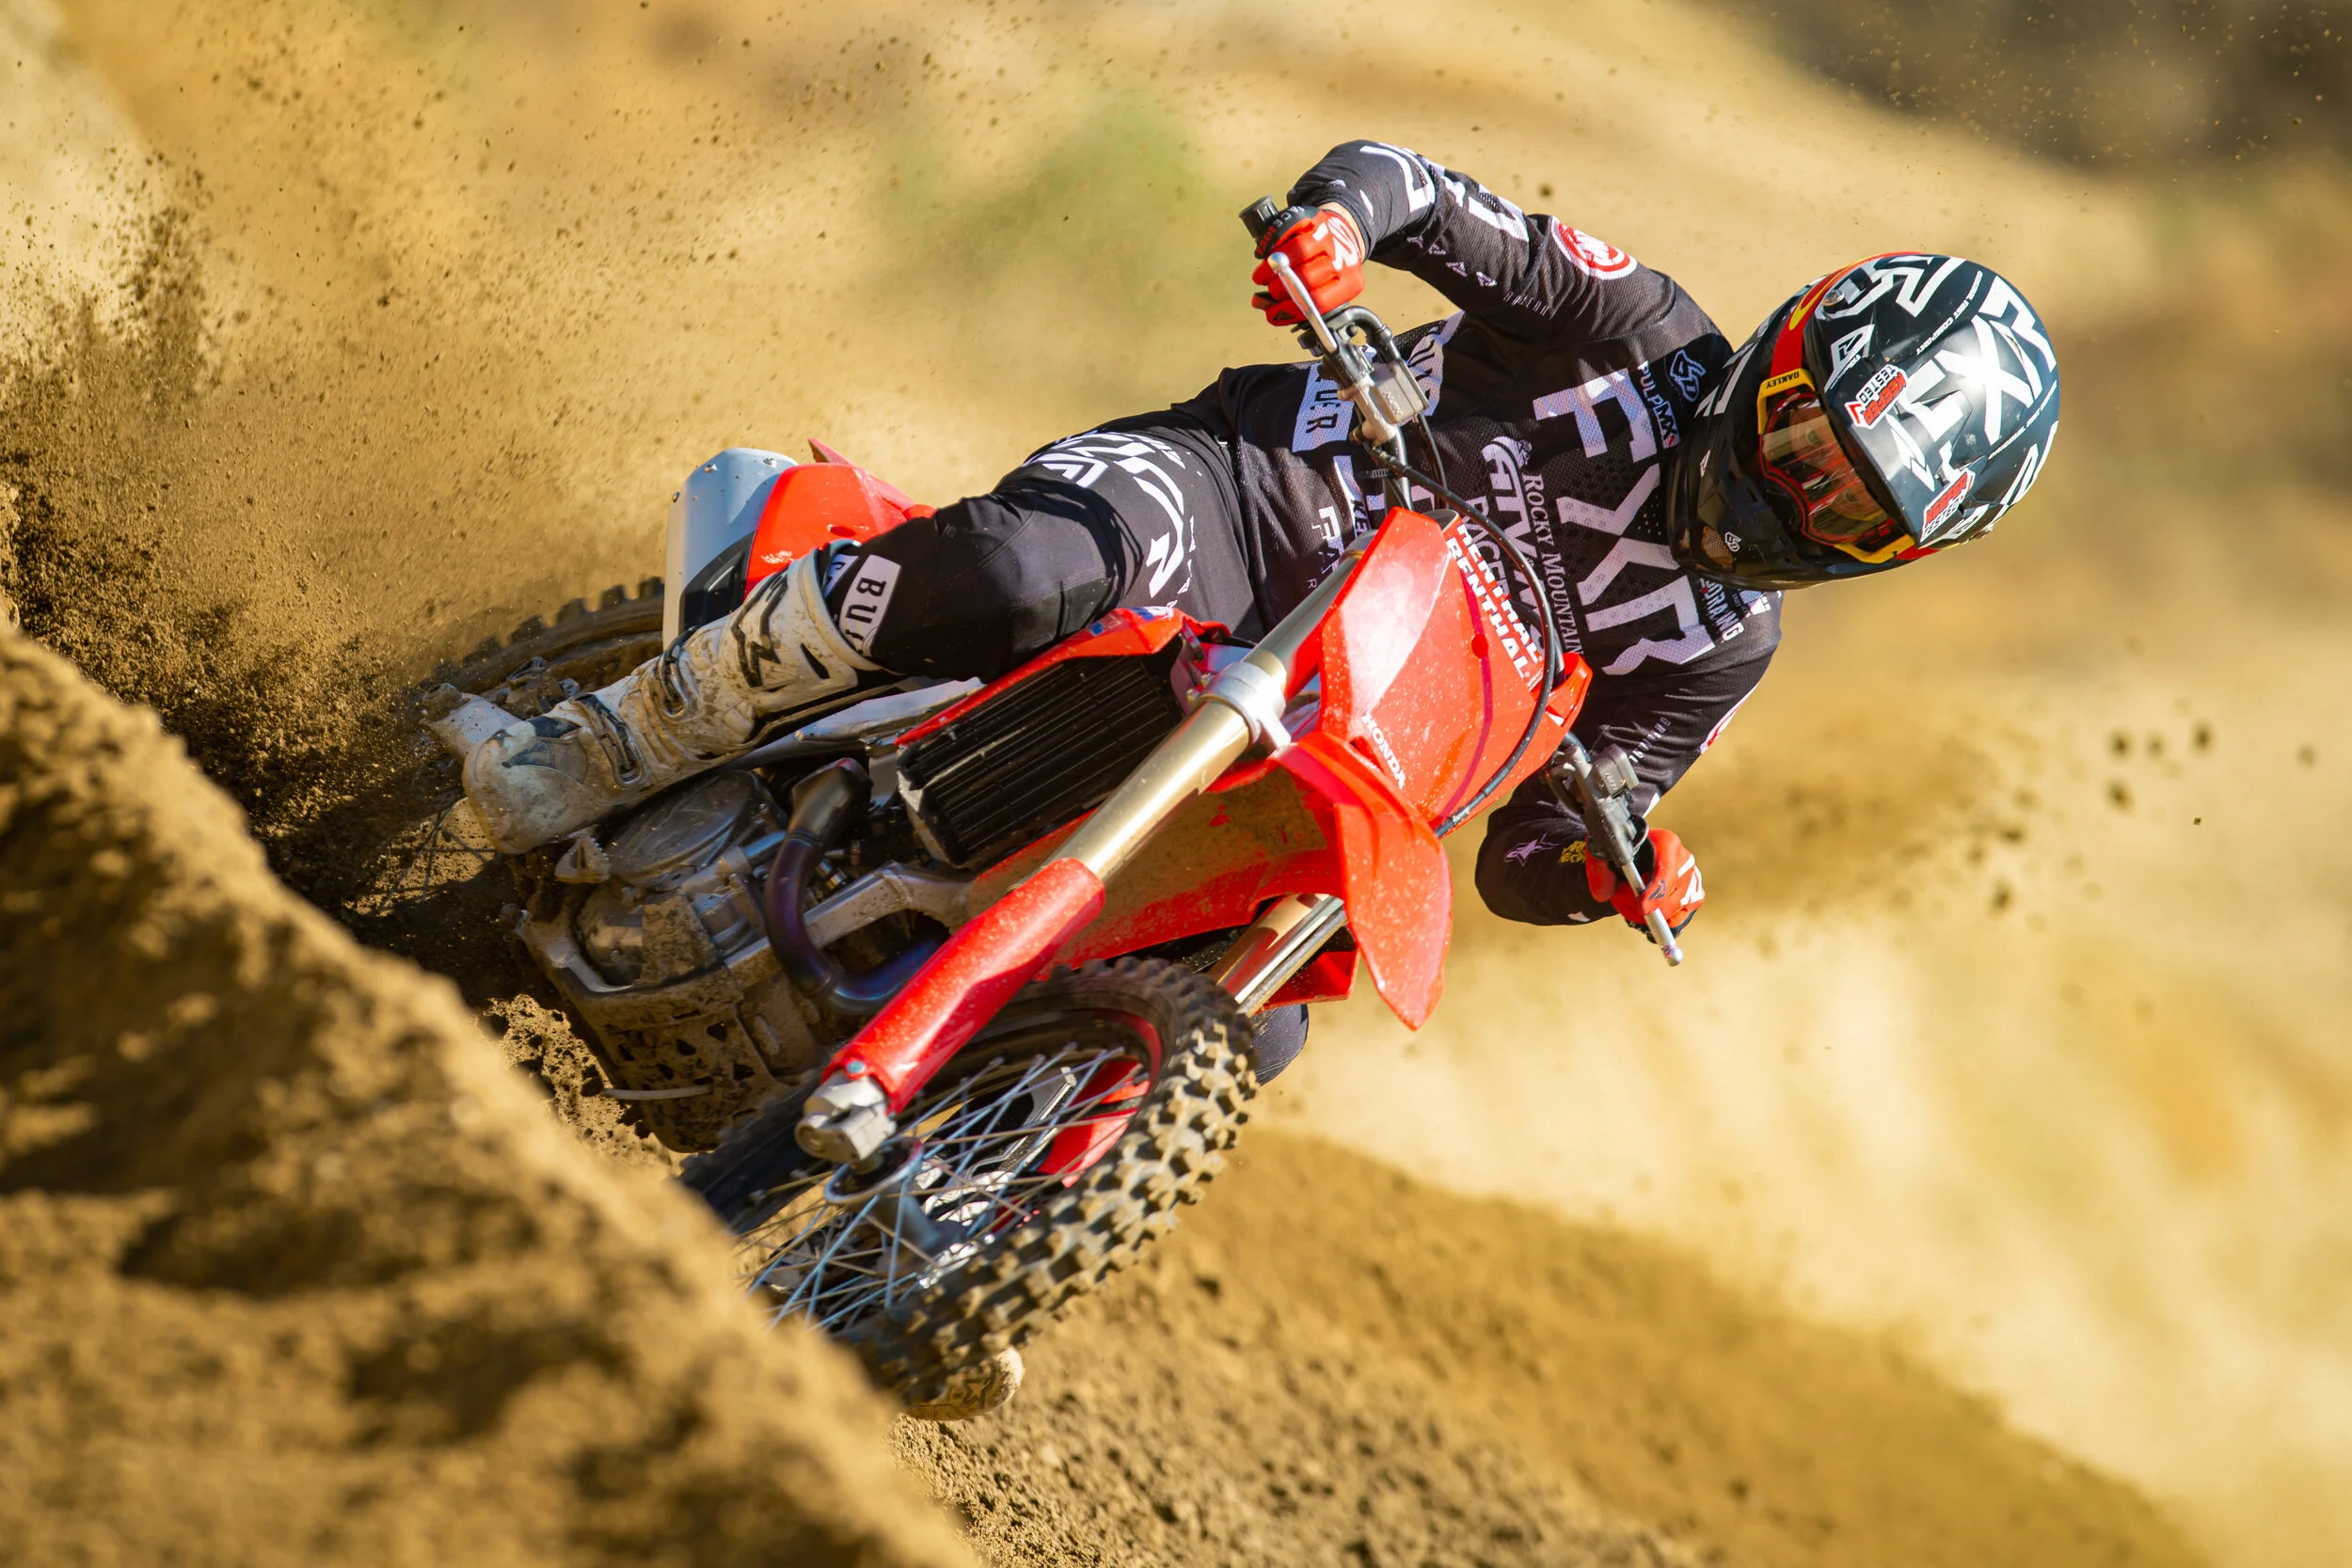
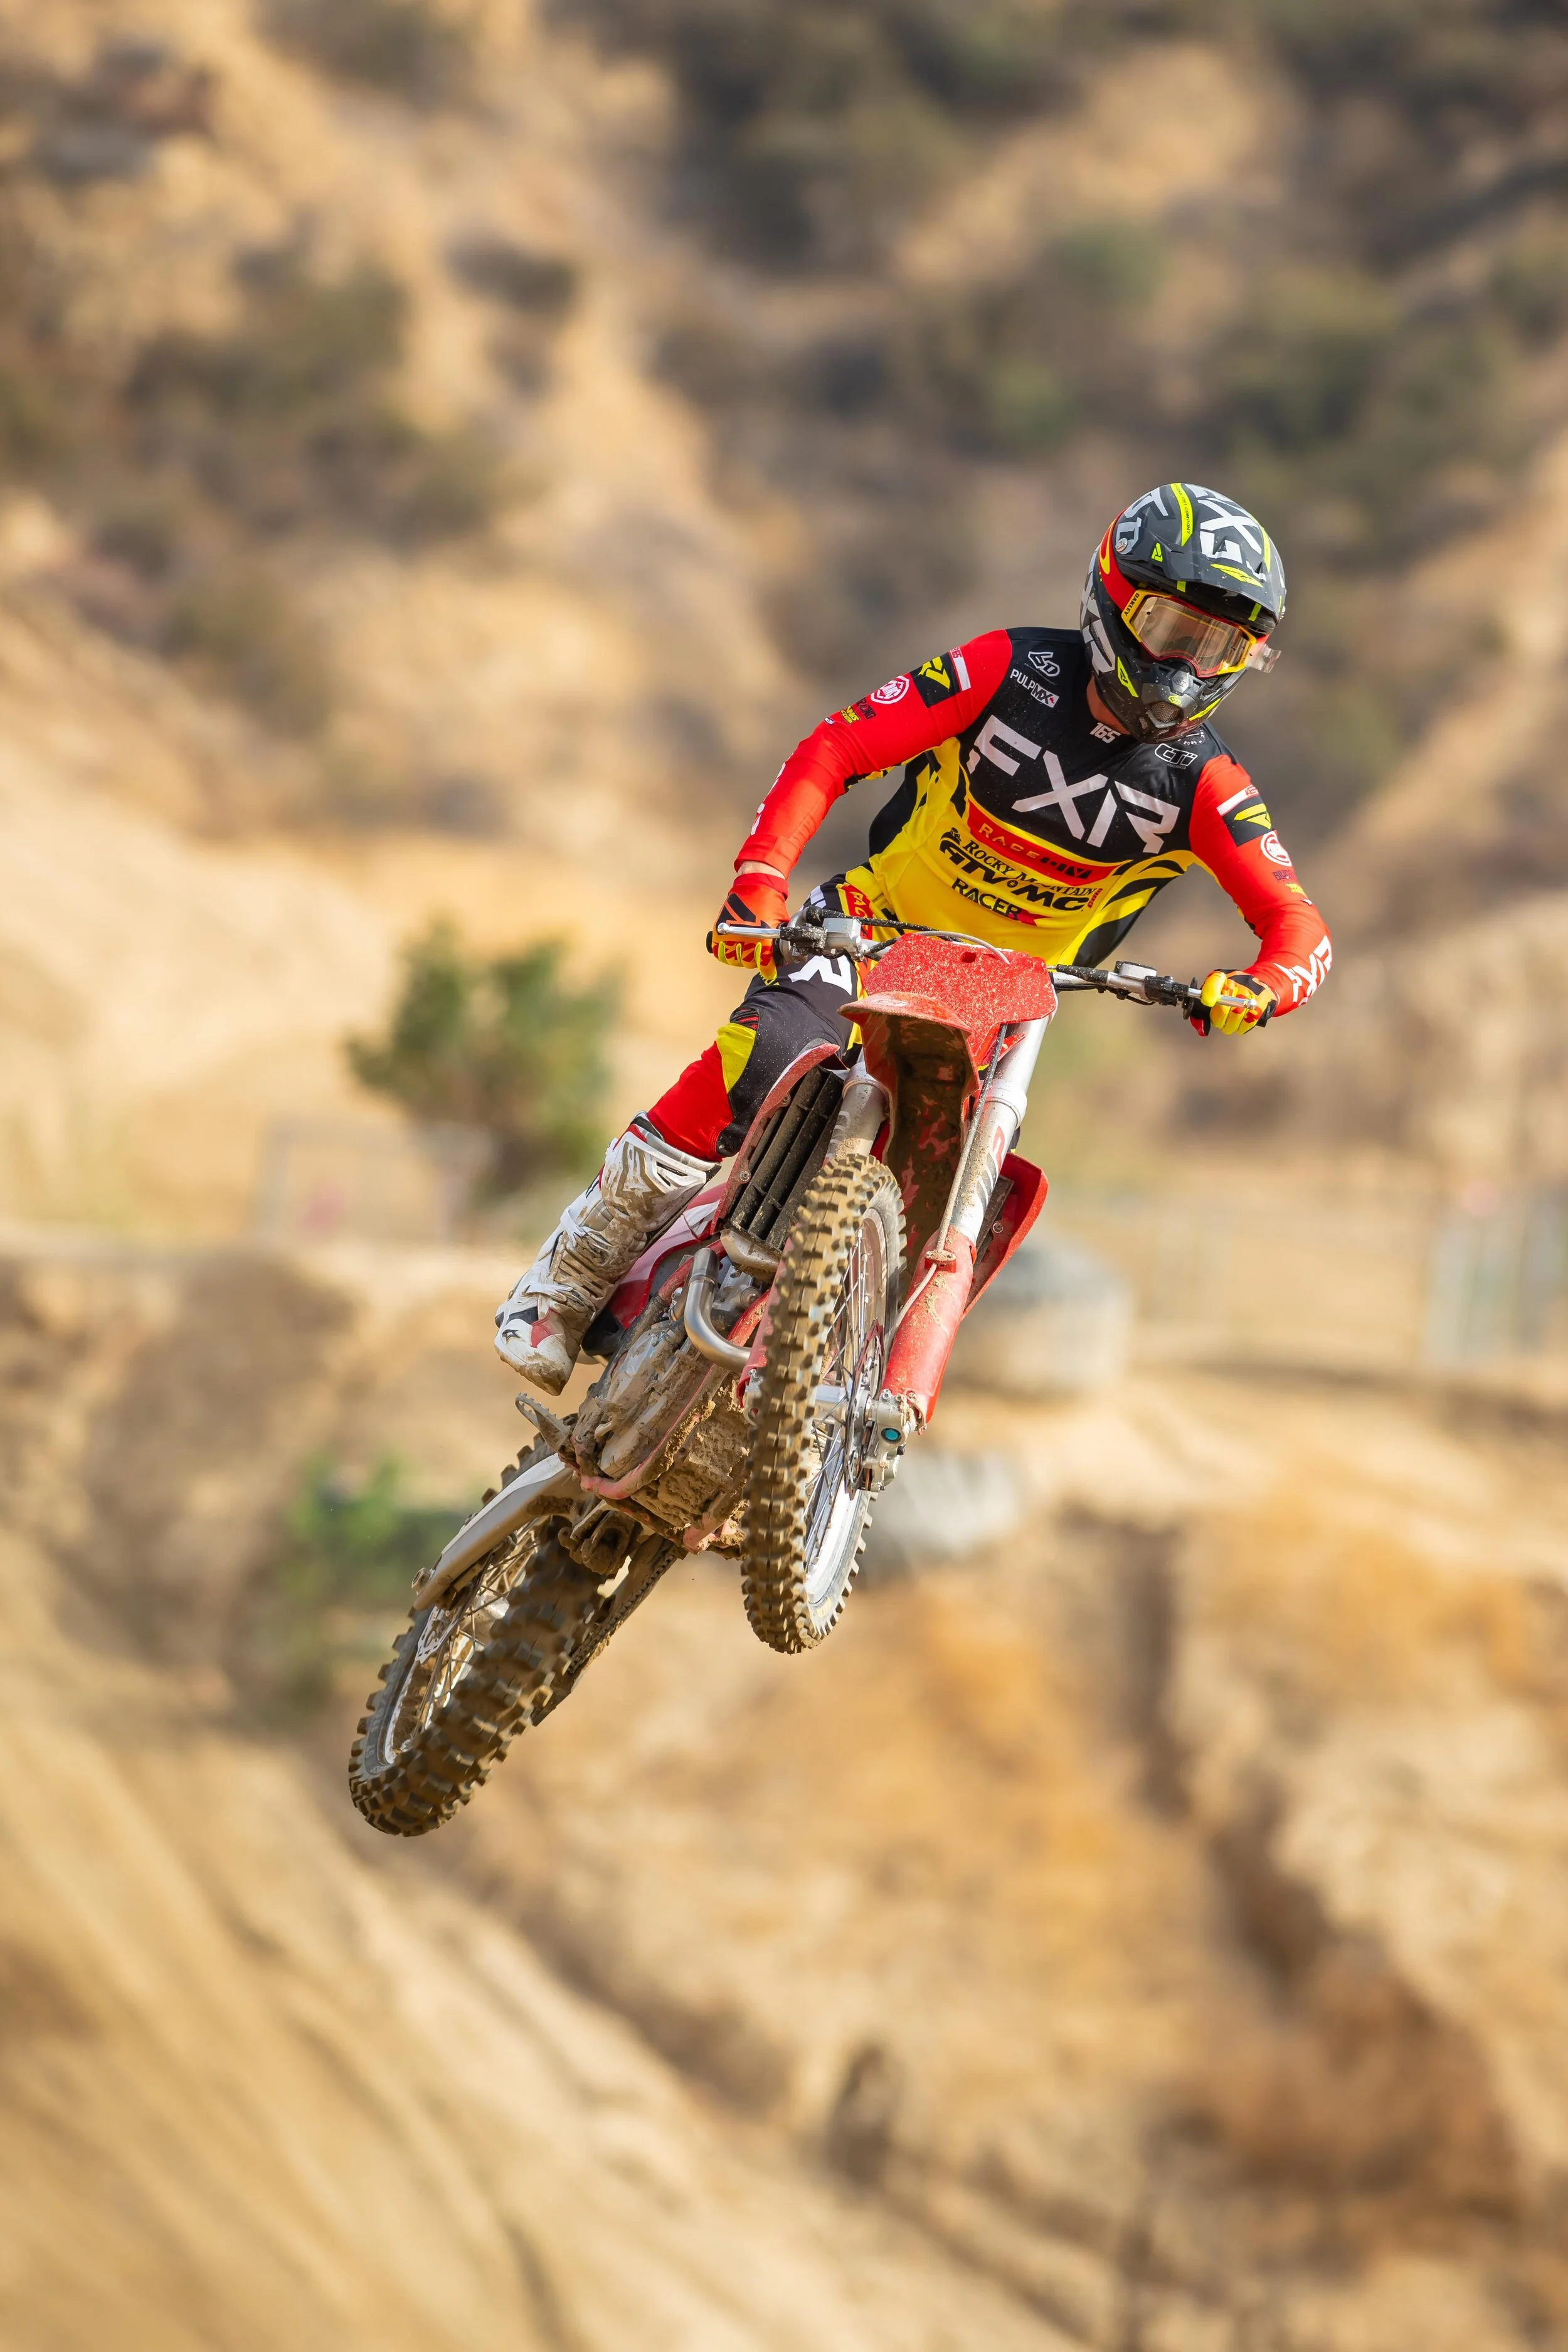
Honda CRF450R:
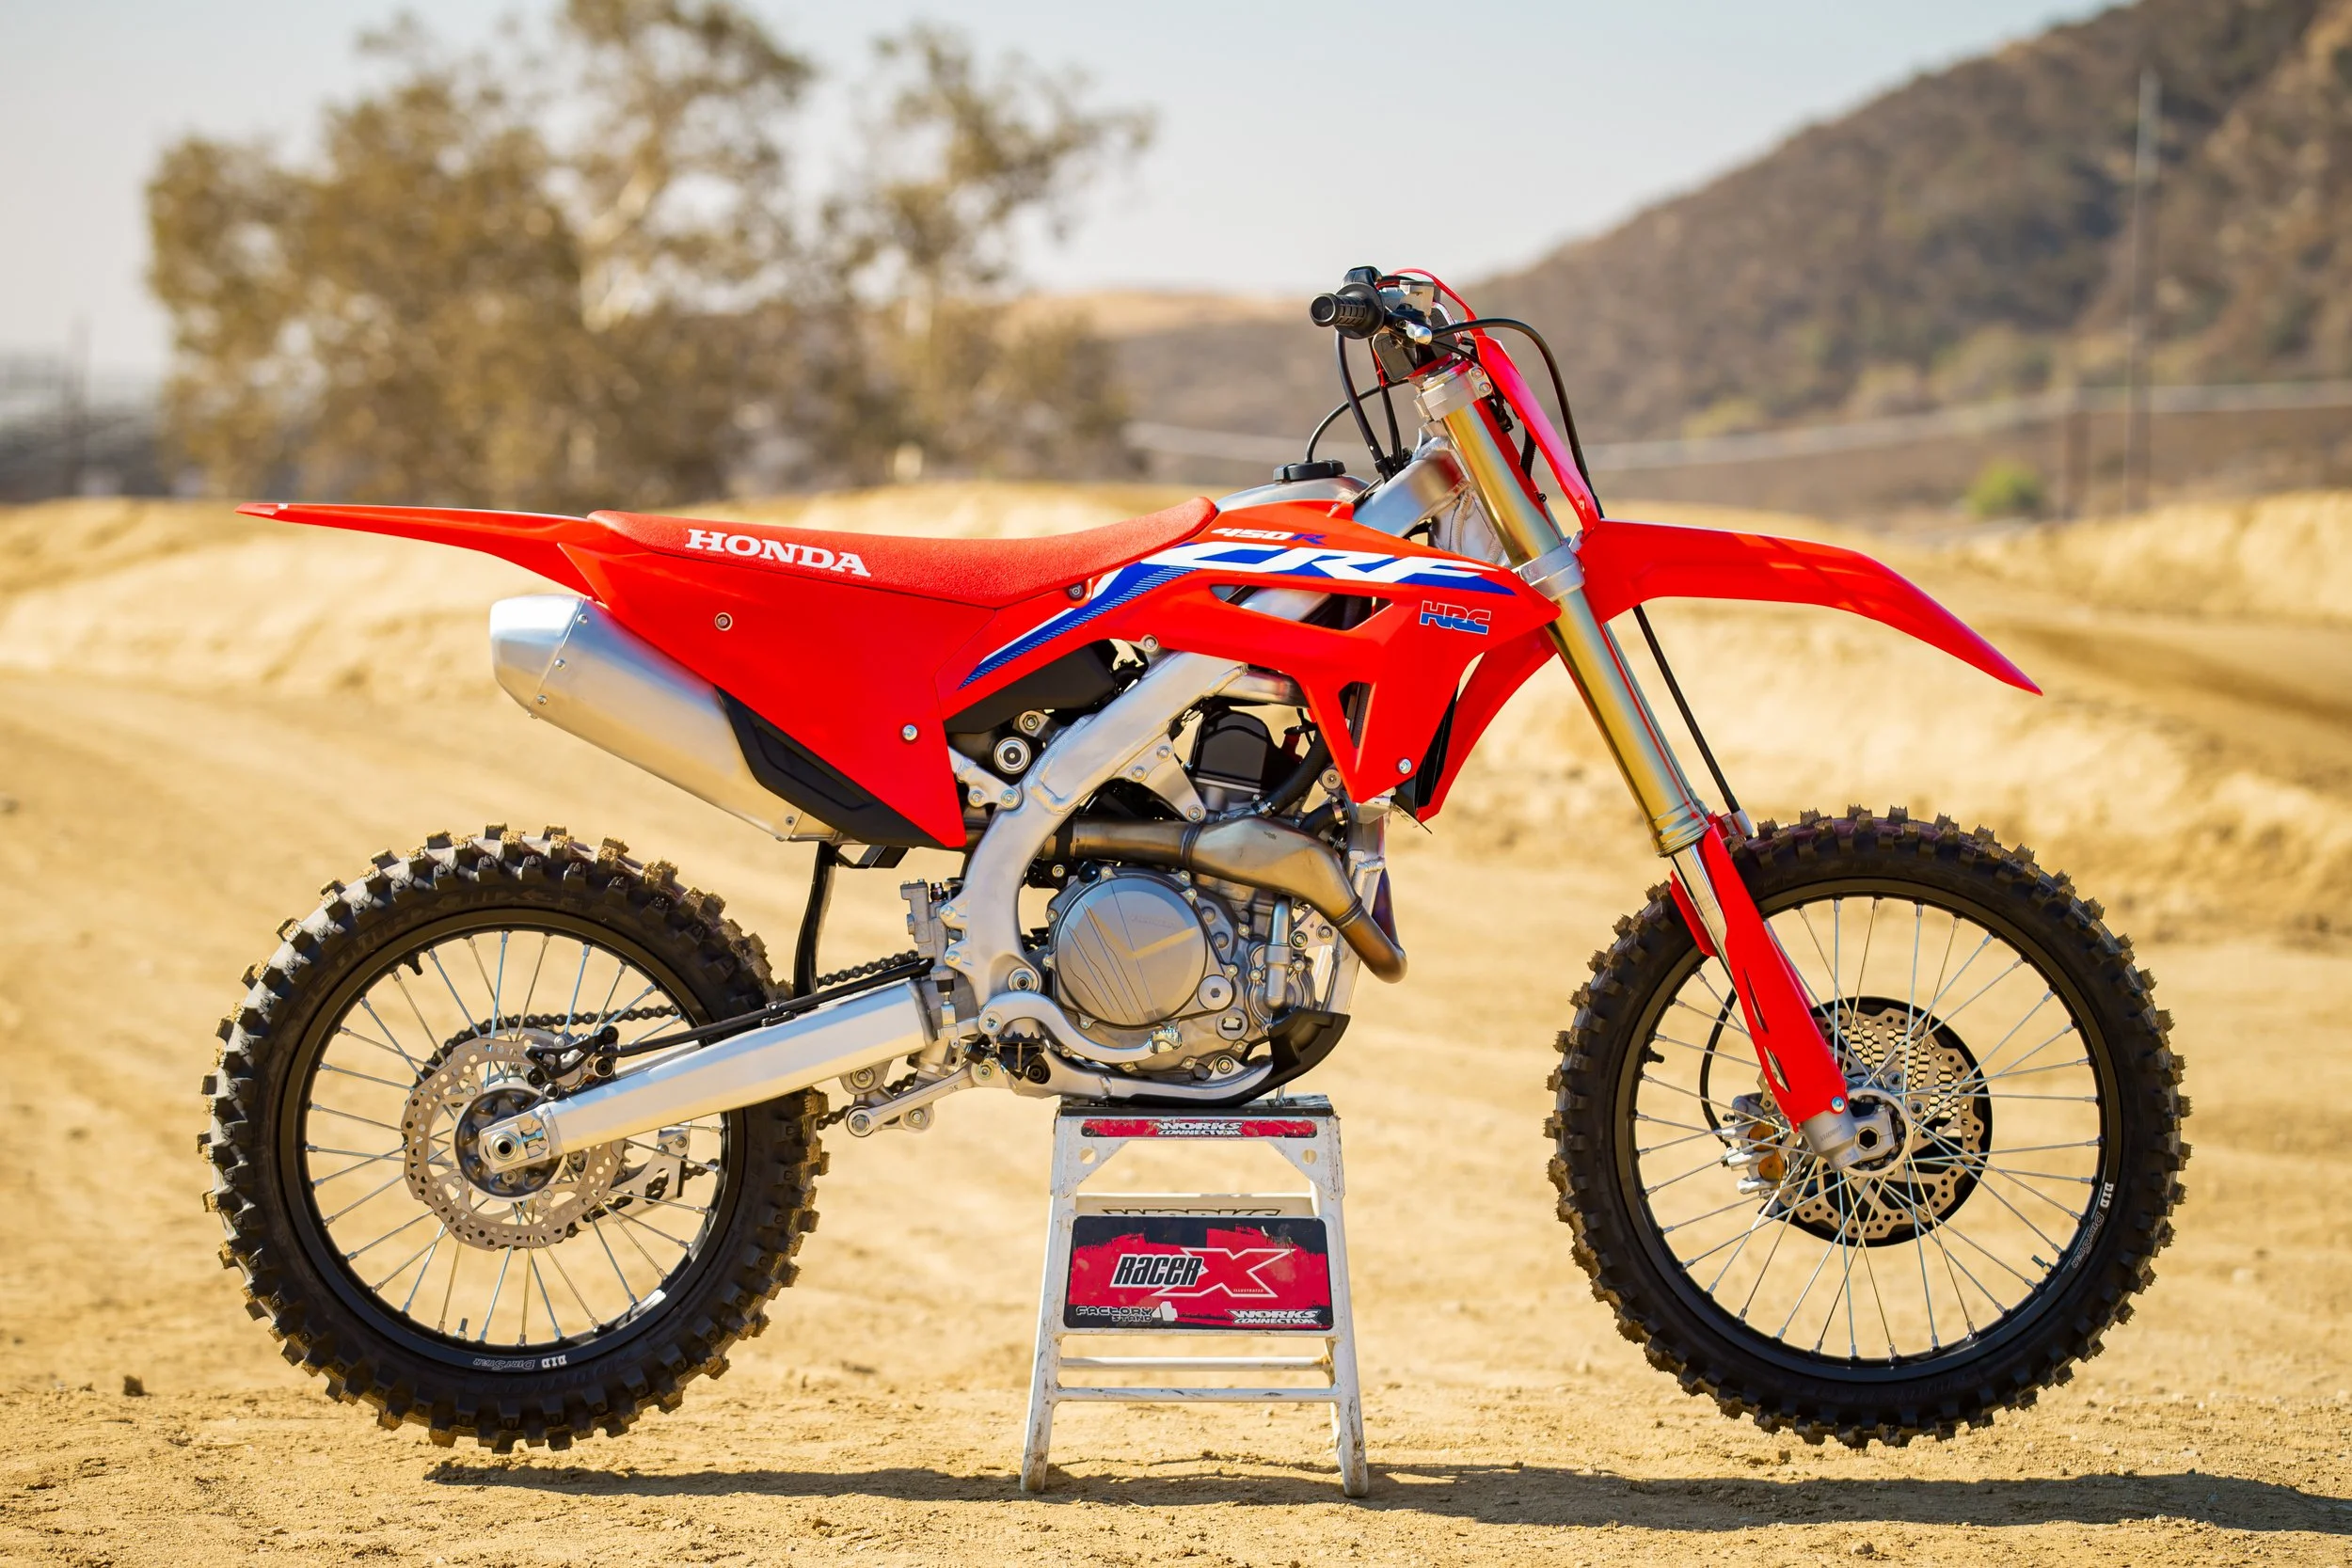
The stock suspension might be too soft for you if you’re anywhere over 180 pounds. Honda has a 5.0 N/m fork spring that is adequate for most, but the valving is still slightly on the softer side to aid in chassis rigidity. Out back the 54 N/m shock spring is also soft, so if you’re looking for a quick band aid to make your Honda CRF450R better, without going to a re-valve, going a spring rate up on each end has helped me feel more secure on high speed tracks, as well as soft bumpy tracks (this is only good for riders north of 180 pounds). Bringing both ends up a little in the stroke (with the heavier spring rates) has given me more front/rear wheel traction as well a Honda that corners better without over-steering. Going up in spring rate does help with track toughness and in most cases a straighter handling CRF450R. If you’re not into spending more money on a re-valve at this time, simply get some heavier springs and try this setting:
Fork:
Spring Rate: 5.1 N/m (One 5.2N/m spring in one side)
Height: Flush-2mm
Comp: 12 out
Rebound: 10 out
Shock:
Spring Rate: 56 N/m
L/S Comp: 12 clicks out
H/S Comp: 2 3/4 clicks out
Rebound: 10 clicks out
Sag: 106mm
KTM 450 SX-F:
The recommended settings were 10.7 bar or 155psi of air in the fork, compression at 12 out and rebound at 18 out. This setting was, as suspected, too soft for my liking and after testing at a few tracks, I found a base line setting of:
Fork:
Air Pressure: 11.0 bar or 162 psi of air
Compression at 13 clicks
Rebound 15 out.
*With Factory Hard Parts Triple Clamps or Ride Engineering Split Clamps*
Height: 5mm
Air Pressure: 11.0 Bar
Compression: 12 clicks out
Rebound: 13 clicks out
Shock:
Sag: 102mm
L/S Comp: 8 out
H/S Comp: 1.5 out
Rebound: 12 out
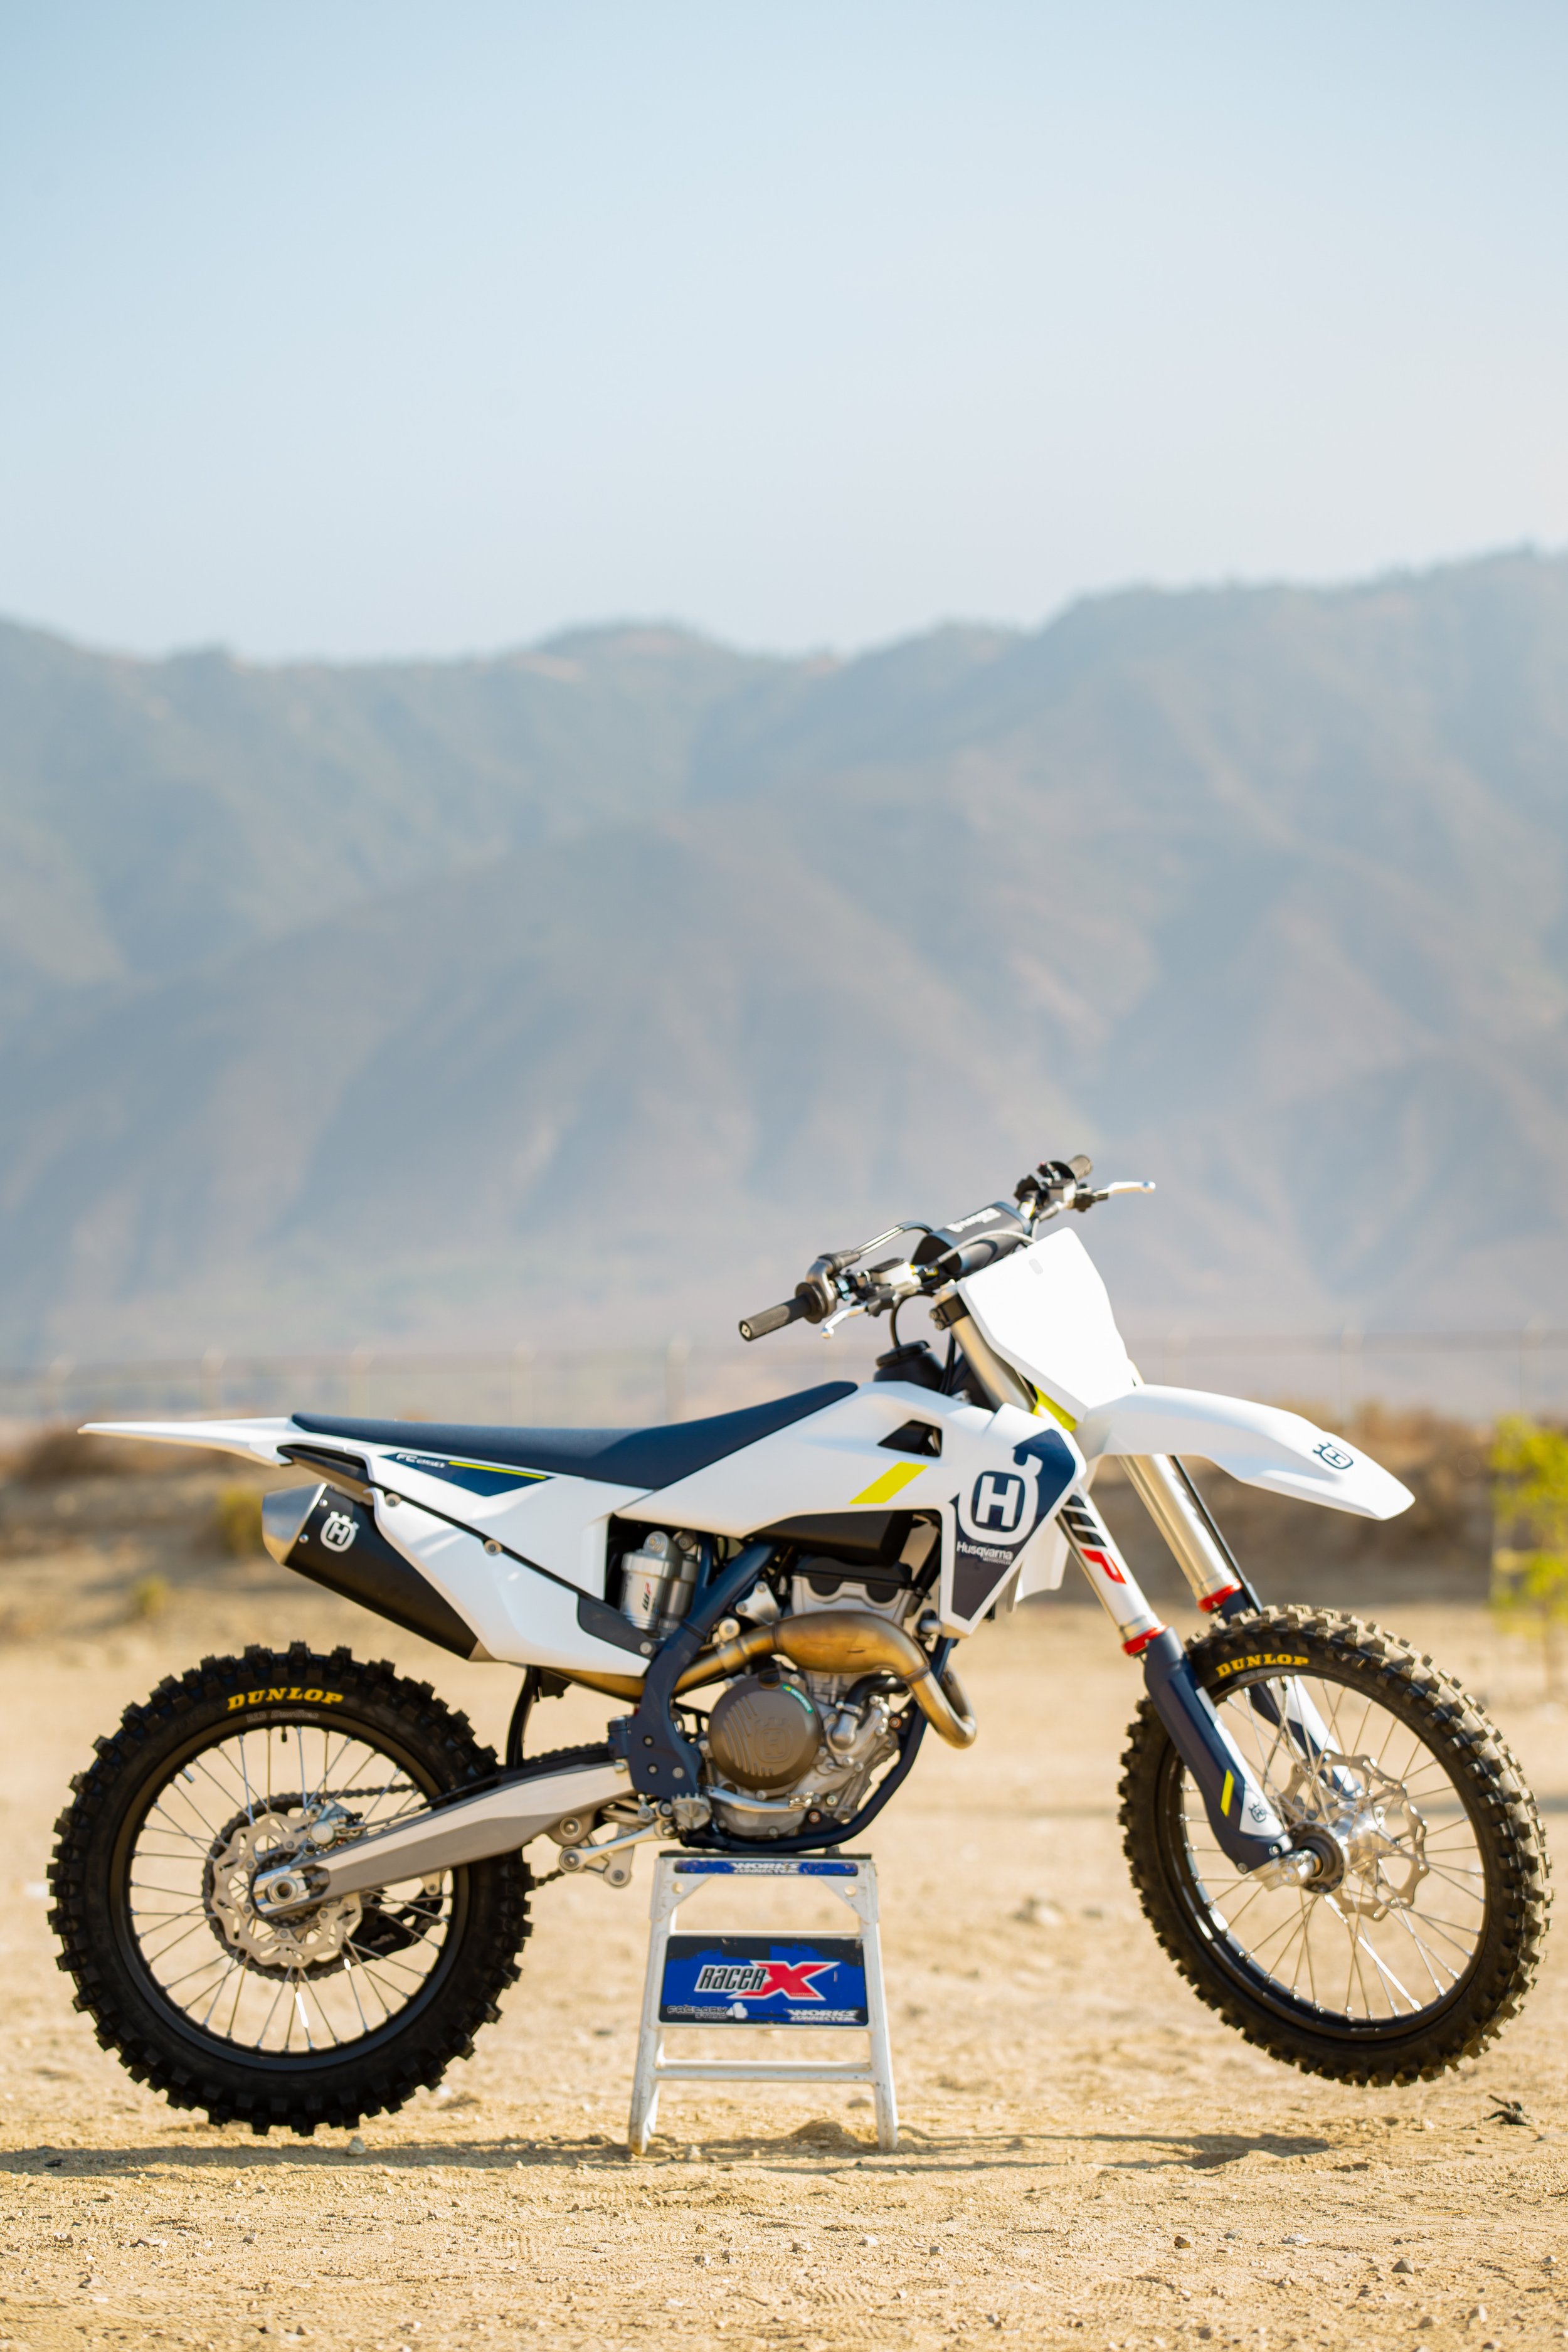
Husqvarna FC450:
With this setting I had no issues bottoming on hard landings as well as bump absorption/hold up/traction were very good even at GH late in the day.
The shock was a bit more difficult to find a great setting for, but that is due to the shock spring being slightly soft (undersprung for my level of riding). The action of the shock wasn't bad, my issue was with a spring that is just simply too soft. The shock was riding too low in the stroke which caused a low squat in the apex of turns and a soft blow thru feeling on transitions, whoops, and hard landings. As I said this is easily fixed with a stiffer spring but when striving for a stock base line setting you do the best with what you have. I ended up going with 102mm of sag, high speed compression at 1/2 turn out, low speed compression at 8 out and rebound at 12 out. Now some of you may ask why I didn't go further in on compression and I did try that, but the action on acceleration chop/braking bumps suffered when things are closed off that much. The soft feeling on landings, whoops and turns was more manageable than the instability in choppy acceleration bumps or entering braking bumps at speed. Not the ideal trade off, but again if you have to make do until you get the correct spring rates or a revalve, these settings should work for you. At the end of the day this base line set up allowed me to get more comfortable at speed and gave me a direction of the areas I want to improve.
Fork (Stock Triple Clamp):
Height: 5mm
Air Pressure: 11.0 Bars
Compression: 13-14 clicks out
Rebound: 13 clicks out
*With KTM Hard Parts Triple Clamps or Ride Engineering Split Clamps*
Height: 5mm
Air Pressure: 11.1 Bars
Compression: 15-16 clicks out
Rebound: 13 clicks out
Shock:
Sag: 102mm
Low Speed Compression: 10 clicks out
High Speed Compression: 1.25 out
Rebound: 11 clicks out
Gas Gas MC450:
The 21 Gas Gas MC450 has a similar suspension feel to the KTM, but the chassis has slightly more compliancy so the setting that I came up with is only slightly slower moving than the KTM. This is a general happy spot for the other red machine:
Fork (Stock Triple Clamp):
Height: 5mm
Air Pressure: 11 Bar
Compression: 14 clicks out
Rebound: 11 clicks out
*With Factory Hard Parts Triple Clamps or Ride Engineering Split Clamps*
Height: 5mm
Air Pressure: 11 Bar
Compression: 11 clicks out
Rebound: 10 clicks out
Shock:
Sag: 103mm
Low Speed Compression: 10 clicks out
High Speed Compression: 1.5 out
Rebound: 10 clicks out