0
items
$0

Top 5 Money Mods And Top 3 Free Mods (Honda CRF450R)
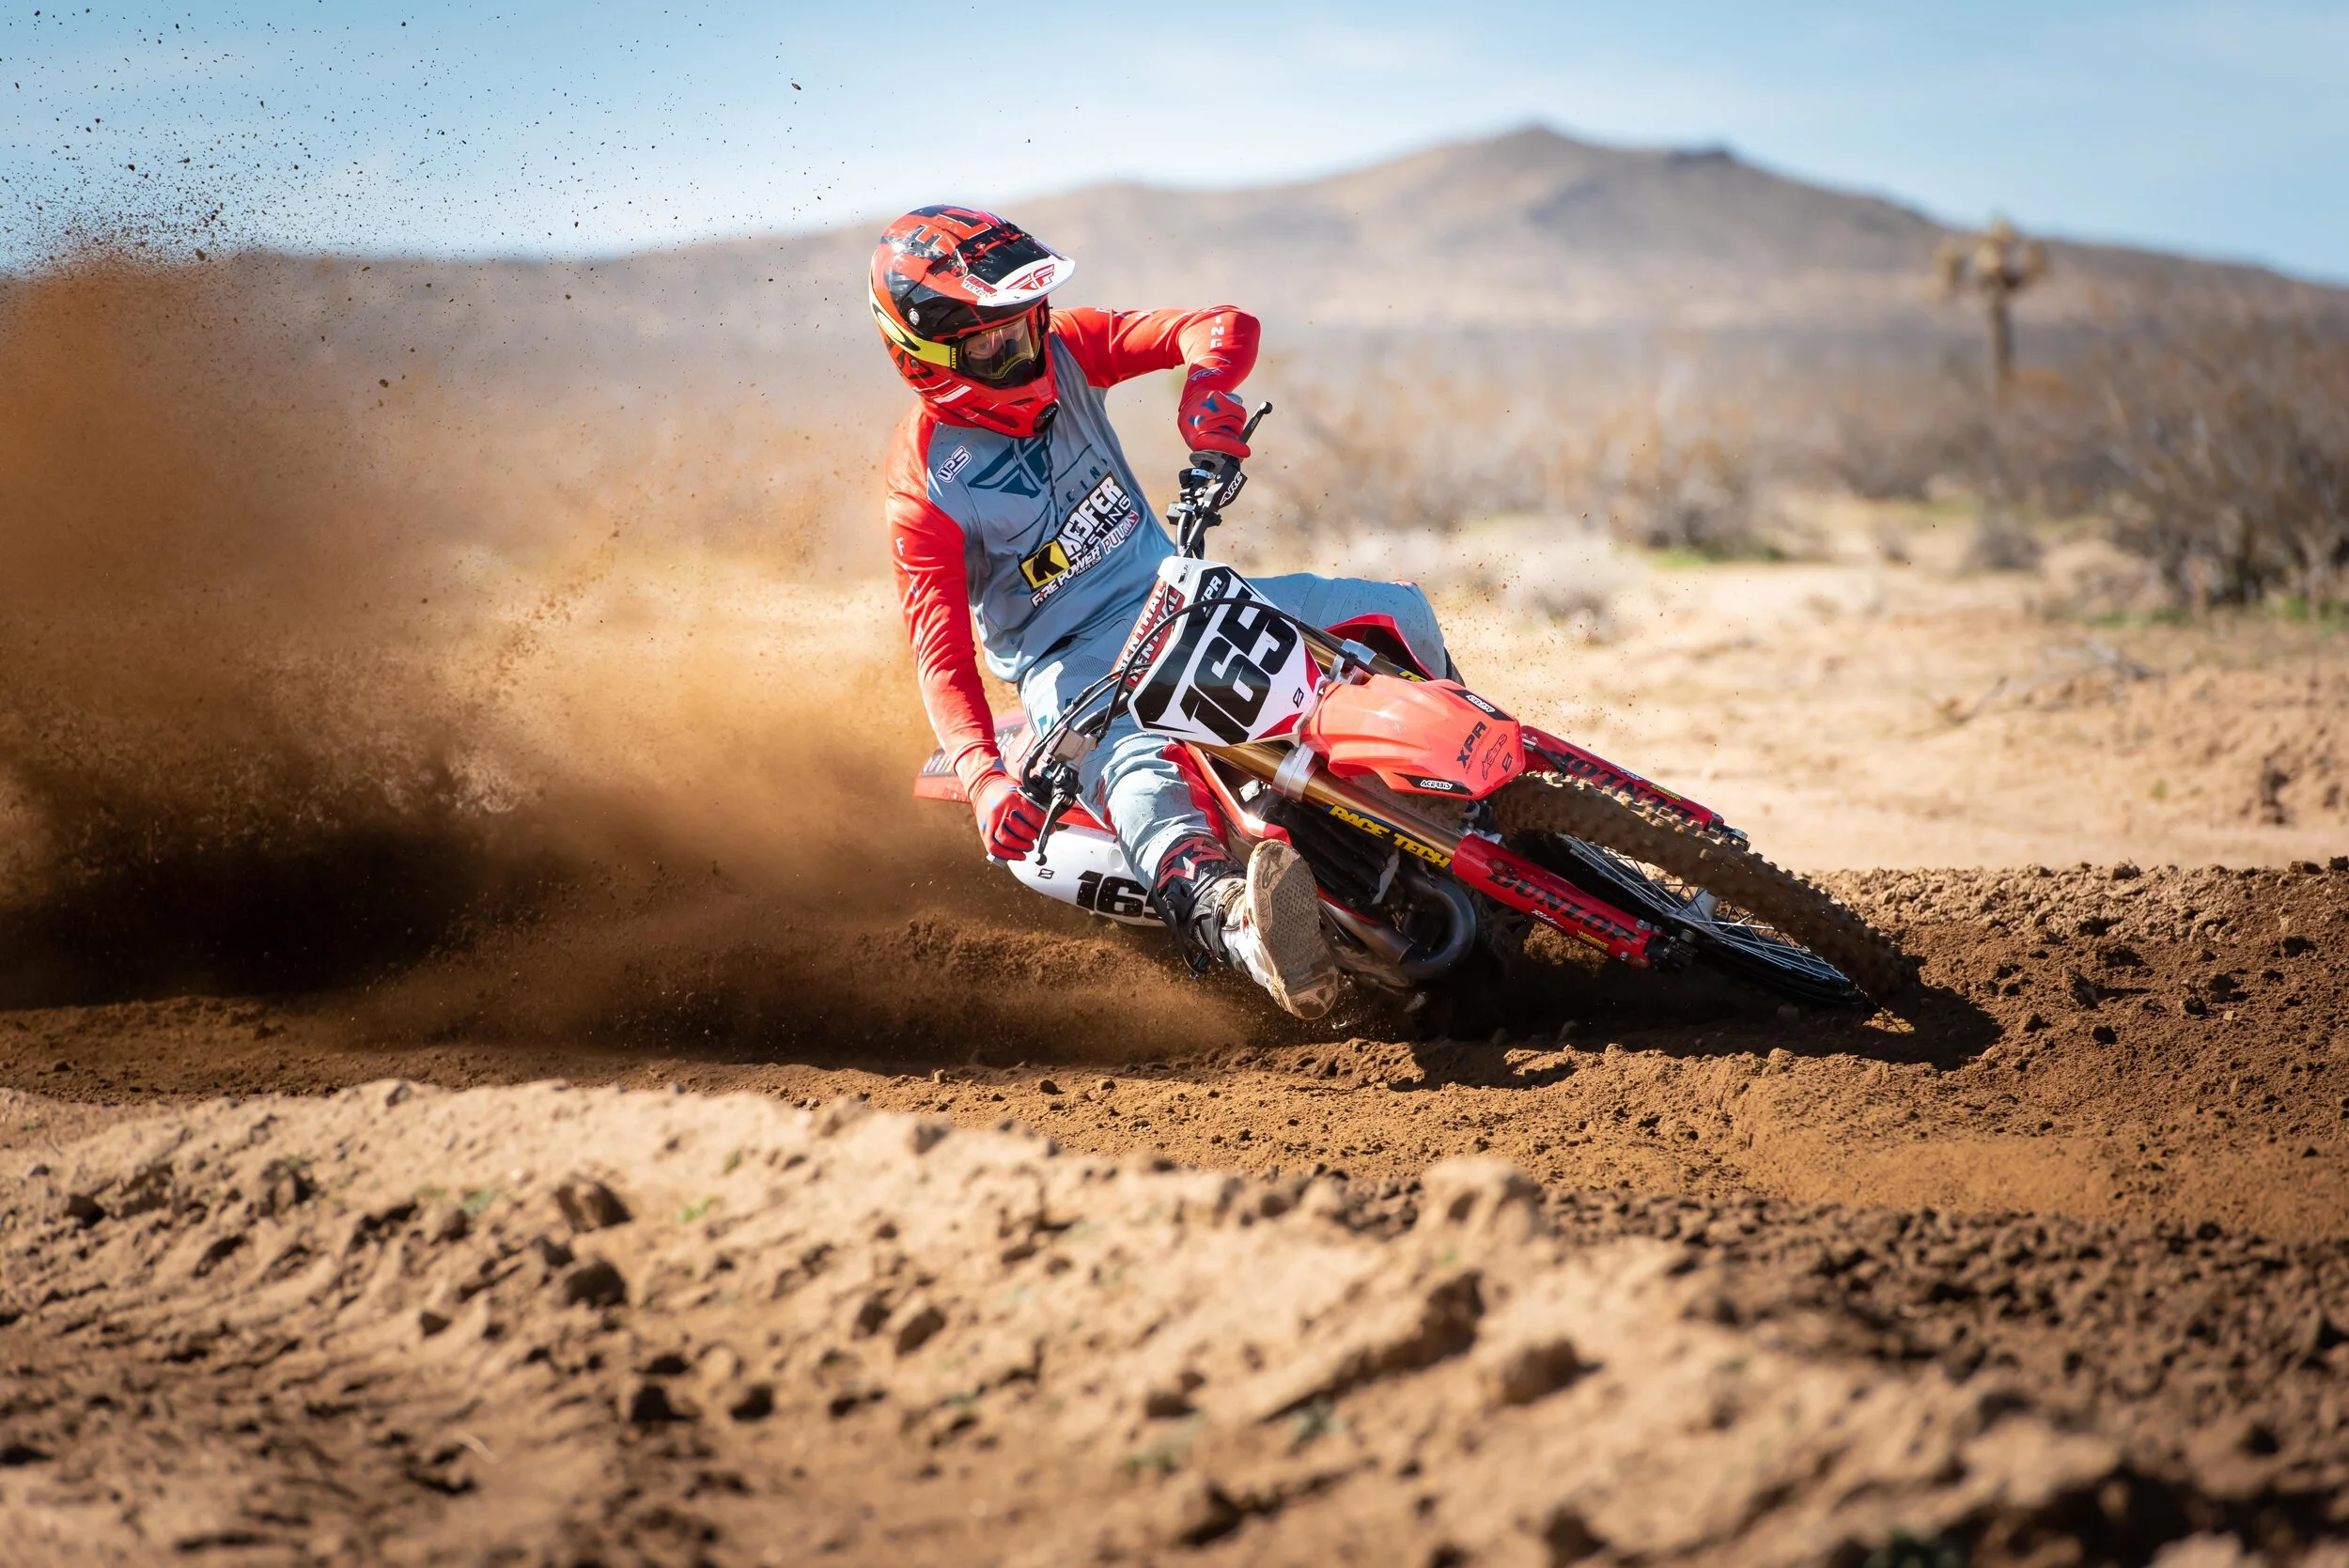
Is there anything more beautiful than a brand new Honda CRF450R? Every time I walk out into the shop and I see that red machine sitting there, it just makes me want to go ride. However looks can be deceiving, because the Honda CRF450R can be a handful to ride on a fast, rough track that requires comfort. You see, the Honda chassis is on the stiffer side compared to other brands and with that stiffness comes a motorcycle that turns great, feels light when riding, but also gives the rider a harsh feel when hitting bumps. I’ll be completely honest here and tell you if the Honda didn’t have that stiff natured chassis feel in stock form, I would probably ride a CRF450R a hell of a lot more on my own time.
So in order to be able to call myself a “test rider” I better get off my ass and test some things that improve this machine right? These are five modifications that I have discovered while testing alongside Chad at XPR Motorsports. If you don’t know Chad, go back and listen to show #168 of the Keefer Tested Podcast. I have come to the conclusion that when I’m dealing with a 450cc motocross machine, I tend to flock to a bike with a smooth roll on power that is linear and long. Below are my “Top 5 Mods” that cost money as well as my “Top 3 Mods” that cost nothing. These modifications are geared towards calming the Honda down while getting more comfort out of the chassis. Once I did these modifications, it gave the Honda a feel that allowed me to ride the machine harder in rougher conditions.. It also made me want to load up this red machine first to go ride and leave the others in my shop. If you have any questions about these modifications please feel free to email me at kris@keeferinctesting.com.

Vortex ECU Mapped By XPR Motorsports: The stock 2020 CRF450R mapping is an improvement over previous years, but it’s still simply too much on anything less than a freshly tilled up loamy track. In order to get more connection to the rear wheel and control you will have to get a Vortex ECU. This is not cheap, but rest assured this ECU, along with some of Chad’s maps have helped this chassis calm down. I usually am a “Map One/Two” kind of guy on the stock ECU, because it gives me more of a broad feel when trying to roll my corners correctly. I have tried a couple re-flashes of the stock ECU, but none have been as good as the Vortex system. The Vortex system gives you more parameters to work with and broadens the strong engine character, so that you are able to get on the throttle sooner, have more rear wheel connection, and most importantly doesn’t bind the already stiff natured chassis feel. In fact, this Vortex ECU helps the Honda feel less rigid because there is simply less engine braking with the maps we created. I have worked many hours with Chad in creating some linear maps that work for all levels of riding.
Akrapovic Evolution Muffler System: The Akrapovic muffler system shifts the Honda’s power around like no other muffler system I have tried to date. Once out on the track is when I realized that this Akrapovic muffler system could actually help this Honda chassis calm down. The Evolution system lets the Honda’s engine roll on smoother at low RPM’s and that smoother feel helps the rear wheel connection as well as provides less pitching (off throttle) than the stock system. AKA MORE COMFORT!!! The Honda CRF450R now builds a smoother roll delivery and a pulling power that is longer through the mid range than the stock system. This type of character can allow you to use second gear in corners more because the second gear hit is not as abrupt or quick and that doesn’t upset your technique or the chassis. The Akrapovic also allows the rider to shift later out of the corner with its increased over-rev capabilities. Pulling power up top is increased slightly as your shifting points can be altered now because of the longer pull in each gear. The mid range recovery of the Akrapovic is not as good as the stock system, but honestly that is not a bad thing. The Honda has so much power to work with that a little less “hit” as well as “recovery” actually helps me with cornering and allows me to be more aggressive on the Honda. I want to be able to ride this red bike and not let it ride me after 15 minutes into a moto. The Akrapovic system relaxes the engine as well off throttle. There is less engine braking with the Evolution system and that also helps your fork from feeling harsh on small de-cel bumps.
Custom Clutch Arm: The stock Honda’s clutch engagement point is very narrow and although the Rekluse Torque Drive Clutch pack helps the life/pull, the engagement is still too on/off for me. Chad at XPR Motorsports makes a custom clutch arm that really helps get an increased linear feel out of your clutch engagement. Not only is my engagement point wider, but it also delivers the power to the ground smoother, which in turn gave me more throttle to rear wheel feel. What does this mean? More consistent starts and better mid-exit corner rear wheel connection.”
Rekluse Torque Drive Clutch Pack: Rekluse offers a clutch pack (fibers, steels, springs) that replaces your OEM clutch plates and adds additional discs to your existing OEM clutch basket. It’s as easy as swapping your clutch plates into your OEM components. The TorqDrive thin friction disk technology allows more disks to fit in your OEM clutch’s footprint, decreasing slip and unlocking the full power of that Honda CRF450R engine. Once I installed the Rekluse system the clutch life of the CRF450R went up as well as rear wheel control on hard pack surfaces. The combination of the XPR clutch arm as well as this Rekluse clutch pack allows the Honda hook up better and gives me added control where the Honda needed it most, accelerating out of rough/choppy corners.
Pro Taper EVO Handlebars: I didn’t get to stick a pair of Pro Taper’s on until after my initial testing, but once I did I wondered why I didn’t do it sooner. The anti vibration quality of the Pro Taper Evo is superb as well as the comfort of the bar on jump landings/braking bumps. You might be surprised on how many riders actually use Pro Taper bars that are disguised as other bars on some big name motocross teams.
Top Three Chassis Mods/Tips That Cost You Nothing:
Swingarm Pivot Bolt Torque Spec: Re-torquing the swingarm pivot bolt to 60 ft. lbs. helps with rear wheel traction as well as helps the rear end soak up small chop. This is only a small change, but can actually make a huge improvement.
Engine Tilt: I stumbled across this mod when Chad at XPR unexpectedly did this without me even knowing. When I came off the track and commented I felt less vibration though my feet/handlebars as well as a better initial lean coming into corners he was kind of blown away. Since then I have tried this on another test bike and got similar results so I thought it was worth mentioning to you. The first step to tilting your CRF 450 engine in the chassis is to loosen off all motor mounts and engine hangers,(without completely removing the bolts or nuts) seeing how you are going to have to quickly tighten the motor mounting nuts while holding the engine in place. This includes the swingarm pivot bolt, lower engine bolt, three upper engine bolts that mount to frame and engine, finally the left and right engine hangers on the sides of the frame and engine. Next step is to find a long flat blade screw driver or a longer tire iron works best. Place the tire iron or screw driver in between the frame and the engine in the middle of the lower engine bolt and the upper engine bolts. By pushing down on the tire iron or screw driver you will notice the motor lift up and back in the chassis. While continuing to push down on the tire iron or screw driver begin to tighten the three upper engine bolts/nuts first and then the lower engine bolt /nut. Get these nuts and bolts tight enough to hold the engine in place without the motor sliding down again. Torque these four nuts to the manufacturers specifications then move to the swing arm axle nut and finally to the engine hanger bolts and torque them to the manufacturers specifications.
Top Engine Mount Torque Specs: Similar to the swingarm pivot, the top engine hangers play a huge roll in how the bike feels. I have tried aftermarket engine hangers on the updated 2019-2020 chassis and never felt confident that they did a good enough job to warrant the cost. To me re-torquing the top engine hanger bolts did a better job at creating a more compliant/calm frame feel when hitting square edge or braking bumps on straight line without sacrificing cornering feel. Doing this isn't going to make your Honda feel like a Kawasaki through rough sections of the track, but it will feel less firm when the track gets ugly. There are three bolts per engine hanger and you will re-torque the top two bolts that go to the frame at 20 ft. lbs. as well as the bottom bolt that goes into the engine to 37 ft. lbs. It’s not much but it does make a difference.