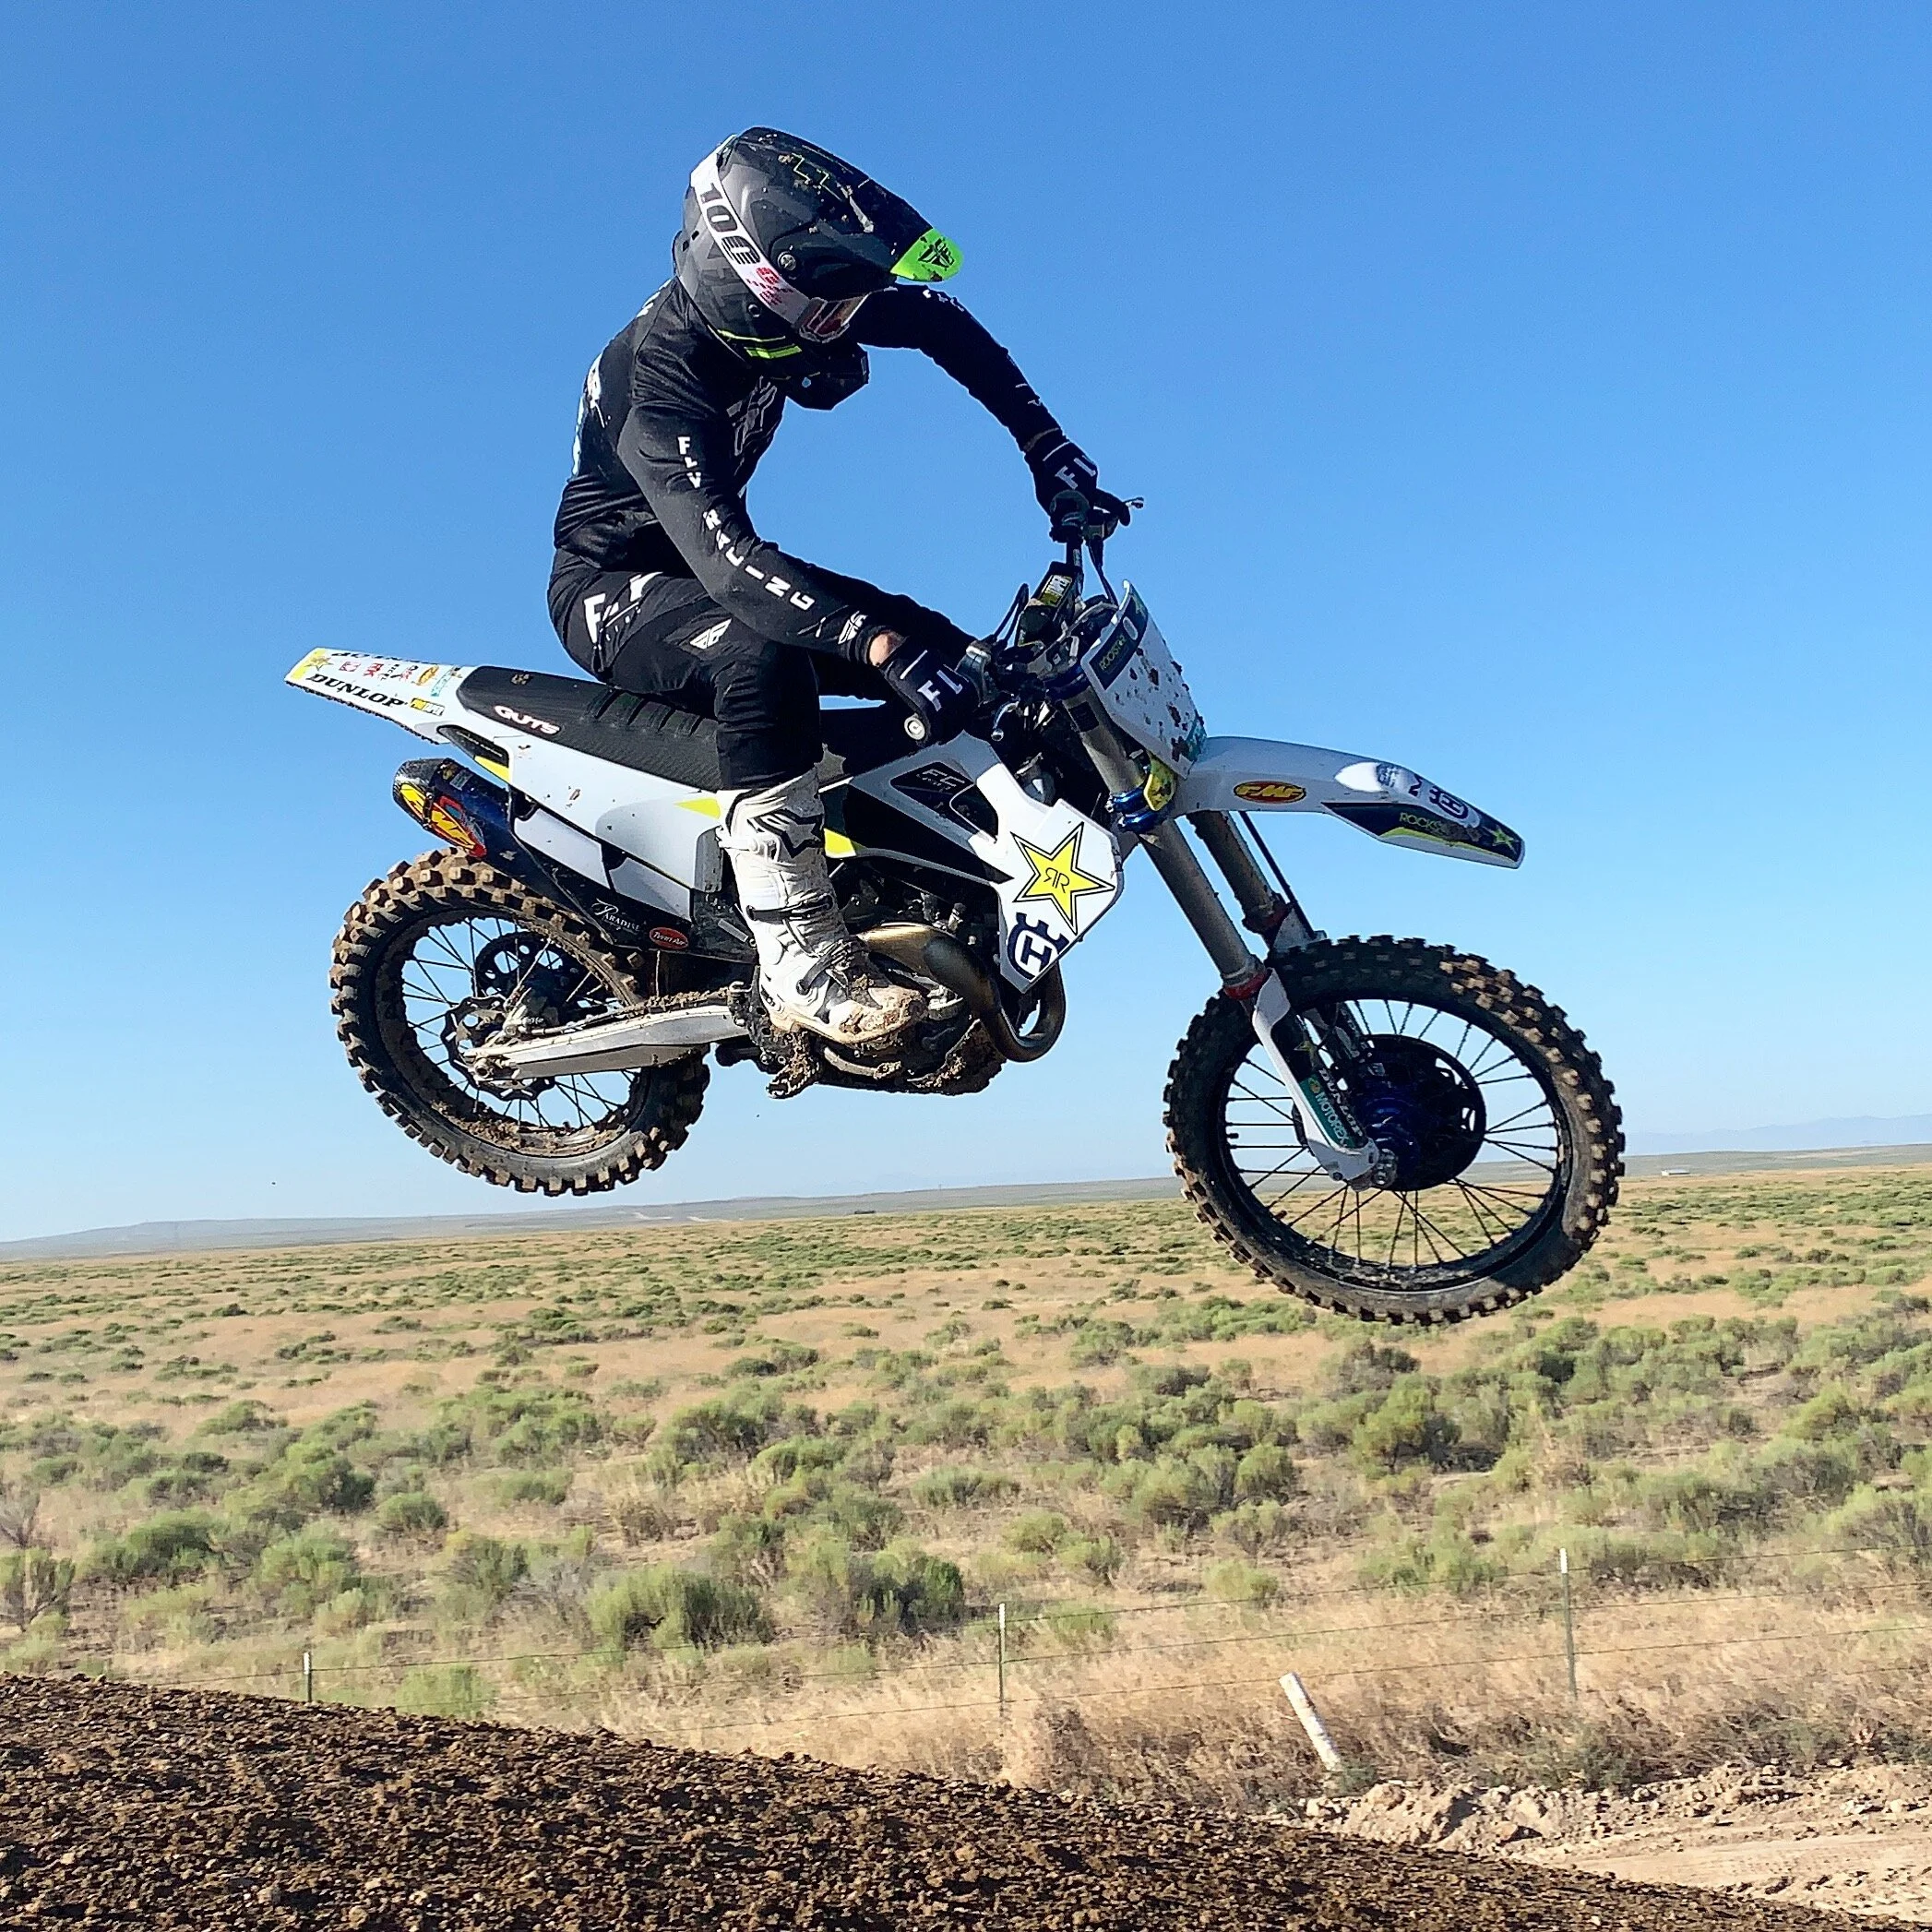
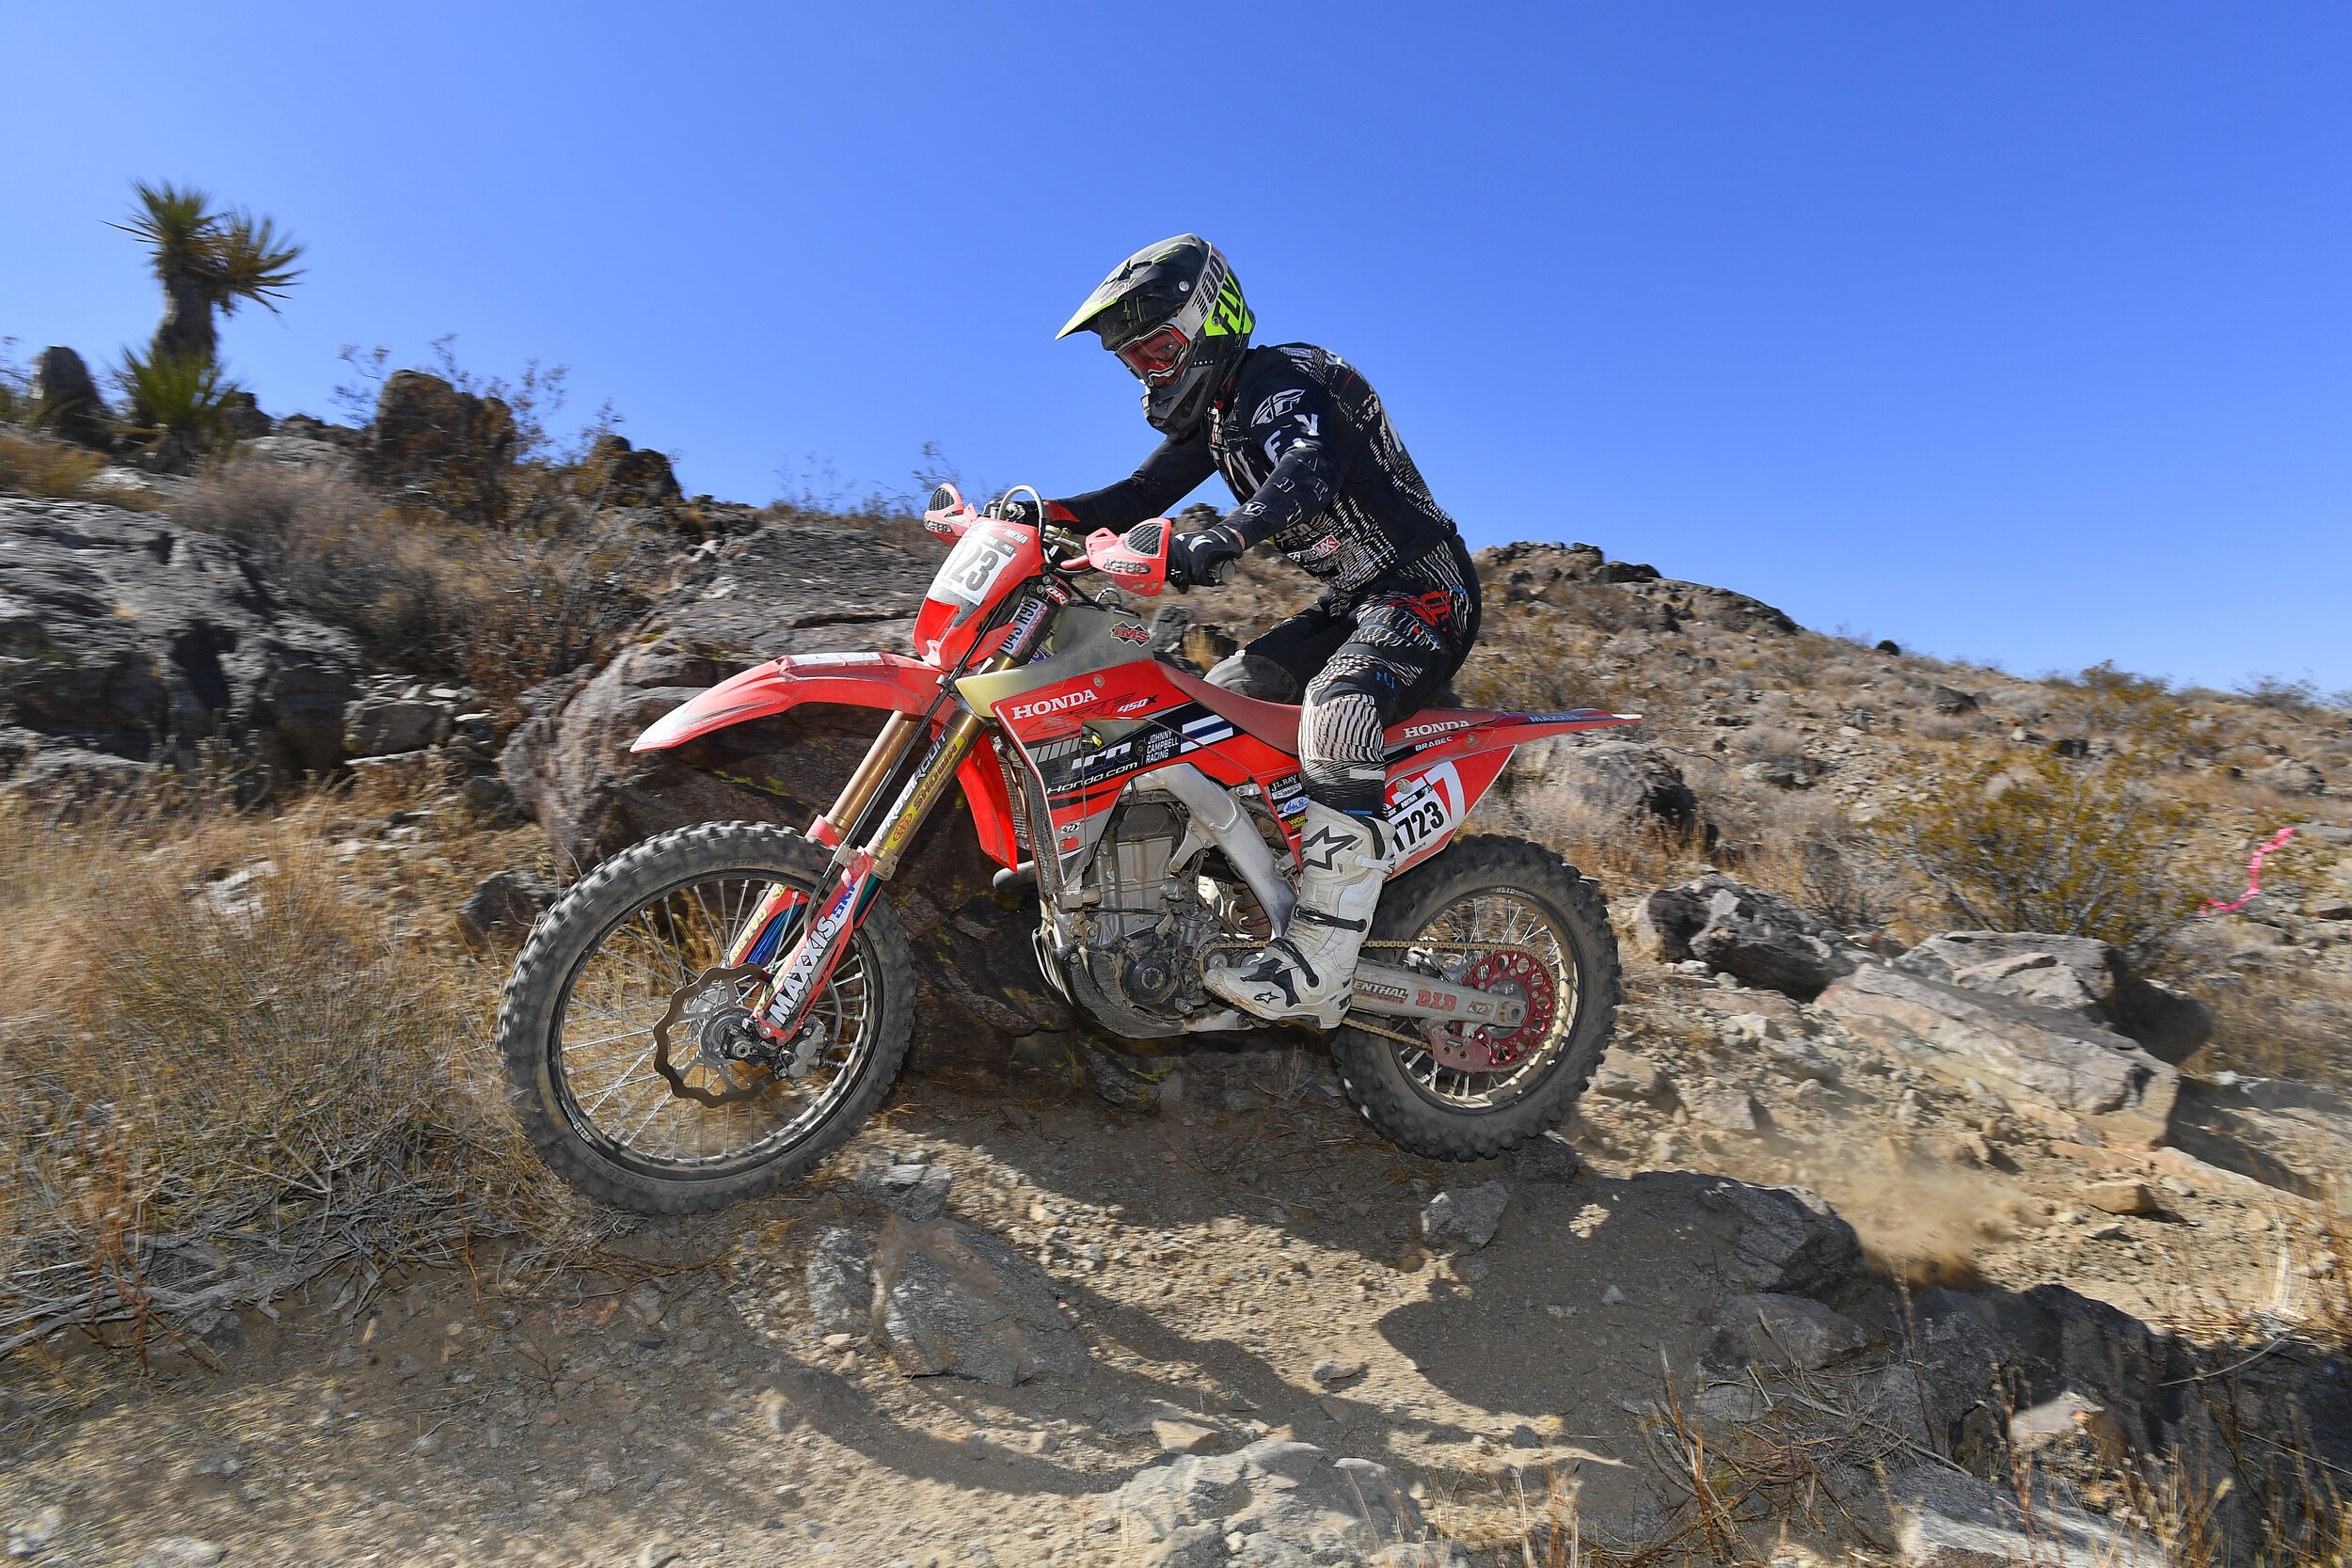
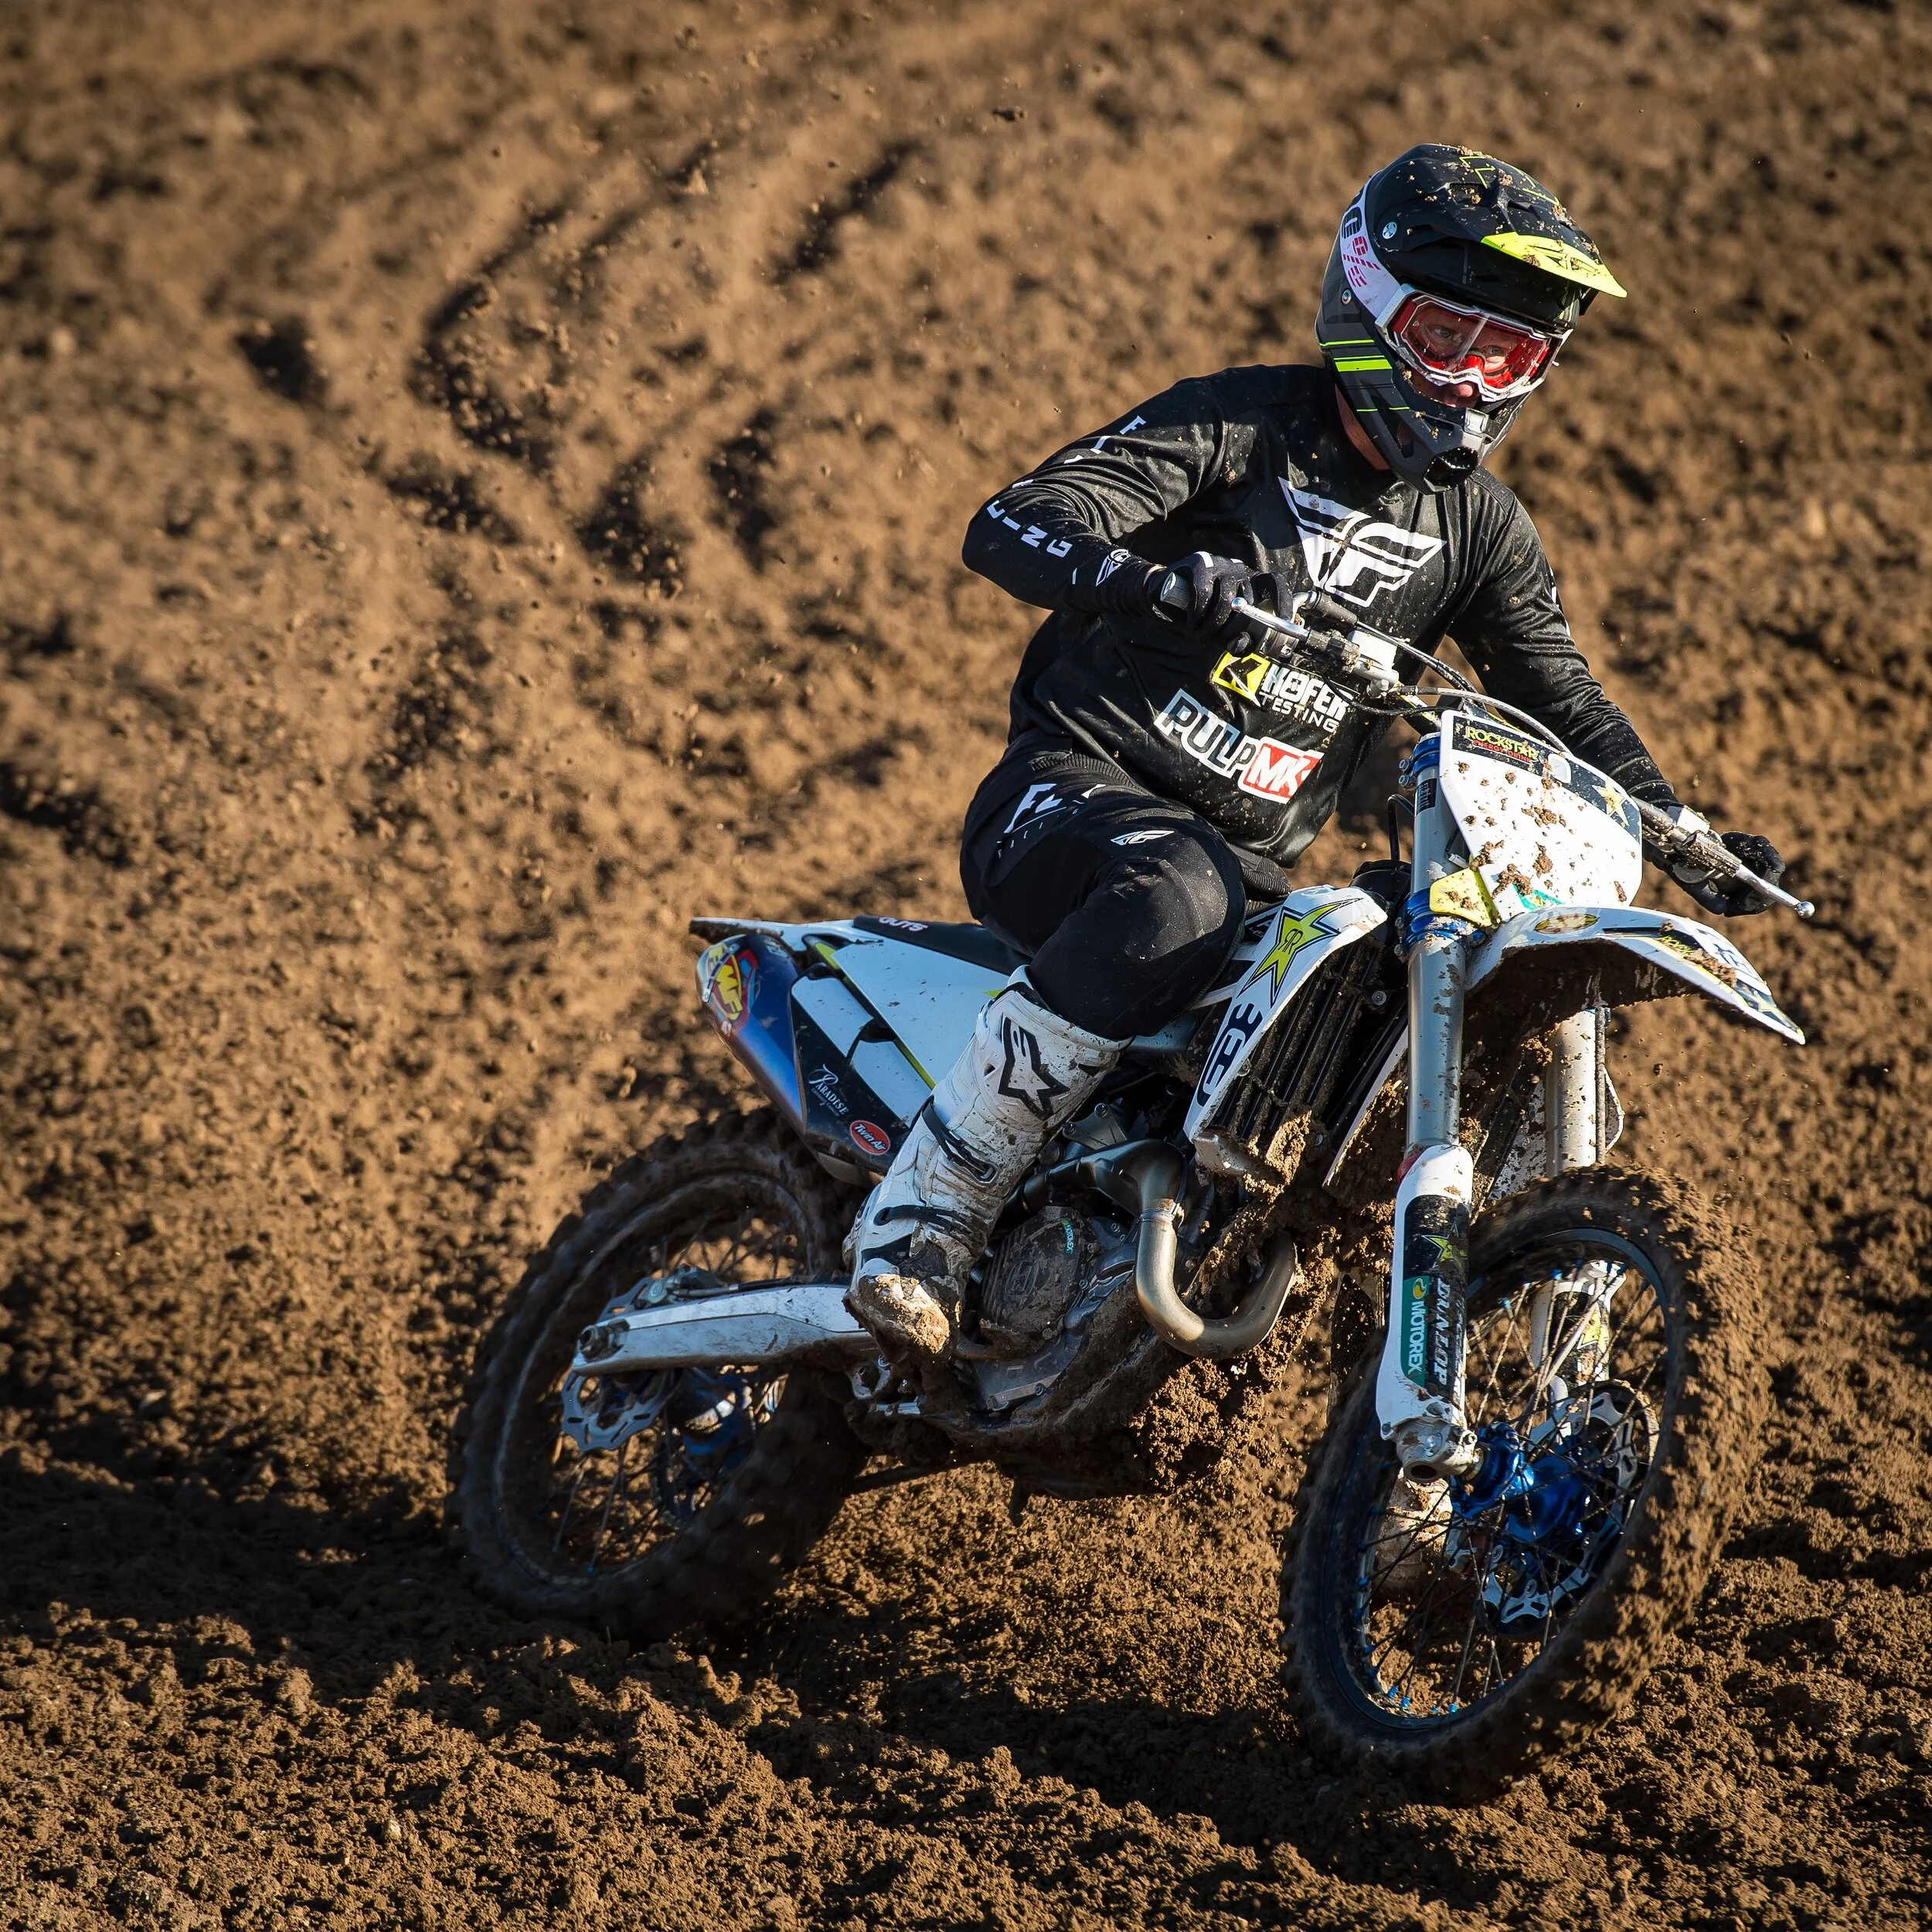
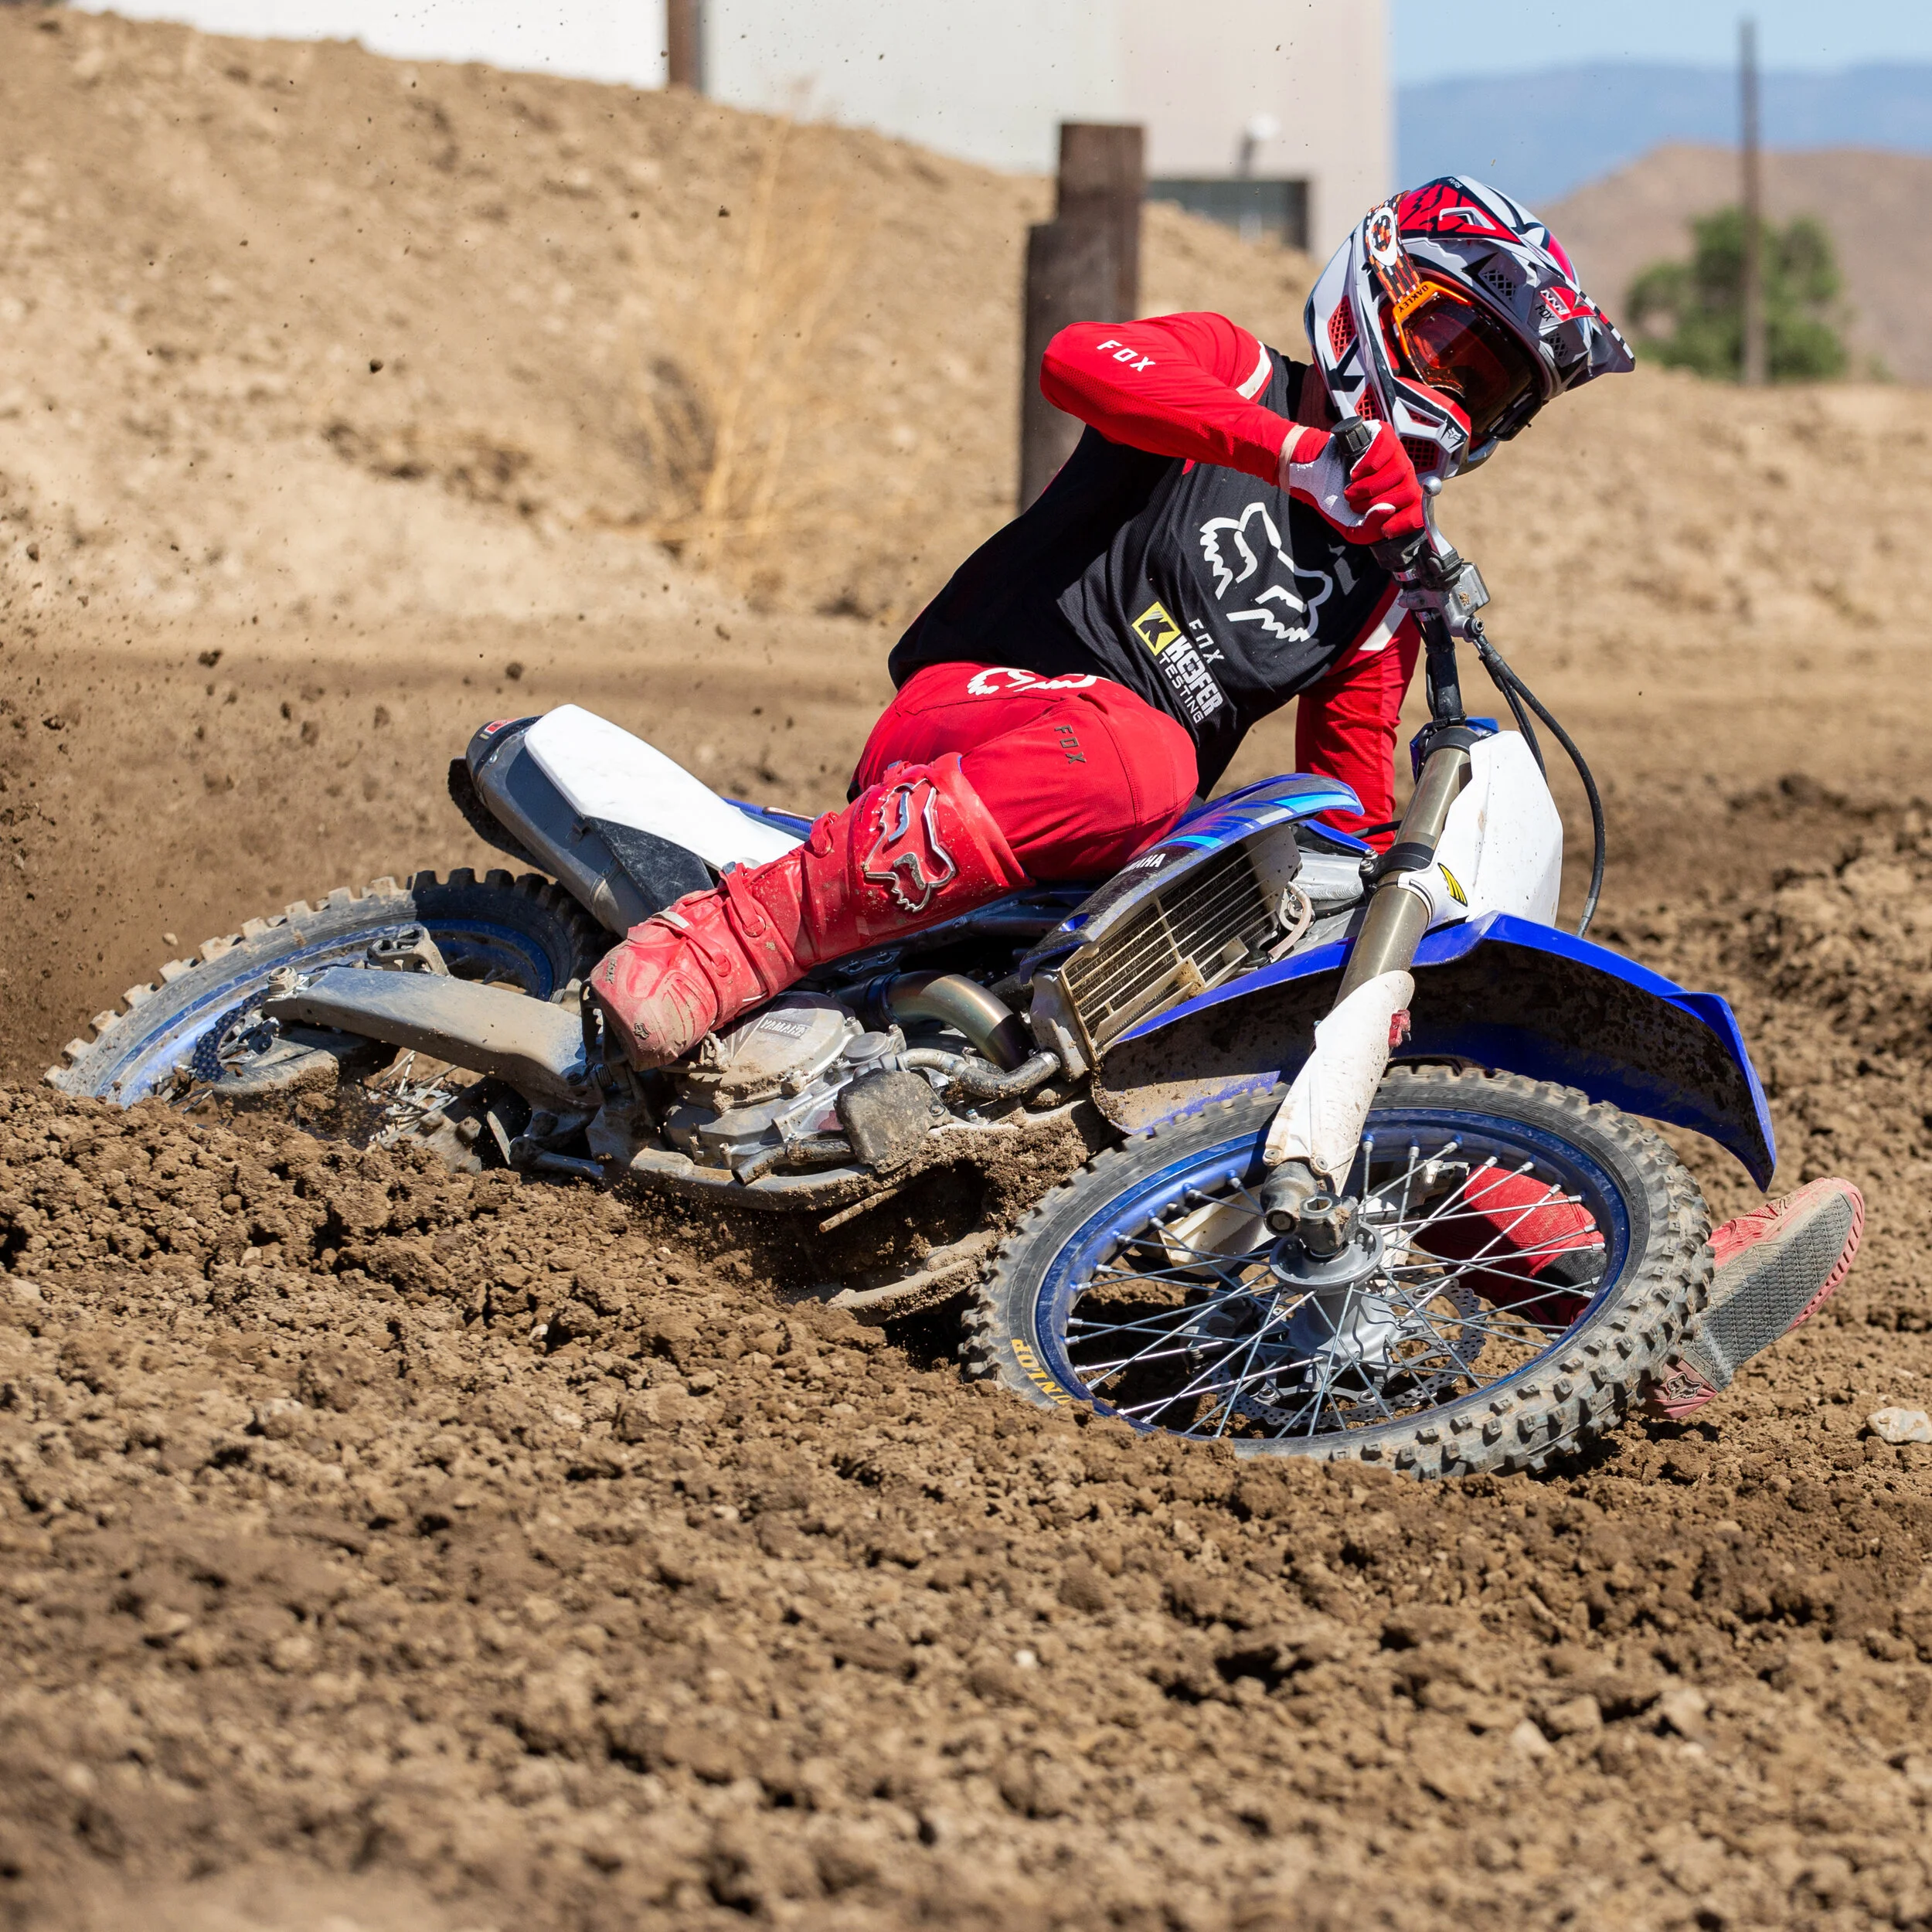
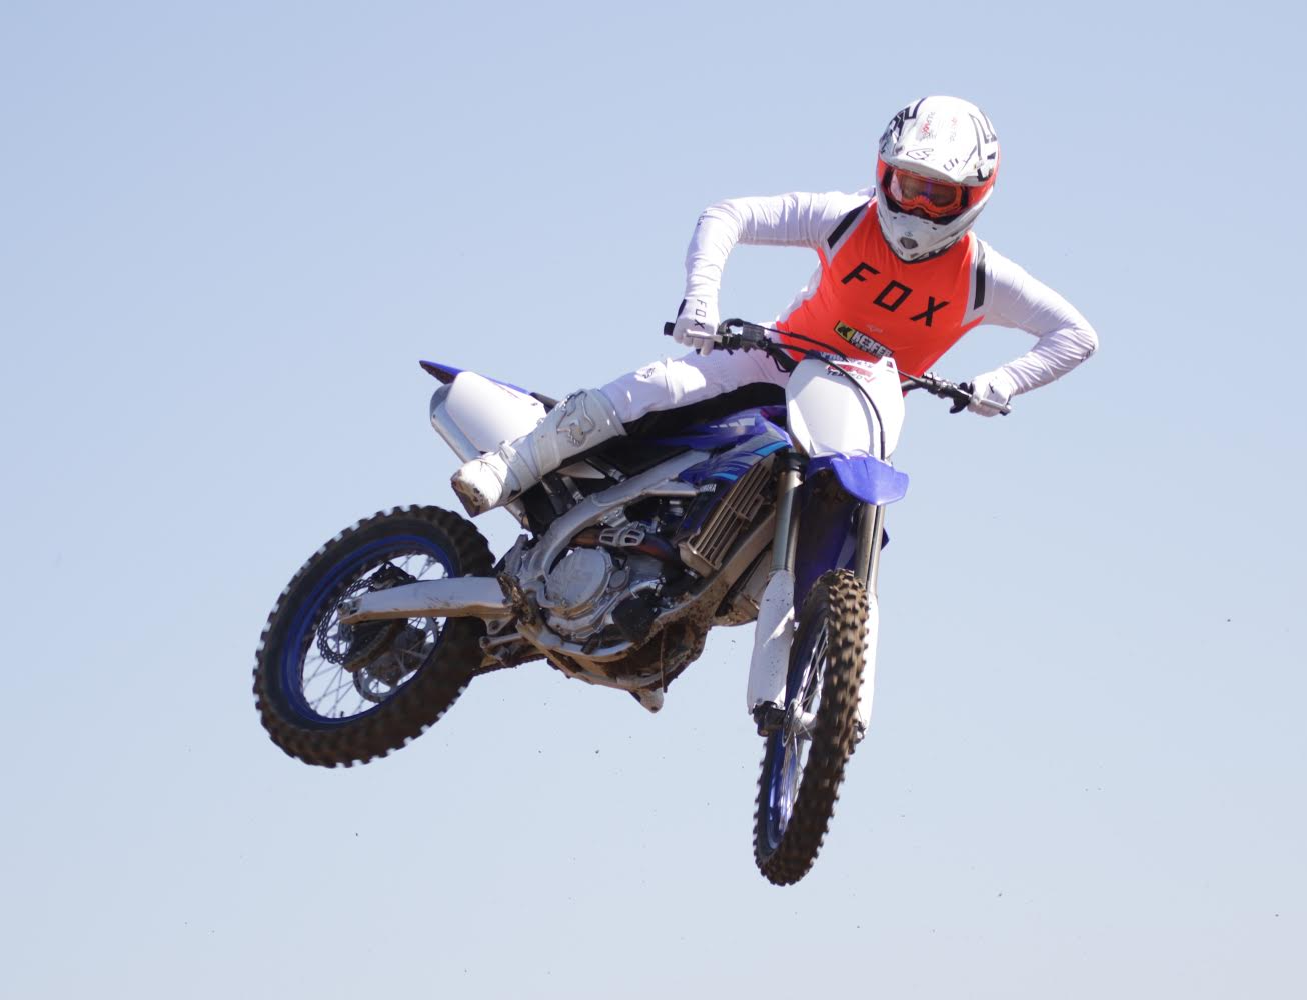
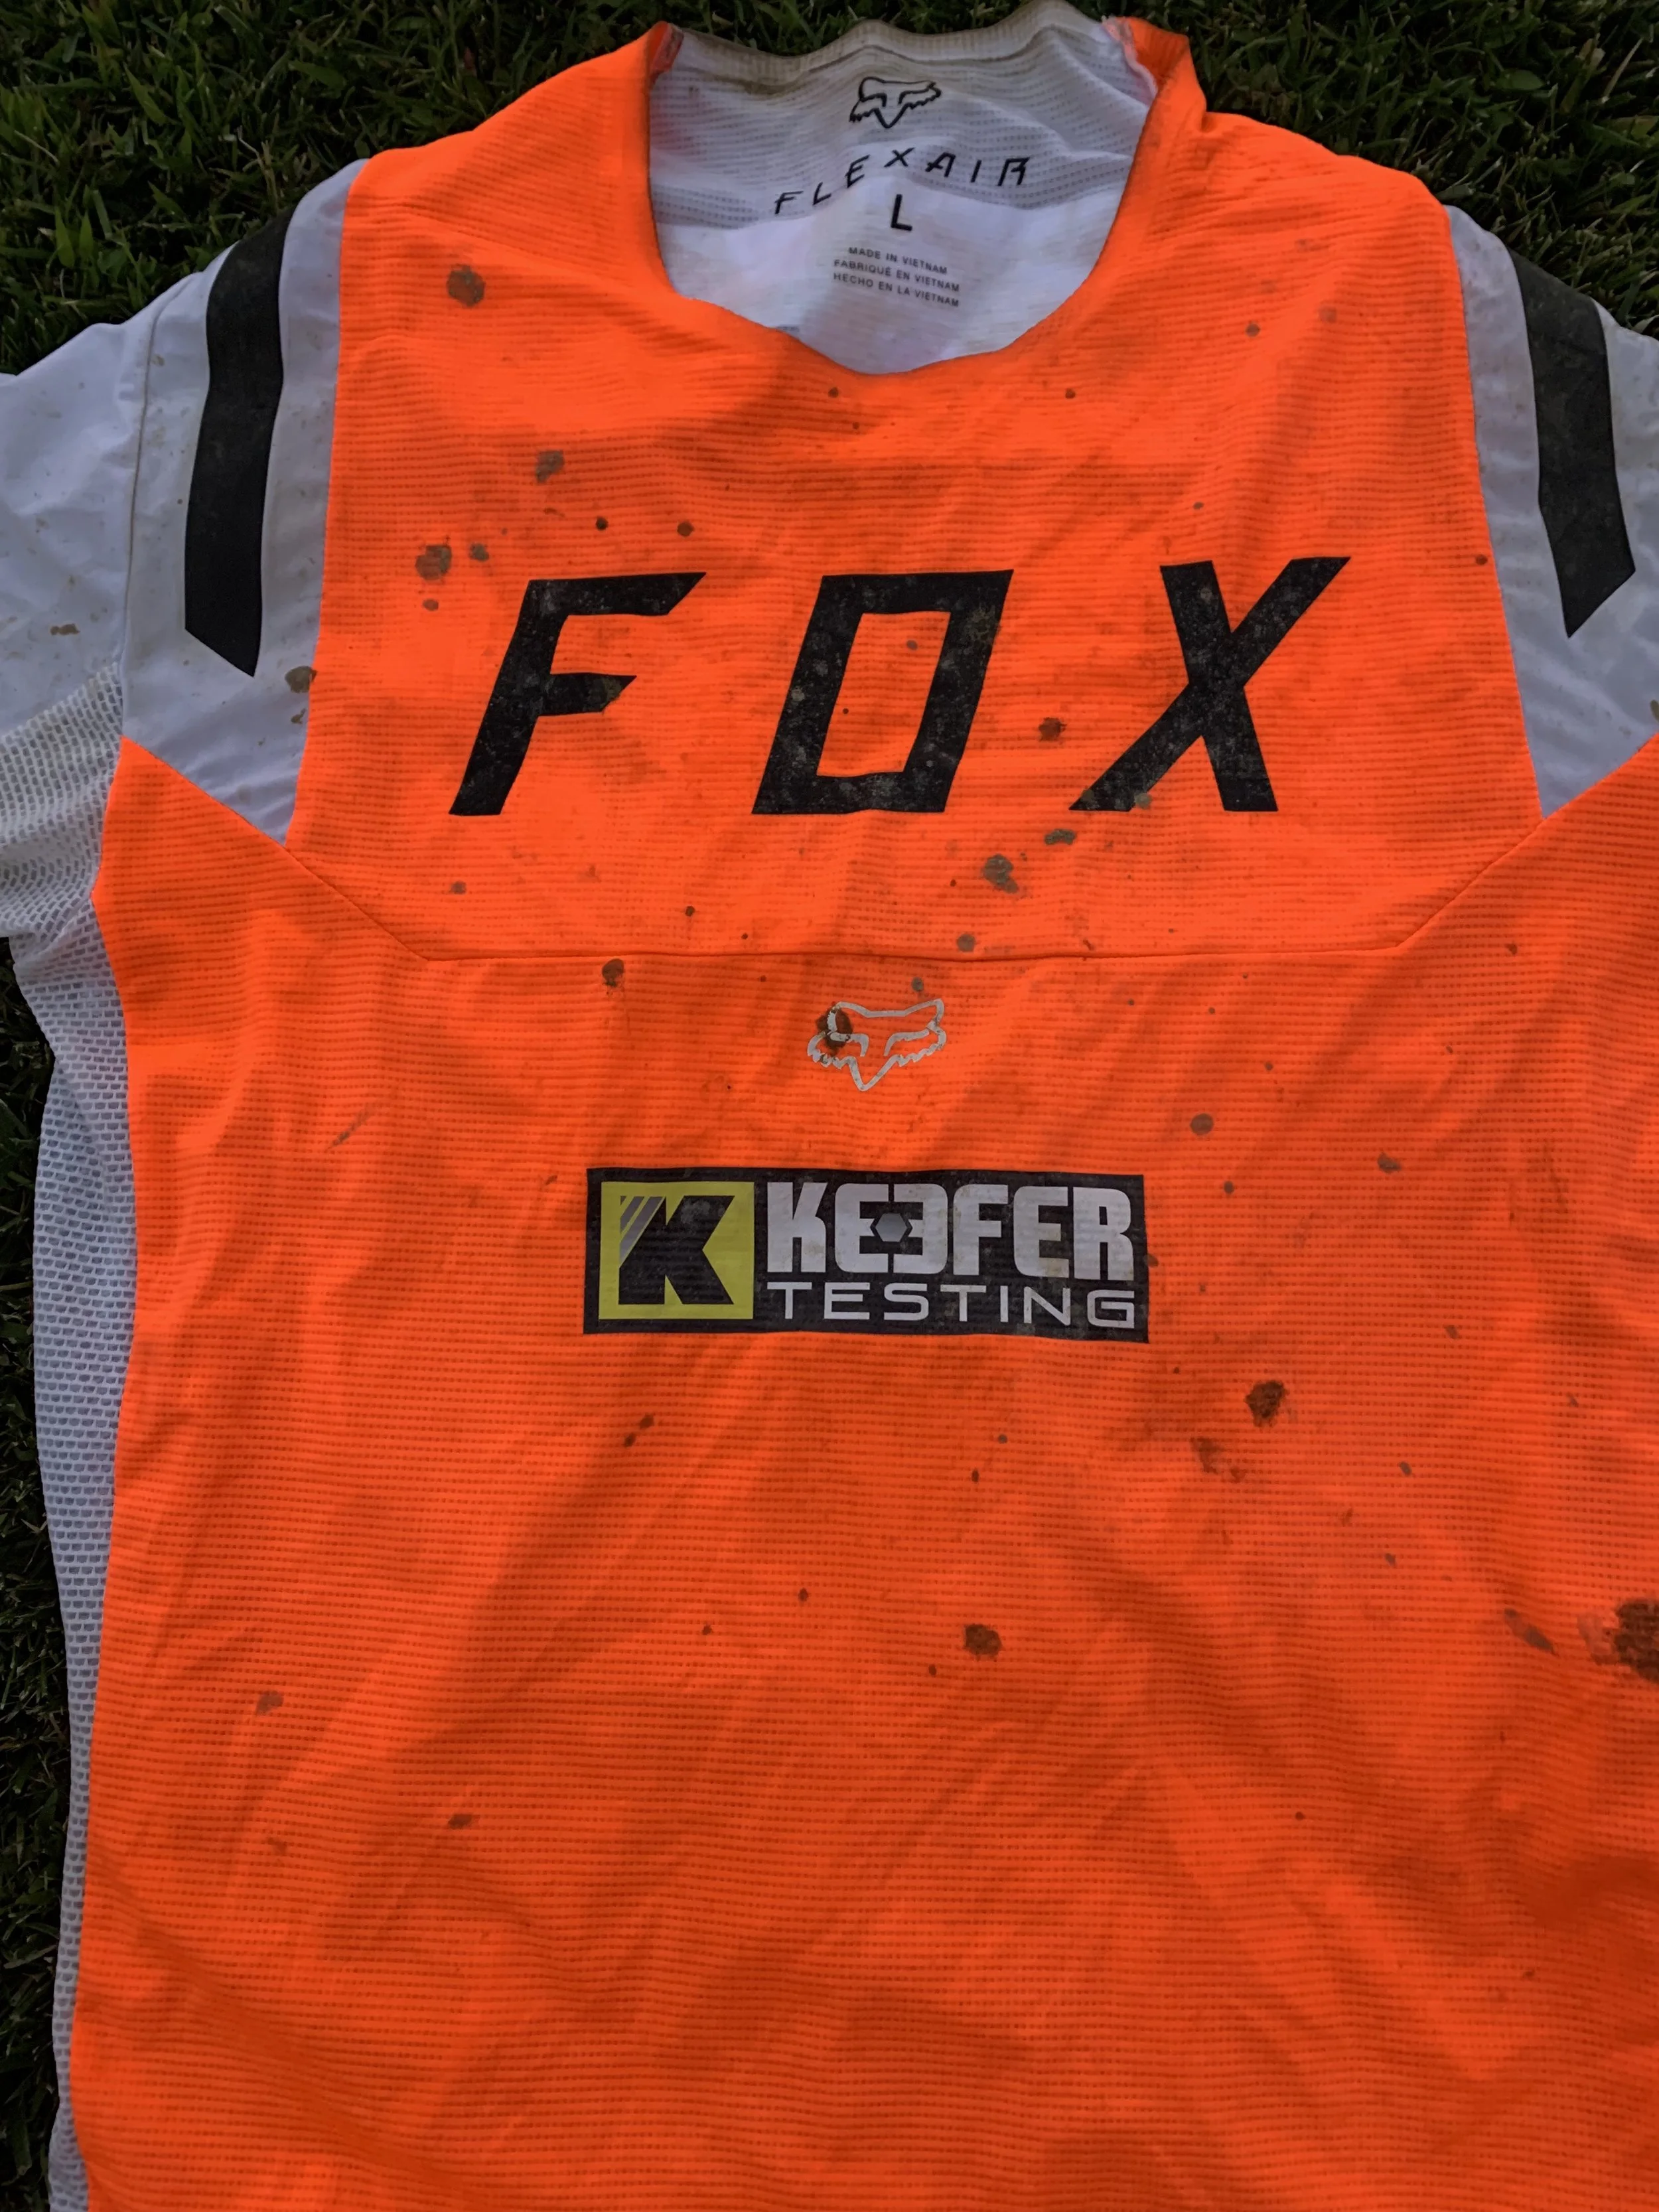
Test

Hidden Gems: Fuel Clothing Socks

It’s just flipping socks right? Well, yes, but actually no. I am very picky on socks because that is the one part of my body that I sweat the most. My feet are fairly sensitive so when I get a pair of socks that are hard or rough to the touch, I am out! I actually was referred to Fuel Clothing by my good buddy Travis Preston and he suggested I try them out. Now I am normally a “up to the knee” sock guy and my normal program with Stance socks and my Asterisk Zero G pants were fine, but I have been noticing that the Stance socks were getting hard and crusty feeling after more than a few washes. I was looking for anything that remained soft for more than a month of riding so I decided to try some Fuel knee/crew socks. 

IMG_3991.jpg

Fuel socks have moisture wicking fabric, odor blocking fibers, are ultra breathable, has a double padded heel, reinforced elastic with quick dry acrylic, is machine washable and even though say to hang dry them, I throw them in the dryer. After a couple months of use I have quickly become a fan of the Fuel socks for a few reasons. The sock itself feels good against my skin and doesn’t irritate it. The Fuel socks DO NOT get hard or crusty feeling after over 20 rides. The socks are thick enough for a little cushion yet are ventilated enough where I am not getting all slushy inside my Tech 10s. They are not a nightmare to put on like some other socks I have tried because the elastic is so damn tight around the opening of the sock, that I end up stretching them out in three rides. They are durable and last me more than a few rides! Again, socks aren’t rocket science but when it comes to finding little hidden gems like these Fuel socks, it’s tough for me not to share them with you all. You can use the code “Keefer20” to save some dough if you order. I even pay for my own socks because if a product works I have zero problem paying for my own shit. I am not your typical media guy. I like to support good companies and Fuel Clothing has been around our sport for quite sometime, but somehow I missed the memo on their socks. So when I go riding, I am sliding on some Fuel socks before strapping on the BRACES! YES! KNEE BRACES! Check all the socks out at fuelclothing.com

Troy Lee Designs Rock Fight CE Chest Protector

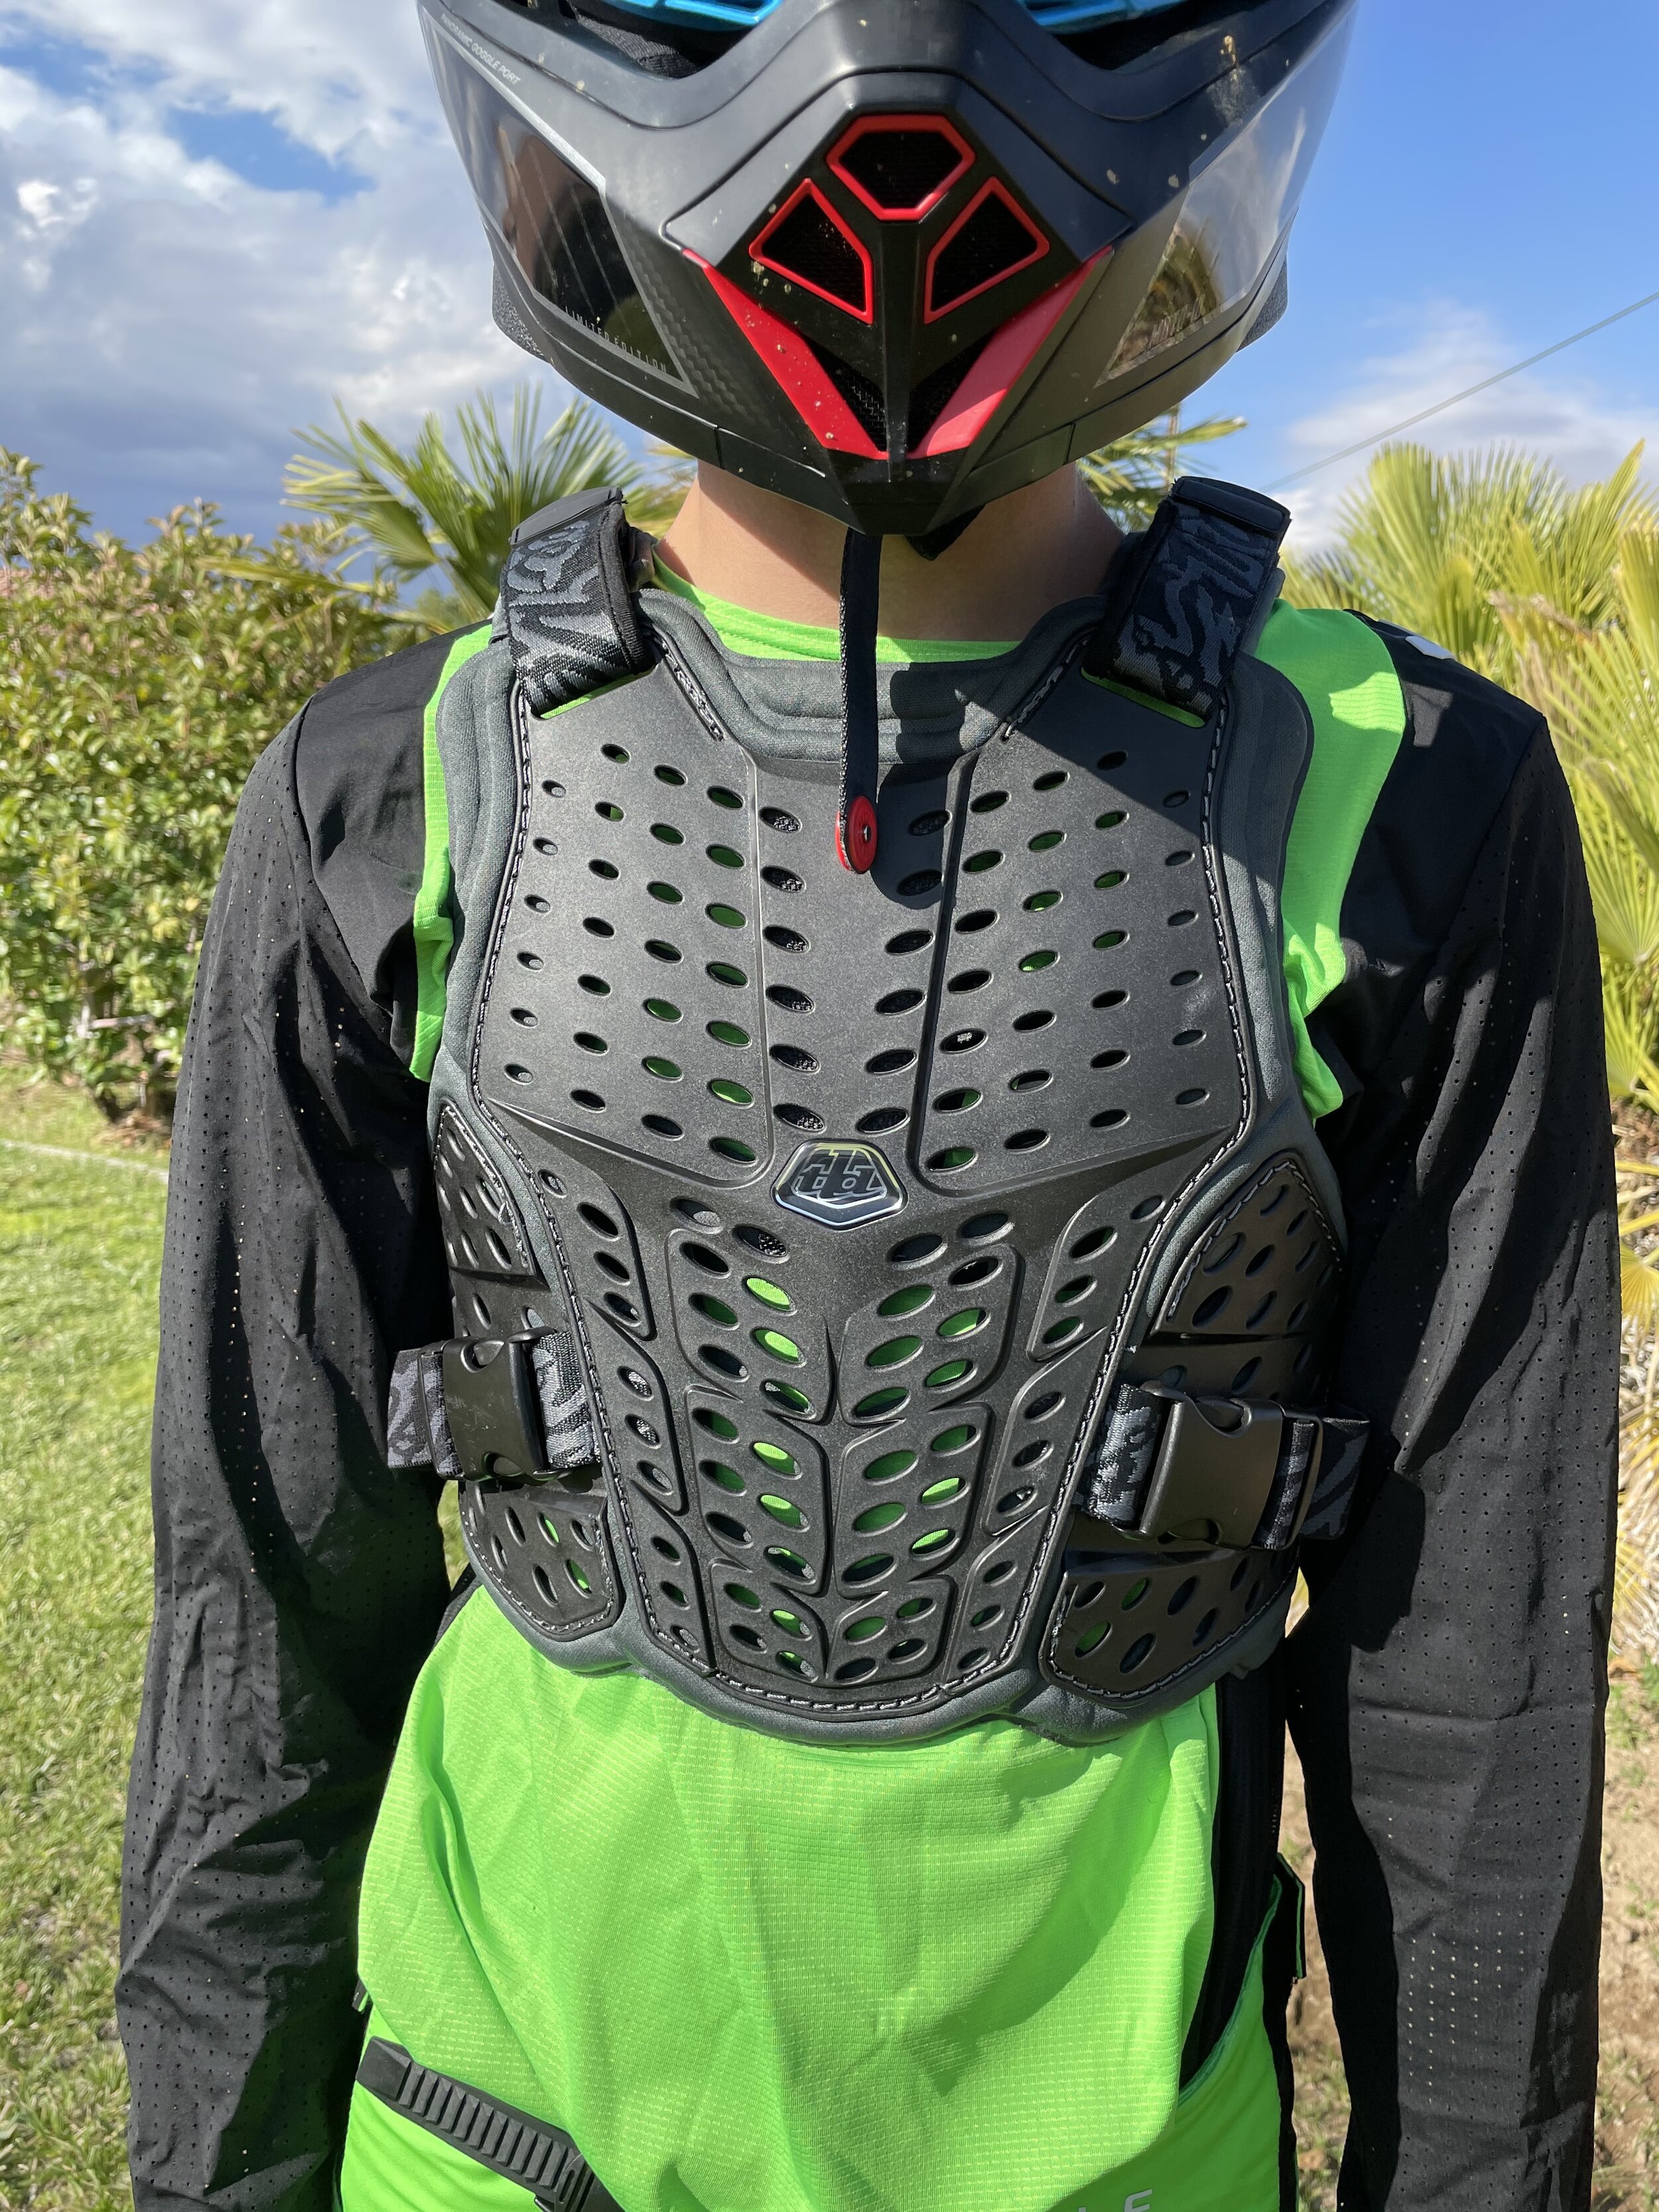
I haven’t tested much Troy Lee Designs protection and was looking for  another chest protector to test and came across the Rock Fight CE chest protector and was wearing it every time I went out on the track before I injured my knee. I managed to get a a solid month in the Rock Fight and came away with these thoughts. 

IMG_3178.jpg

 The Rock Fight has a CE EN14021 Stone Shield certification front plate that helps protect from roost and other lofted debris. What is more impressive is that it has helmet technology inside which is some advanced integrated EPP in key impact zones like on the chest and spine. The Rock Fight has form fit side flex plates, fully adjustable fore/ aft shoulder straps and removable shoulder pads that allow a wide variety of neck braces to fit comfortably. Even though I am not a neck brace guy I did have an Atlas Air and Leatt 5.5 to strap on and see if it restricted any of my movements, which it didn’t. Flexible D30 back insert exceeds C.E. EN1621 Level 1 for impact absorption. Another feature of the Rock Fight is the ventilated protective plates coupled w/engineered channeled bio-foam that can allow increased airflow. 

After wearing the Rock Fight CE through some of California’s warmer spring days I can tell you that it’s a full coverage chest protector that encompasses more area than that of an Alpinestars A-1 as well as the Fox Raceframe. The Rock Fight CE is built to withstand some impacts and that means that it’s going to be bulkier and warmer than those that don’t have the D30 built into it. However, even though the RockFight CE is warm, it doesn’t feel that bulky when riding. I will say that the key thing to making it feel less bulky is to get the straps as snug as you can around the torso. Once I figured that I needed to run the straps tighter around my waist, the RockFight CE was more comfortable for me. I tried wearing it under my jersey but quickly found out that it was too bulky for my taste to be an under-the-jersey protector. This was going to be strictly over the jersey protection which I am fine with, but just know going in that you might have to get some matching TLD gear to humor the motocross fashion gods. The buckles on the side straps are durable and for my 5’11 170 pound frame, the M/L sizing was adequate. Even though I like having the peace of mind of having CE protection, it does get me warm during a longer moto on hotter days. I had my son try it for a couple motos and he complained of being too hot with it on. 

IMG_3180.jpg

Overall this is not a roost protector and is a chest protector so understand that it covers and protects better than your average roost protection. With that added safety of the D30 in the back of the RockFight it makes for a more comfortable feel than just having hard plastic resting on your back, but just know with D30 comes heat. My guess is that this TLD RockFIght protector would be best for a rider in cooler climates or a rider that is more of a man than I am in hotter temps. 

Bell Moto 10 Product Review (First Impression)

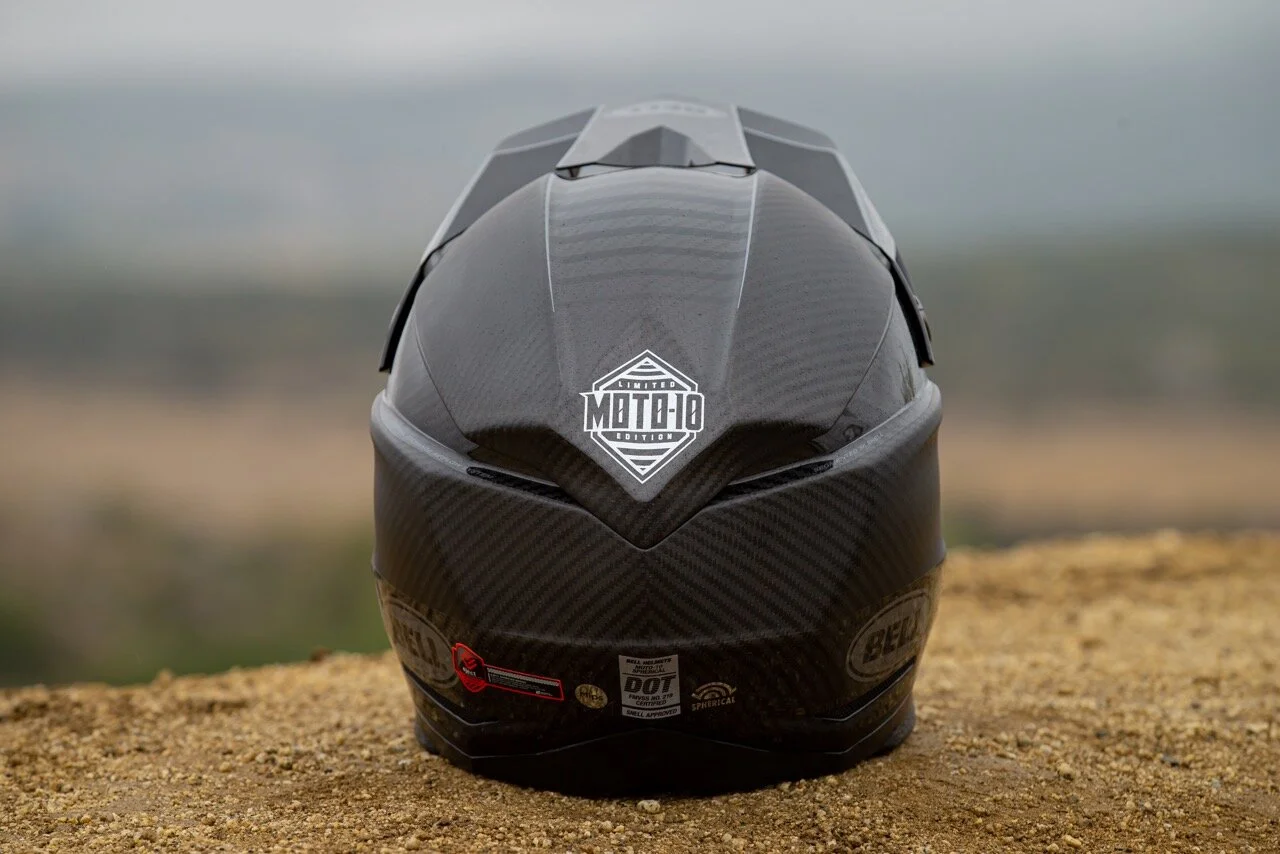
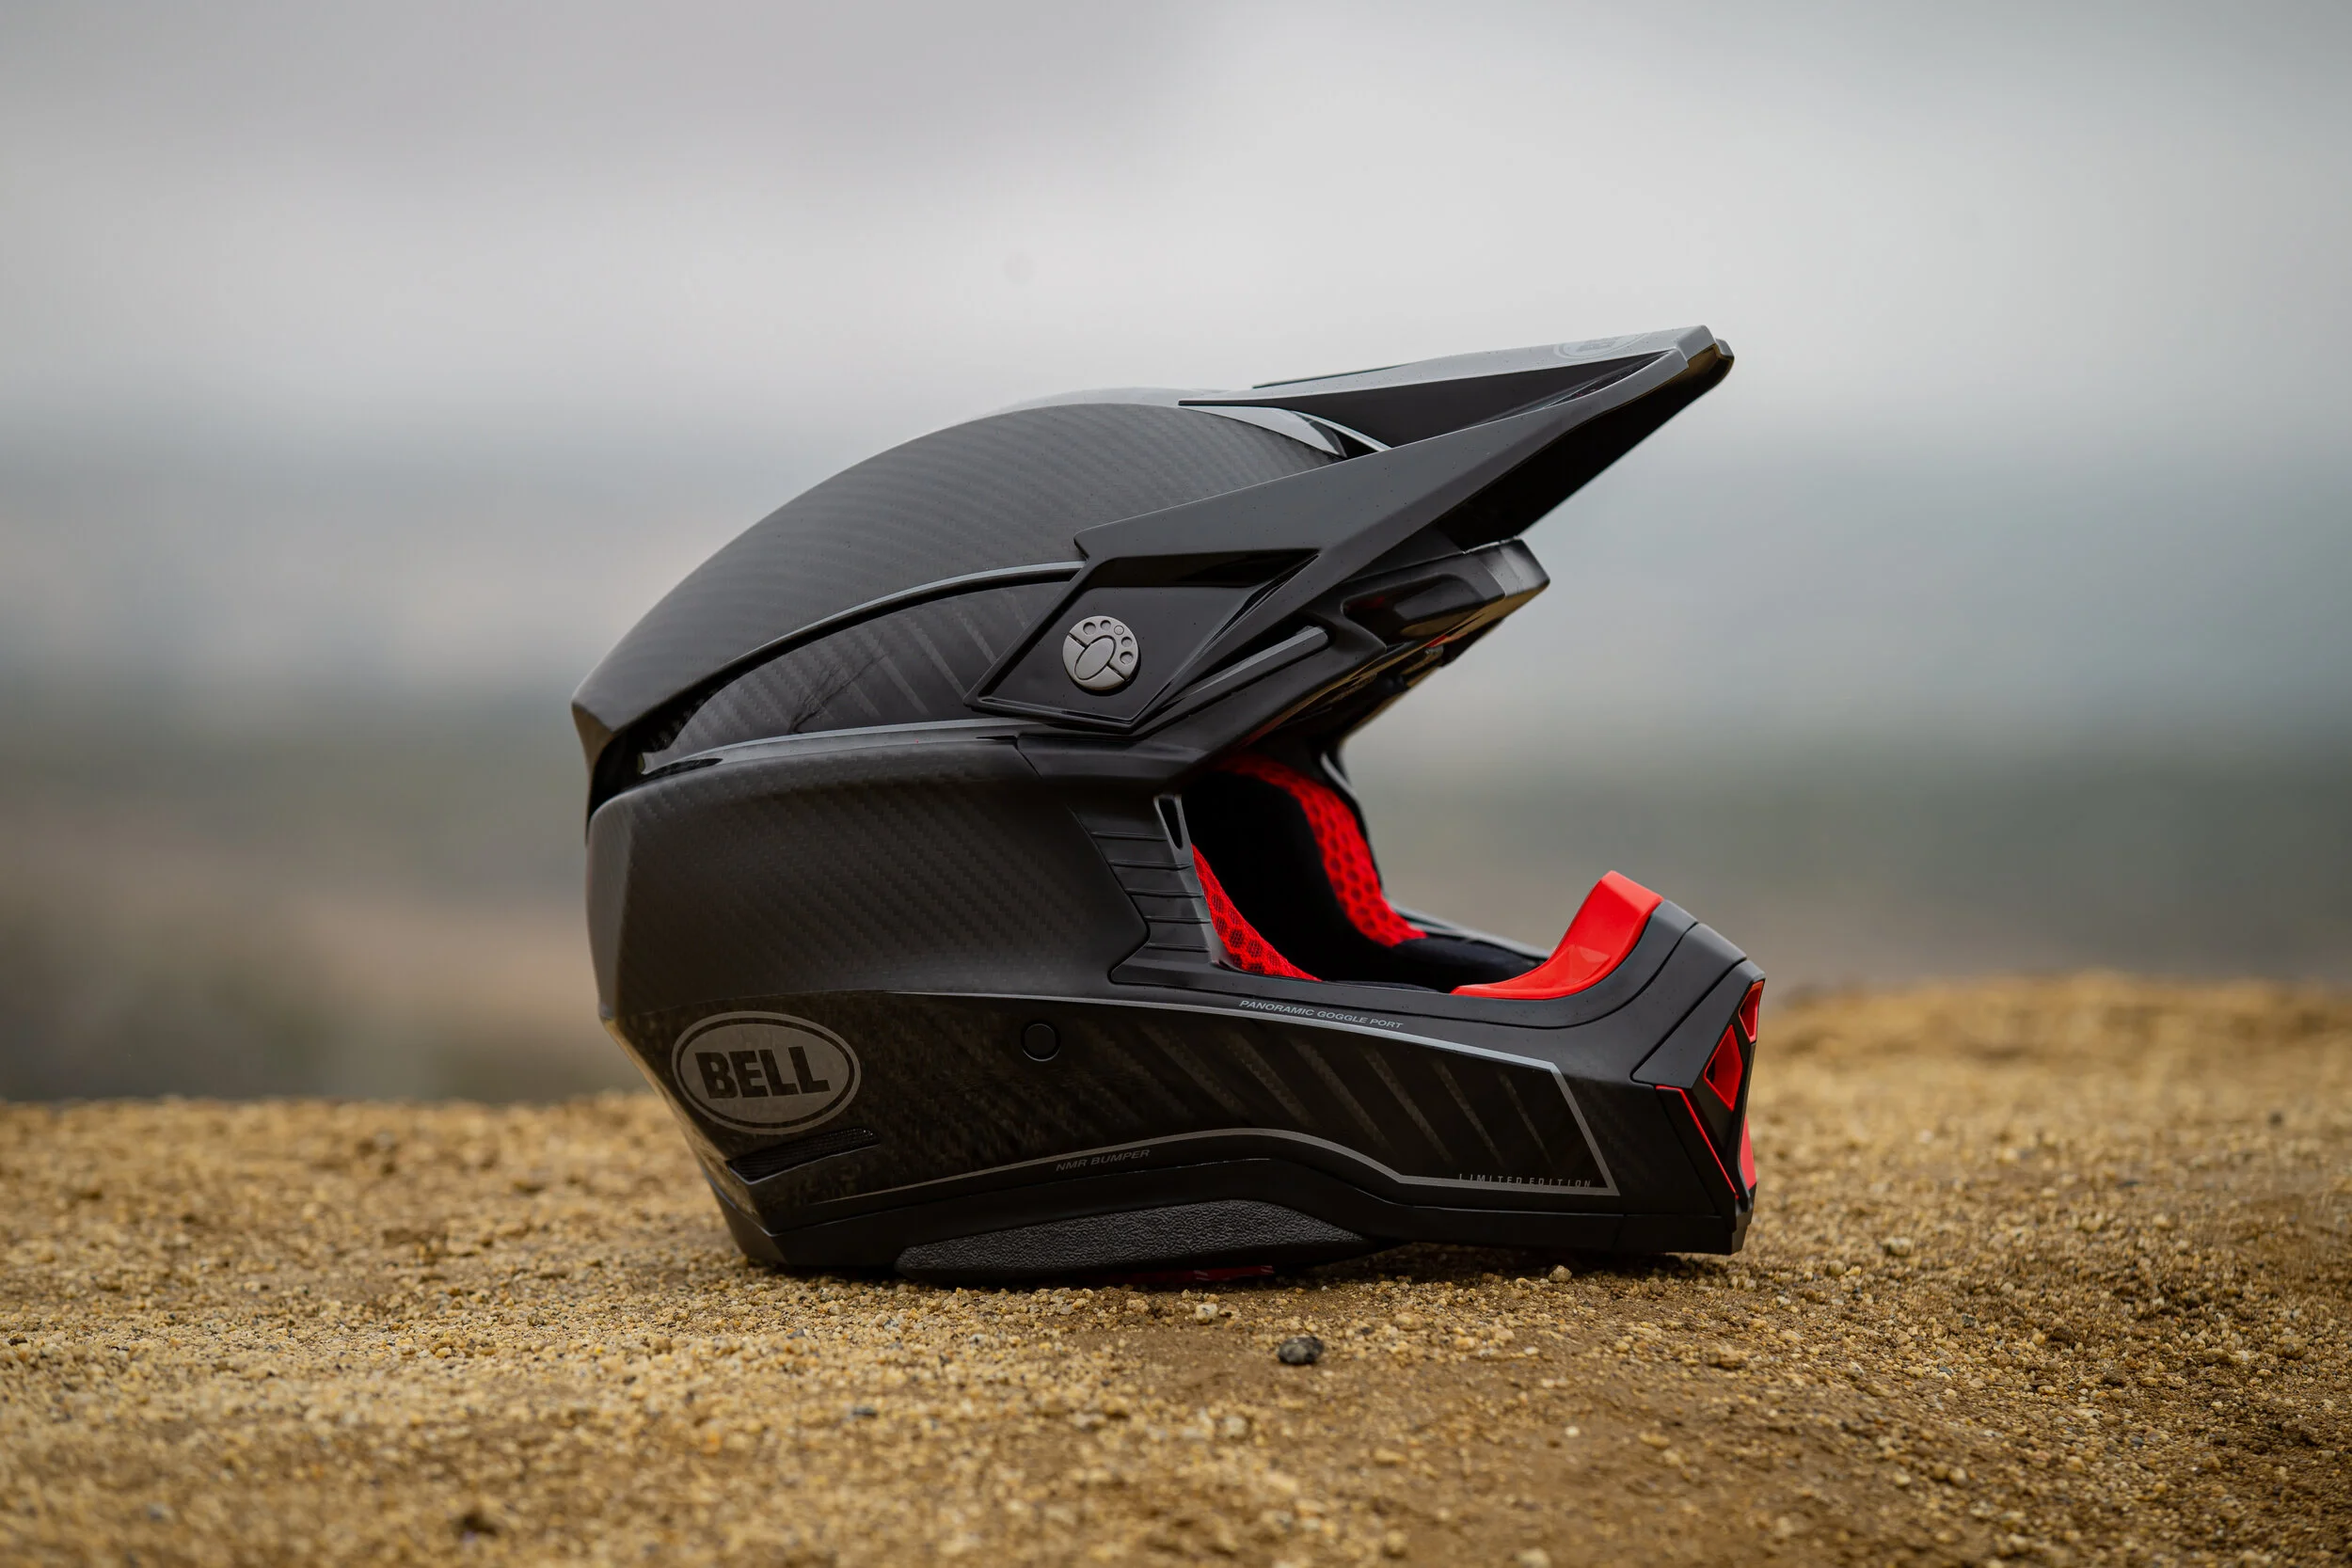
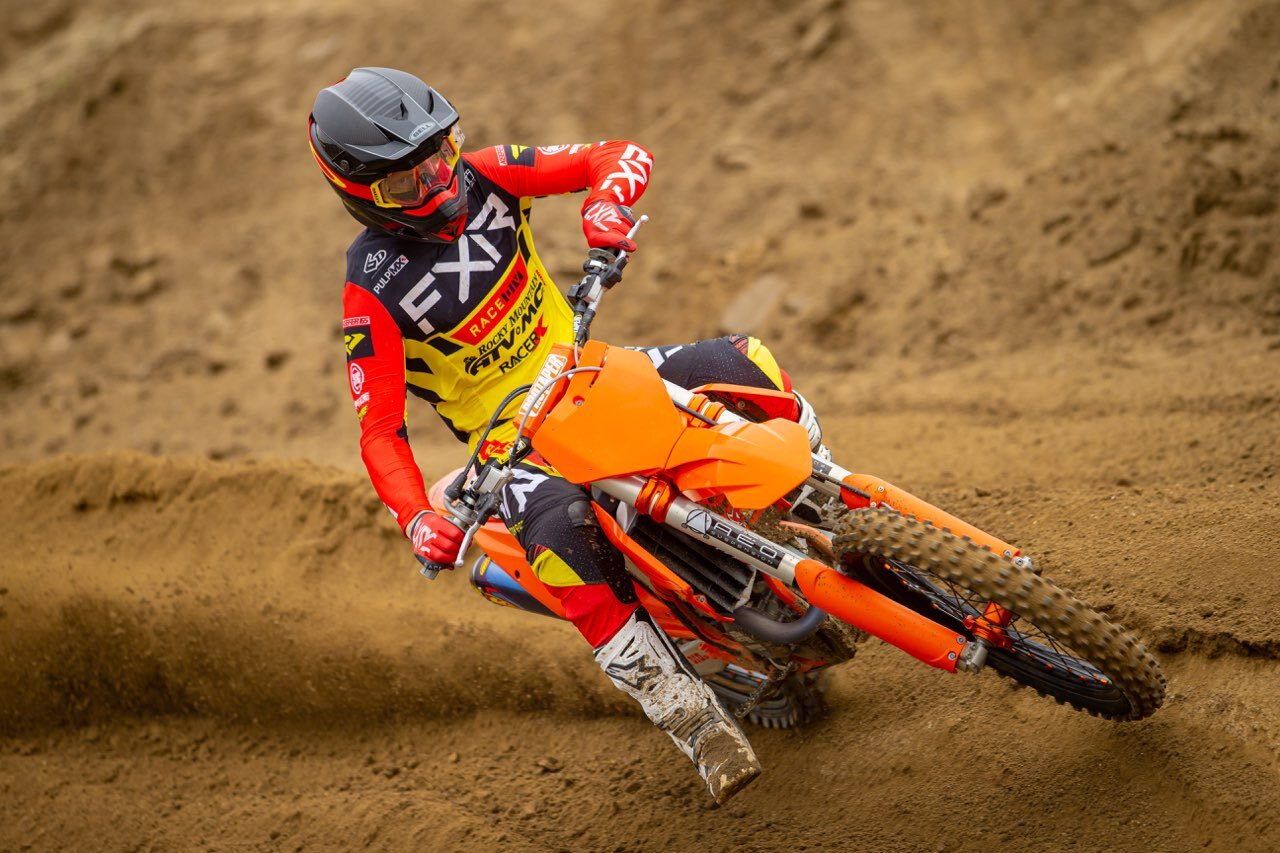
I have been able to put enough time in the Bell Moto 10 helmet to give you a proper first impression, but before I do that, let me give you some background on my history of wearing Bell Helmets. Growing up in the high desert one of the perks is that I got to ride everyday after school from the house. Usually that meant getting off the bus, walking home, doing my chores/homework, and then immediately going to my favorite dez track to ride. After years of doing this, my mom had to witness me coming home with broken bones, a bloodied face, and the occasional missing skin, but what she didn’t see was a kid with a concussion. My dad was always adamant about putting me in Bell helmets when I was younger to keep me safe. I was raised in a Moto 3, 4, and 5 kid growing up because that is what my father believed in. Soon thereafter, when I had to spend my own money on helmets, I ventured out and tried other brands with some success, but I always remember my younger days in those Bell helmets. 

BELL_INTRO_OWENSCE8U4346.jpeg
BELL_INTRO_OWENSCE8U4367.jpeg

Spherical Technology

Spherical Technology, powered by MIPS®, helps redirect impact forces, bringing market-leading design, performance and brain protection together without compromising comfort, ventilation, weight or style.

Ball-and-Socket Design

Spherical Technology’s ball-and-socket design helps redirect impact forces away from the brain by allowing the outer liner to rotate around the inner liner during a crash.

MIPS®-Equipped

MIPS stands for Multi-directional Impact Protection System, which is a leading slip-plane technology inside the helmet designed to reduce rotational forces that can result from certain impacts.

Segmented 3K Shell Technology

Special shell design that provides a large exhaust vent that expels hot air out of the helmet, ensuring the rider stays comfortable and cool.

No Missed Races Bumpers

Using a softer EPP material, two bumpers on either side of the helmet compress under load but bounce back to its original form, reducing the likelihood of further injury caused from the helmet contacting your body.

Panoramic Goggle Port Technology

A wider port provides better fitment, optimal sealing, and a massive field of view, increasing the rider’s visibility and safety when needed most.

Magnefusion Cheek Pad Emergency Release System

Allows for easy removal of the pads for washing and enables emergency responders to easily remove the cheekpads first before removing the helmet following an impact.

Sweat Management

With the combination of the T.E.A. System, Spherical venting channels, and Segmented shell, we created the ability to force perspiration across the rider’s brow—away from their goggles—preserving vision late in a race.

Virus CoolJade™ Comfort Liner

This removable, washable liner is made of recycled jade fabric to create a natural cooling effect. The ultra-wicking construction combined with CoolJade-infused yarn decreases your skin surface temperature up to 10˚ F, keeping you cool, comfortable, and focused on the race at hand.

Flying Bridge Visor

This visor design allows more flexibility and improves airflow across the helmet. By not using a traditional center post and screw concept, we’re able to increase the amount of energy-management material in a high-impact zone.

Thoughts:

So after spending a couple weeks riding in the new Moto 10, I am pleasantly surprised on how much more comfortable this helmet is for my head shape (I have more of a round head). Even though the weight of the helmets remains close to the same, the weight distribution of the Moto 10 feels evenly dispersed. The Moto 9 felt heavy directly on top of my head, but the Moto 10 feels much lighter when riding longer Motos. The Moto 10 fits snugger initially when riding with it brand new, but slowly breaks in and wraps around my face much more than the Moto 9 did. The way the helmet encompasses my head feels more secure and tighter in a good way (similar to an Arai VX-Pro 4). The liner/cheek pads have more comfort to them, are softer to the skin and overall just has more of a hug like feel that wraps around your cheeks (similar to a road racing helmet). The Moto 10 eye port now allows the rider to choose wide peripheral goggles as my Oakely Airbrake’s and 100% Armega’s seal much better to my face than they did with the Moto 9.

Ventilation is improved as the Moto 10 can cool your head down better than the Moto 9 on hotter days. Even though I assumed what Bell was explaining to the media about their ventilation system was just marketing BS, the Moto 10 actually can push sweat away from your goggles. I let one of my well known testers (that sweat profusely when riding) try the Moto 10 on a hot day at Glen Helen and he was blown away that his less than stellar goggle foam didn’t get soaked with sweat. (Editors Note: I am not much of a sweater, so that had to get put to the test by one of my guy’s). One of the other aspects that some other media outlets do not talk about is outside noise. Some helmets are louder than others, but the Bell is surprisingly quiet for how much ventilation it provides. Usually when I get a helmet that ventilates well, it is loud to the outside world, but the Moto 10 is in the top three helmets I have worn lately that muffles out bike noise.  

BELL_INTRO_OWENSCE8U4315.jpeg

If there is one negative that rolled over from the Moto 9 is that the chin bar area of the helmet is still close to my face/nose and when you wear certain goggles, the frames of those goggles damn near stick out passed the chin bar area of the helmet. It doesn’t hinder anything, but can look strange if you’re not used to it. Overall, my initial impression is that this Moto 10 is a much better Bell than the Moto 9. This is a helmet that I could actually live/want to ride with and with the updated tech along with the MIPS technology, I could actually believe/trust in its protection. 

Positives:

• Quality – You’d expect an excellent quality of finish on a $800 helmet, and this thing delivers. With a carbon compose shell, it’s both lightweight (around 1300g) and strong. As an added nice touch, it comes in a cool padded carry bag.

• Style – Aside from the cool carbon finish, it’s a good-looking lid with a contoured shell shape.

  • Comfort/Fit – The sophisticated impact liner and soft padding produces an exceptionally good fit. In fact, you can feel the liner actually mold to your head shape once you put it. In other words, it gives you a more personalized, form fitting helmet

• The Padded Liner – With its uncomplicated design (no tabs, just four plastic clip-studs), the liner is simple and easy to remove/replace. And in addition to being convenient, the magnetic cheek pads are a real advantage in the case of an emergency.

• Ventilation – This helmet flows Ari extremely well. The way it forces out sweat is something we have never felt before in a motocross helmet. 

• Attention to Detail – The stainless steel mesh that’s used in the chin-piece and ventilation exhaust ports is stylish. I absolutely love the magnetic tip in the fastening strap. This makes it extremely easy to secure with gloves on. The built-in Eject Helmet Removal System cavity in the liner means there’s no need for any modifications to fit this system (which is now mandatory for racing in many countries).

Negatives:

• Visor Screws – They have an inventive design (they’re recessed, designed with breakaway tabs, flick out to use and then back to flush), but with only two lateral screws, you have to run them super-tight to keep the visor fixed in place. The visor will not move when riding, but getting the visor to a correct position (before riding) without looking like you have dune goon syndrome is tough to do.  

• The Chin-Bar – The shell’s compact design puts the chin-piece close to your mouth, this can accelerate goggle fogging in wet/cold conditions if you start to breathe heavily. Removing the nose guard helps this however. I would prefer a slightly longer chin bar area however. 

BELL_INTRO_OWENSCE8U4635.jpeg

Thor Terrain Off-Road Pant And Jersey

Although I ride year around, winter in Southern California is my favorite time of year because it means wet dirt, awesome traction, and prime trails. To me there’s nothing better than taking off from the truck on a cold morning into the unknown of a good trail ride. This time of year also gives me the chance to try some new off-road riding gear form various companies. Thor’s original roots may be in motocross, but they also have a long history in off-road racing and trail riding. I was pleased to see that they hadn’t thumbed their nose at us off-road riders and had a new line of off-road specific gear called “Terrain”.  I received the gear just before a good rain, and when the sun came out the next day, I was on my way to Kris’s house to put it to the test.

IMG_1602.jpg

The Terrain jersey is made from a four-way stretch material and has abrasion resistant sleeves to minimize fraying when riding through thick brush. The paneling is vented to promote airflow, and raglan style sleeves have only one seam underneath the arm to try and minimize snagging. The pants are made with rip stop paneling in the high wear areas, use double and triple stitch seams and have full grain leather inside the knees for grip/durability. There are two external pockets with waterproof zippers and one internal hip pocket. There are waterproof zippered vents for better airflow when needed, and the waist uses a dual clinch to keep everything snug. 

IMG_1608.jpg

The Terrain jersey has a great cut when it comes to fitment (I’m 6’ 175lb and wear a large). Unlike a lot of off-road gear that can be baggy, the Thor jersey is form fitting without making me look pregnant after having that trailside beer. The stretch material on the neck is also a comfortable fit, not being too loose or too snug.  The venting works well, almost too well when its cold out, but that’s where the Thor Jacket /Vest comes in handy (keep an eye out for a review) the material on the sleeves feels a little stiff to the touch, but when on the trail it’s nice to not worry about snagging a bush and fraying your new jersey. Foliage tends to brush off the jersey instead of snagging and caching a seam. 

IMG_1604.jpg

When putting the Terrain pants on I noticed that the legs from the mid-thigh down were on the snug side and I really had to push to get my leg and braces (Asterisk) far enough down so that the waist would be far enough up on my hips. I gave them the benefit of the doubt and chalked it up to them being brand new and stiff since it was so cold outside. Unfortunately that wasn’t the case because I had to repeatedly fiddle with the mid leg sections of the pants due to them feeling tight enough to hinder my ability to move around on the bike. Since the pants felt sucked down in the knees, it made the waist slightly low and of course the crotch area didn’t stay high enough, so I found myself at every stop stretching out the crotchin order to situate the pants. That being said, the front button and double latch were comfortable and never came undone. Speaking of the crotch area, where there is traditionally a zipper, the Terrain pants have a panel that is always connected and just folds open or closed when buttoning or unbuttoning the front of the pants. When it comes to having a bathroom break on the side of the trail I found it hard to open the pants enough to get my junk (or stream for that matter) to clear the flap. The protective paneling worked well to fend off traditional off-road obstacles, but was no match for the new DR.D head pipe that doesn’t have a heat shield.  While the paneling may have melted, the leather inner knee area hardly showed any wear from the hot head pipe even after many close encounters. The zippered vents worked well and it was nice to have the option of opening or closing them dependent upon the temperature. Pockets are very important when it comes to off-road pants, whether it be for carrying your phone, some gel packs, or some spare tools. The placement of the pockets on the pants was less than ideal for a couple of reasons. One is that they are very hard to unzip in the sitting position, especially when wearing gloves. Secondly, that no matter what I stored in them, whenever I bent my hip, whatever was in the pockets, either limited my mobility, or jabbed into my hip/thigh.  

IMG_1610.jpg

I didn’t get a chance to try the Terrain gloves as Thor sent me some Draft gloves that were minimal for off-road protection, but very comfortable and although minimalist, they seem to be holding up well. One thing that is always a downside to off-road gear lines, no matter the company, is that there are limited colorways, but that’s simply due to the fact that the volume of off-road gear sold doesn’t justify the cost of investing into multiple colorways.  With the Jersey coming in at $59.95 and the pants retailing for $139.95 the Terrain off-road line of gear is on the pricey side for what you’re getting. With that said, just a few refinements would greatly improve functionality and mobility of the Terrain gear. 

 -Michael Allen (michael@keeferinctesting.com)

Alpinestars Tech 7 Boot Review

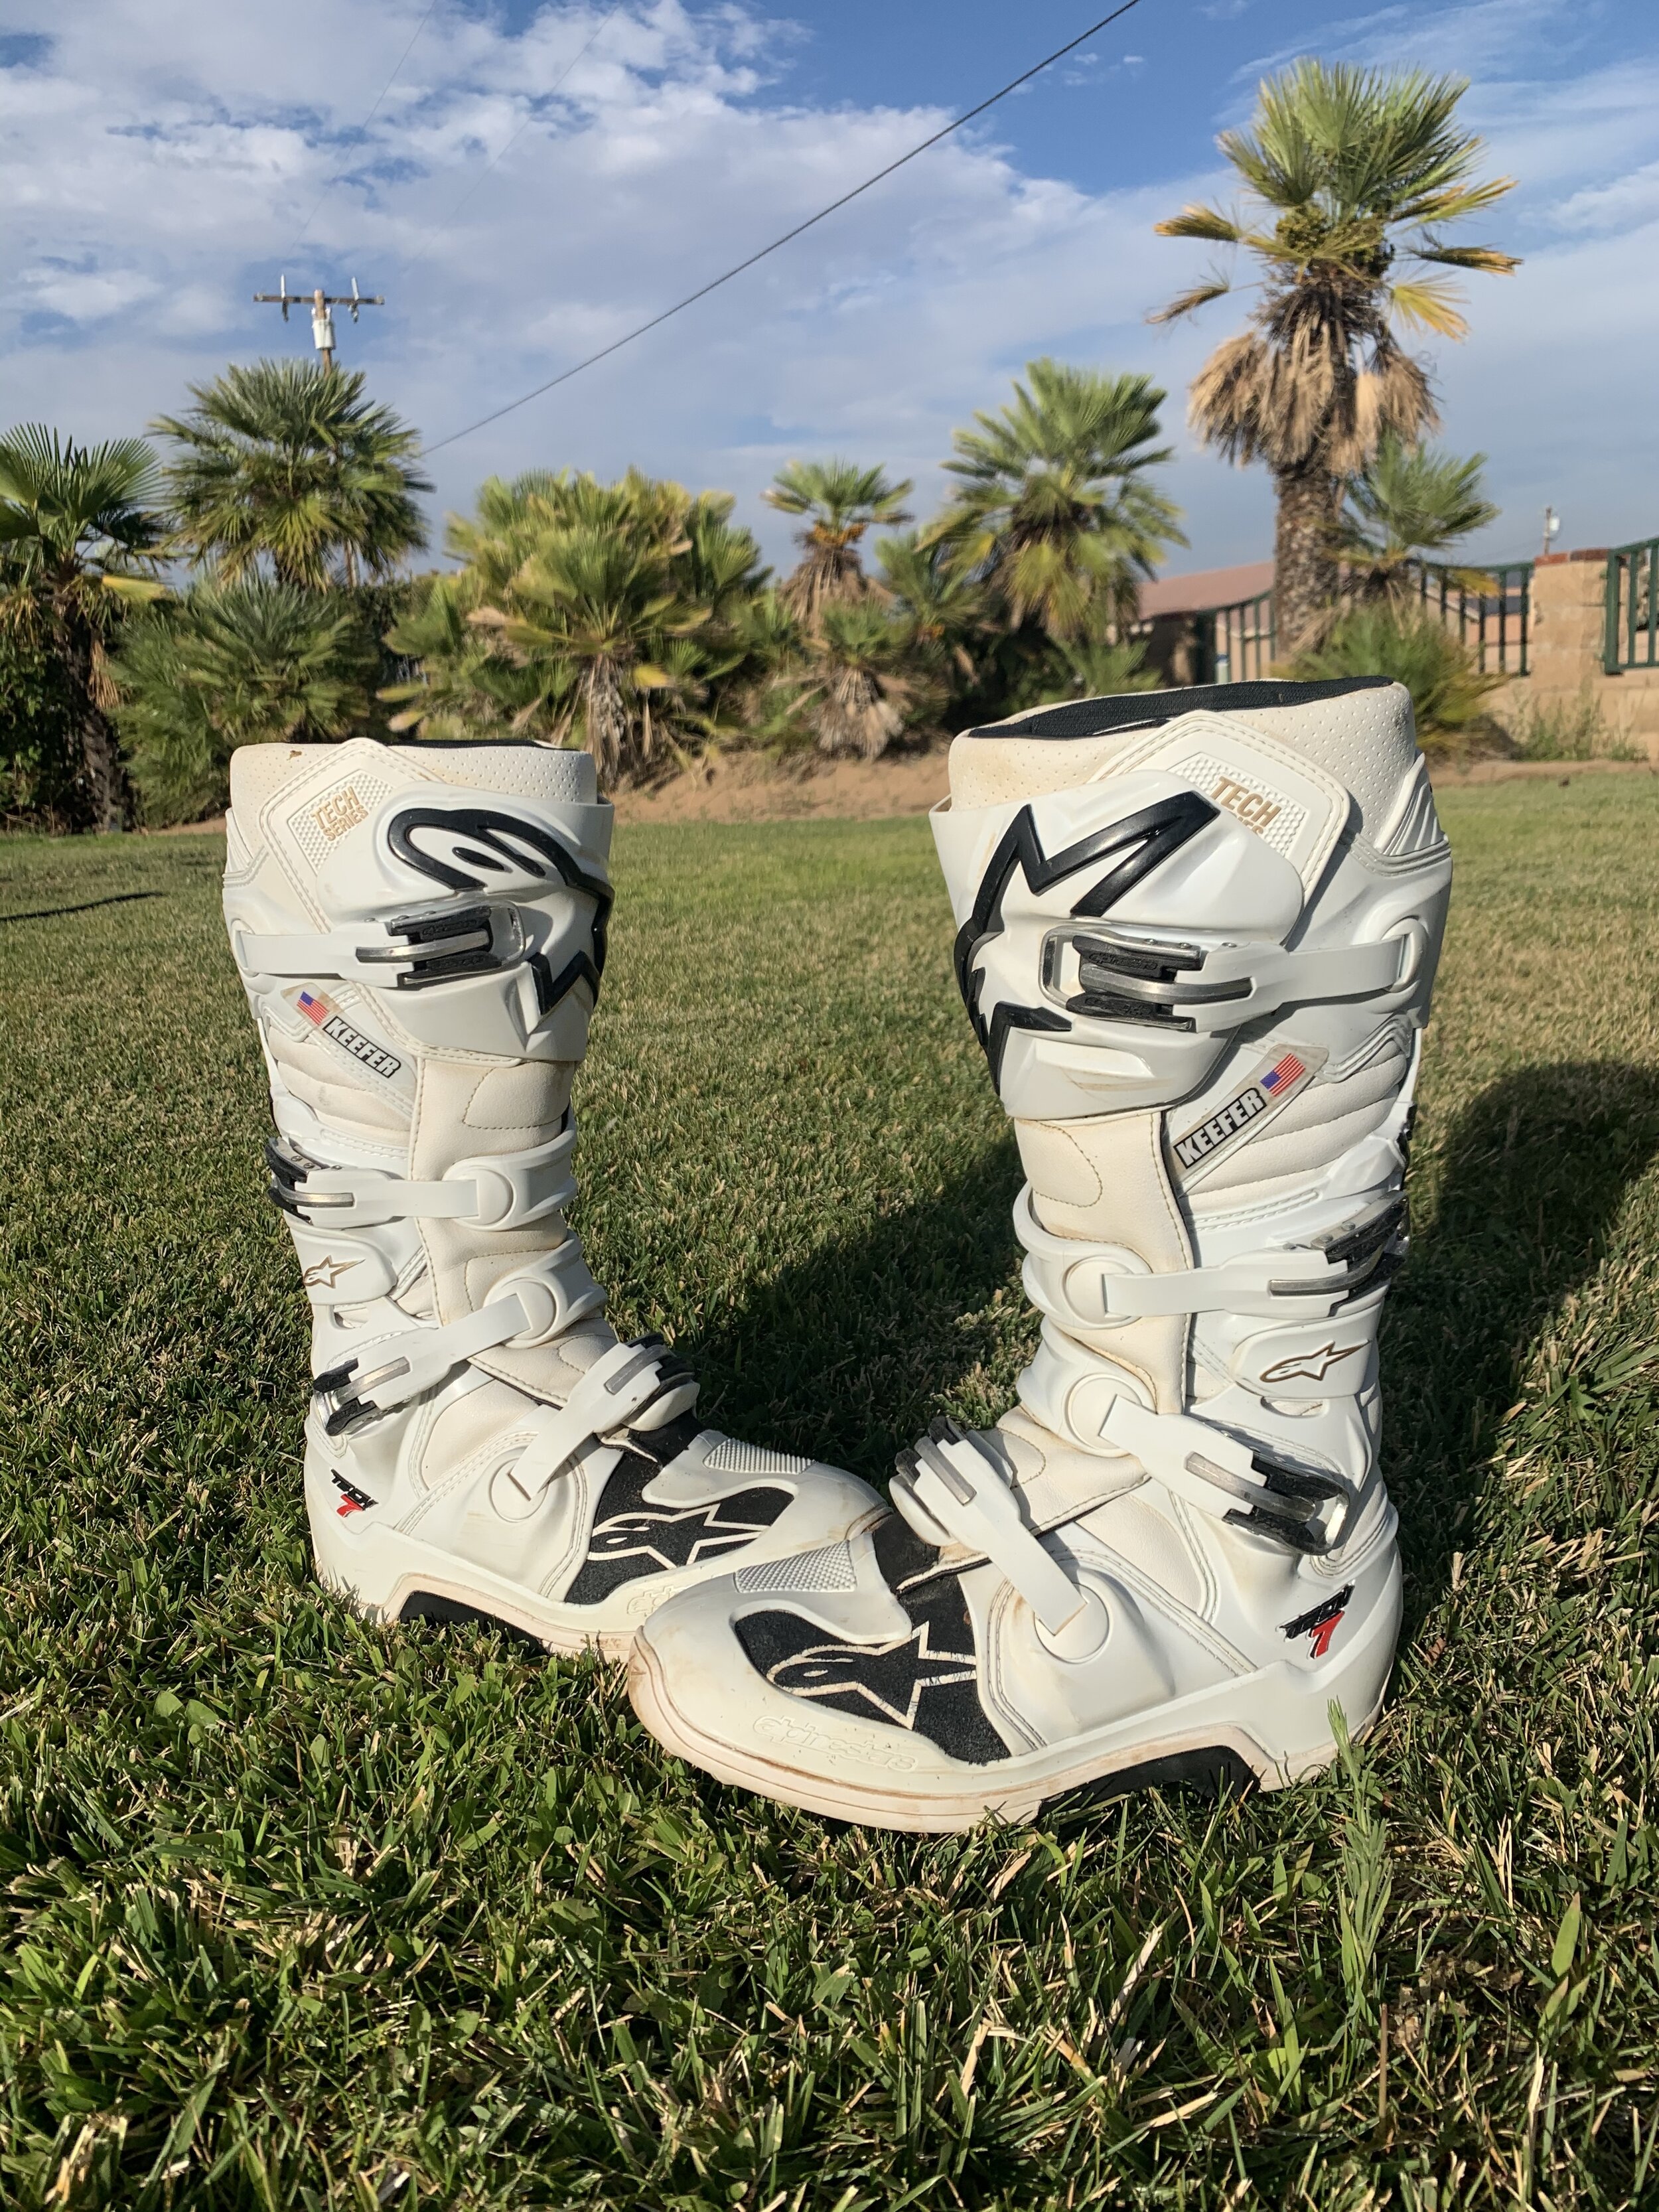
I have worn Alpinestars Tech 7’s on and off for several years now and enjoyed the mid level price point boot so much that I put my 14 year old son in them because of a few reasons we will get to below. The Alpinestars Tech 7 is one of the more popular motocross boots in the states as it’s lucrative price point seems to gel more with the blue collar rider. The Tech 7 is designed and developed in Italy, but manufactured in Alpinestars’ facility in Asia in order to keep the cost down. In doing so, the Tech 7 comes in about $230 less than the company’s top-line boot, the Tech 10. The most noticeable difference between the two is the fact that the Tech 10 uses an inner bootie, while the Tech 7 does not. The Tech 7 boot features several flex points and four aluminum buckles on plastic straps. There is also a Velcro closure at the top with a gaiter for closure. The Tech 7 has undergone some changes in the past couple years which include a redesigned dual-compound sole, as well as the instep and the Achilles accordion flex zone.

IMG_3679.jpeg

The Tech 7 requires almost no break-in as it will literally take a moto or two to get used to the feel of the boots on the track. The pivot and flex zones are well thought out, so you can unbox them for the first time on the morning of a race and have no problem. Another bonus is the fact that they are easy to put on, even for those of us with bigger calves/ feet. This is often a problem with inexpensive boots; manufacturers will resize the foot compartment for larger feet but use the same upper section. That means you can’t get your foot through the ankle opening or secure the top of the boot, but not so with the Tech 7. The Tech 7s are easy to put on and once the four buckles are fastened, they fit well and are comfortable. Sizing of the Tech 7 are true to size. I wear a size 10 and the Tech 7s fit just like my Tech 10s due, but with a slightly more ankle room.

JAY_5208.JPG

In terms of shape, the Tech 7s fall right between Sidis, with a narrow toe box and Gaerne SG-12’s, which are wider. I still think if you have a wider foot, you can still appreciate the toe box area as well as how protective that area is when hitting objects on the track or trail. Protection is outstanding even without the inner bootie. I am more of an inner bootie type of rider, but not having one with the Tech 7 didn’t leave me wishing for more ankle protection. The sole is moderately flexible and wears very well. This is always a difficult balance; too much rigidity and you can’t feel the shifter or brake pedal, too much flex and the footpegs can beat your feet into submission very quickly. Wear can also be an issue with flexy boot soles, but the Tech 7s have tougher material right where the footpeg comes in contact with the soles as well as a steel shank. The sole and footpeg inset are replaceable, which is nice if you plan on living with these boots for more than a couple seasons. I like that the inside grip material on the Tech 7 actually works when squeezing the spars of the frame and do not wear as quickly as my Tech 10 inner grip panels. 

JTA_5087.JPG

Overall, for $369.95 the Tech 7 to me is one of only a couple pairs of boots I would even wear in this price range. My son Aden loves his Tech 7s and prefers them over the Tech 10 because of how much lighter they feel when he rides. The tech 7s are 1.3 pounds lighter than the Tech 10 on the scales so when you’re putting in longer motos with deep ruts the lighter feel on your legs can come in handy.  

If you have any questions about the Alpinestars Tech 7 boot or any other boots for that matter email me at kris@keeferinctesting.com

"On My Own Time" (Fly Racing Lite Hydrogen)

Time… It’s something more precious than any amount of money. When you get older time becomes more valuable and as you all know when you get older there seems to be less time in the day to get things done. When at the track, I get asked questions like “what do you ride on your own time” or “what product do you use on your own time, when you’re not testing something”? After getting these questions asked to me several times, I thought it would be a good idea to start a monthly article on what I like to use on my own time. Even though my own riding time is rare, there are times when I just go ride to just enjoy the ride, not for the sake of testing something. 

Coming from a business standpoint, people assume that I only use or test companies products that pay me, but in most cases that is simply not true. I left Dirt Rider Magazine to create a testing media outlet that has transparency and lets people in on what is REALLY happening within the walls of a media outlet. I didn't want any hidden agendas and I didn't want to just be an editor that you can only talk to through a magazine or website. I hated being at Dirt Rider and having to talk highly about a product that simply wasn’t good, just because they were spending money with the magazine. I hated hiding behind the print advertising wall. I lost sleep over it. I would come home moody because it just didn't feel right to me. Telling the consumer to go ahead and purchase a product when it’s inferior not only ruins integrity, but it throws consumers money into the trash. It bothered me. 

I grew up with a father that didn't have a shit ton of money and he would rely on magazines to guide him into the right purchasing decisions. Hell, I barely had a relationship with him because he worked so damn much. The times we did get to spend together usually revolved around dirt bikes, so getting the correct parts put on our bikes made our time spent together less stressful on him. However, that wasn't always the case. What I didn't know (at that point in my life) was that time together, with dirt bikes, had costed him a lot of money (as well as labor). Sometimes my dad would purchase a product that he thought he or I needed, but found out later, through trial and error, that he was misinformed. It turned out it wasn't as good as stock, was a POS, or didn’t fit right, but because “the magazine” said “it was a must have” he went out and learned the hard way. When I started working for Dirt Rider I really thought we were going to take the “hard way” out of purchasing products and/or machines for readers/consumers. That theory wasn't always the way it worked out at the magazine, because we normally had some hurdles to jump through before that would happen. Little did I know in that world the edit side of things do not met eye to eye with the sales side of things at times.

14775FDB-E44B-4705-A49B-90B6CA5749AB.JPG

Of course any business has to make money to operate, but what if you believed in a product so much that you only took those advertising dollars from the ones YOU truly believe in? That was my thought process when I was thinking of leaving the magazine to start my own deal. I wanted that motto to be my guideline when I started Keefer Inc. Testing. I knew I probably wouldn't make as much money as the other big media outlets, but I didn't care. I would rather be able to sleep at night than have the weight of steering a fellow blue collar type of rider, like my dad, into the wrong direction with a product or machine. Maybe this is a horrible business model and I am doing it all wrong, but to me it’s something I can truly do that lets me sleep well at night. I had certain companies in mind that I grew to love after testing them over the years and I knew that they had great products, so I went after those companies to see if they were interested in advertising with my brand. I wanted to push those products more on the Keefer Tested Podcast and wanted to have those companies a part of the Keefer Inc. Testing mission statement so to speak. Hell, who knows? Maybe it was that damn movie Jerry McGuire that got me inspired, but I needed to know “who’s coming with me”. 

Now I won’t sit here and tell you that every single company or product that I like has come on board to advertise with us, but that doesn't stop me from using said product. I would rather spend my own money on something that works than get something free that doesn’t. If a product is good, I am not scared to go purchase it myself, for my own use, on my own time, and of course let you all know about it. If it isn't a great product, I want you to know about that as well. I am not here to bash companies products when they are not great, but I will let them know about it so they can try to make it better. Not everything works well on every bike or body and that company has the right to know that they need to be better. Just because we take advertising dollars from one company doesn't mean we will not test other competing brands and give you the straight scoop on if that’s a great product or not. We are trying to create an open line of communication between the consumer and the media testing world. Yes, our time is valuable, and so is yours, but if we can give you quality feedback that can help you smile, once you’ve used what you've purchased, it’s a win win situation.

So now that you have some background on why I am typing these articles, here is the first installment of “On My Own Time”. We will be diving into one company/product a month, some that advertise and some that don’t, but that doesn’t matter to me, because if I am using it on my own time, it could be worth yours as well. If you have any questions on any product you see here on keeferinctesting.com you know I will do my best to help you. Simply email me at kris@keeferinctesting.com and I will do my damndest to steer you in the correct direction. 

IMG_6913.JPG

Fly Racing Lite Hydrogen Pant/Jersey

Fly Racing has been a part of Keefer Inc. Testing since the beginning. Why? A couple reasons. It’s because they have a great product and also the people behind WPS/Fly Racing are genuine enthusiasts of our sport. I have been a fan of the Lite Hydrogen gear since their pant was redesigned in 2018. That pant incorporated the BOA system. Fly Racing is one of about three gear companies that I would spend my own money on (we will talk about the other two companies in a future “On My Own Time” articles) and below are the reasons why I like this product so much.

7F23B3F5-8C7E-4B8D-90E8-56E873DCEF1D.JPG

I am extremely happy with the BOA system on the Lite Hydrogen pant. Every time I wear another set of gear I am looking to tighten the BOA reel, but quickly realize that there isn't one available. If there was one thing I don’t like about other minimalistic pants is that they can be too stretchy in the rear yolk panel while accelerating out of corners. That can leave me with an untucked jersey as well as pants sagging down by lap three. I don’t have an ass! If you have an ass, maybe you DO NOT have this problem, but for my flat ass this is noticeable quickly. With the BOA system all I have to do is turn in the reel and tighten, so that my pant is securely locked to my waist. If you want to loosen the waist area you simply pull the BOA reel outwards and it releases the tension on the pant. The Lite Hydrogen pant has held up great against my knee braces (especially the leather) and although this is a very lightweight pant it has superb durability. The Lite Hydrogen pant is not as light as the FOX FlexAir, but has held together better over time for me and ventilates very well. 

19HH9-548.JPG

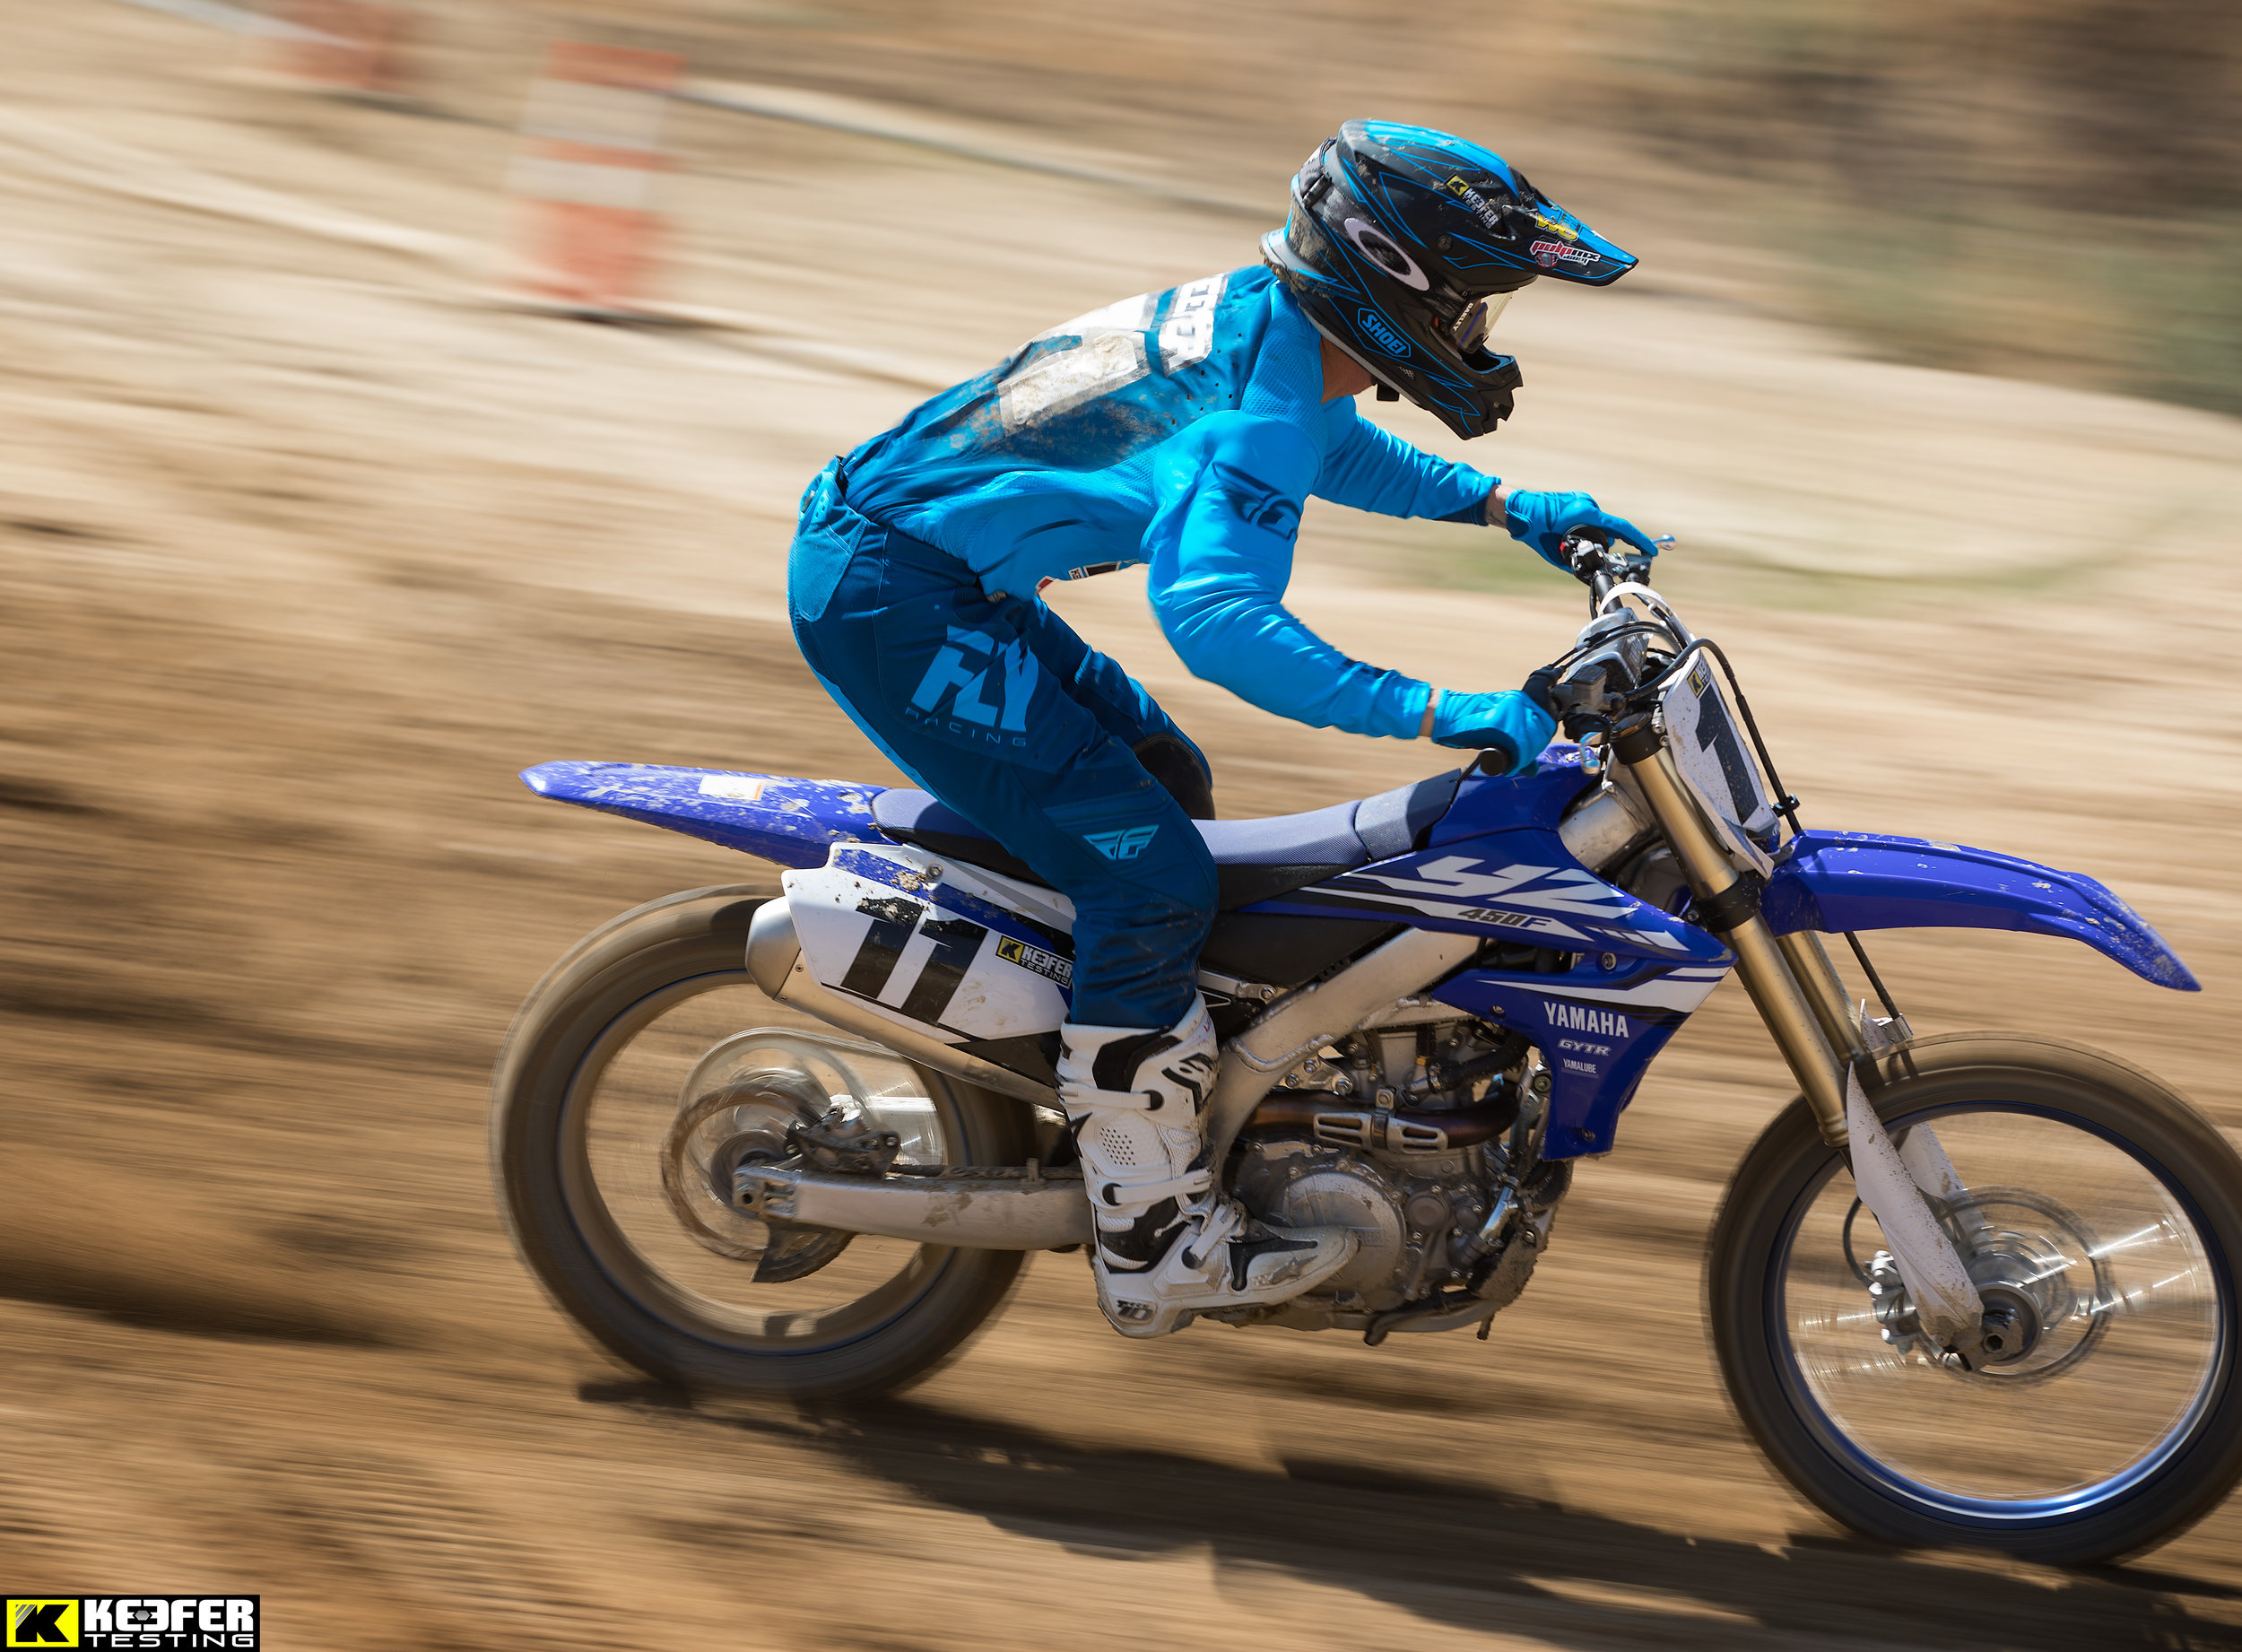
If you are a bigger guy don't fear because Fly sells the Lite Hydrogen pant in up to a size 38. I have seen a pair of 38’s on my large sized buddy and it doesn't look abnormal at all. Also chances are if you’re a size 40 the 38 is stretchy enough that you will be able to fit without any issues. When comparing the FlexAir and Lite Hydrogen cuts, the Fly pant is not quite as tight, has slightly more stretch, and doesn't hug against your legs as much. This left me with a little more room for an array of knee braces that I test. The colors that Fly came out with in 2018 is so much better than the colors they had in 2017. Bright yet clean colorways are what I prefer and that is exactly what the Lite Hydrogen is. Although I am not sure Fly recommends putting your pant and jersey in the dryer, I have done so on many occasions and the BOA reel sticks works flawlessly. Over the years the Lite Hydrogen pant continues to evolve and be one of the leaders in comfort and durability. It's tough to get a lightweight pant that can last more than a few months, but these suckers have held up to the abuse that I can give. 

The Lite Hydrogen jersey ventilates very well and the low profile/open cuff design is one of my favorite aspects of this jersey. Sometimes when you get an open cuff design the jersey will ride up your arms during a moto, but the Lite Hydrogen jersey’s cuff will stay in place and not go all Mike Alessi on you. The athletic cut of the jersey is on the snug side, but again not as tight as a FlexAir jersey. It’s important to note that the Lite Hydrogen is not as tight as the FlexAir for the bigger dudes with some extra weight in the belly region. Don’t fear the spare tire because Fly offers a 2X and I promise you will not look all EMO with a snug fitting jersey. Once you slip the jersey on you can feel how soft it is as Fly Racing’s material will not irritate your skin. You will also have enough stretch for an under protector if you choose to wear one (which I did on most occasions). Mrs. Keefer has washed the pant and jersey several times and the colors have not yet faded or dulled out. I also liked that Fly updated their collar in 2019 to a lycra collar that doesn't grab a hold of your neck like a WWE wrestler. 

88574BD9-4D20-4D83-9D1E-34779938518A.JPG

I remember when Fly Racing wasn't even in my thought process when it came to picking out gear to wear on my own time. Back in 2011-2013 I always dreaded having to wear Fly’s stuff for photos because it was so hot, baggy, and just didn’t look that great. Fly has evolved their line of gear and have made the Lite Hydrogen one of my favorite sets of gear to wear “On My Own Time”. 

KEEFER_litehydrogen.jpg

https://www.rockymountainatvmc.com/riding-gear/fly-racing-lite-hydrogen-jersey-p/?ref=1009


Fox Instinct Boots

Just in case you haven't listened to episode 7 of the Rocky Mountain ATV/MC Keefer Tested Podcast (Boot Comparison) I will now go over the Fox Instinct boot and how it performs//protects/feels/lasts. When the designers and engineers at Fox set out to design a new high end boot, they didn't just shoot for "almost perfect", nor did they accept that a finished product had to be flawed. They spent a huge amount of time designing, developing, as well as race testing various components, and after several years of gathering feedback from the top riders in our sport, they came up with a design that was ready to go into production for all us mere mortals. The Instinct boot design has been in production almost 10 years and in my opinion is one of the most comfortable boots to wear. Let me explain how they did this:

IMG_5685.jpg

The key goals in developing the Instinct boot were to combine freedom of movement with the highest level of protection possible; in other words, safety and comfort were a must for the Fox engineers. This starts in the guts of the boot where five key components have been utilized to create the perfect fit: An athletic insole provides running shoe-like cushioning, a steel shank supports the arch, a polyurethane midsole offers energy absorption, a TPU support is in place for impact protection and stability, and Fox's exclusive rubber Duratac outsole provides grip on the peg and is backed by lifetime durability guarantees.

IMG_5607.JPG

The rest of the boot is just as highly developed as the inside. A patented floating ball-and-socket buckle makes for easy operation with gloves on. Flexion is provided by a stabilizing hinge, which also ensures that the ankle cannot hyperextend past the predetermined lockout points. A host of other technical materials grace the boot to help create a solid weld between ankle and bike, and the overall build makes for one of the lightest boots on the market. Fox truly left nothing on the table when developing these suckers.

Over the course of the Instinct’s production lifespan, the sizing has been improved. I have noticed a true-to-size fit since early 2019, so if you have a 2018 Instinct and notice you went up a size from your normal sizing, the new 2019-2020 sizing is much improved. If you decide to purchase a new pair (and have an older Instinct model) you may have to go back down to your normal size. The toe-box is a little narrower than a Tech 10, but not as tight as a Sidi Crossfire 3, and the buckles are so much easier to operate than those found on some of the biggest brands in the sport. The first positive aspect/experience of the boot you will notice is the lightweight feel to the Instinct. My legs certainly do feel less fatigue when riding tracks that force you to ride leg high through ruts/corners. To me these are the lightest feeling boots that I have ridden with to date. The feature that I was most surprised with was the inner comfort of the boot. I am so used to have having an inner bootie for ankle support, I thought I would feel naked without it, but it literally took me only a few minutes until I appreciated how much comfort my feet/ankles had. I don’t have bad ankles, but I do ride a lot and my ankles can get sore from riding all day long. The Instinct boots do have more movement in the ankle area than a Tech 10, but I also don’t feel like my ankles are being overworked or stretched. The sole also has more grip than I was expecting, which provides excellent absorption/cushion to my ankles when slamming into jump faces or when I really screw up and case the crap out of something. Here’s a tip: After break in (which isn't very long at all) I will tighten up my buckles tighter than normal, so that I get a more secure lock around my ankle (this is important with the middle two buckles). The inner potion of the boots have excellent grip against the frame and this is an important feature to me because I grip with my legs a lot! Some boots use a rubber like material that simply doesn't grip well when squeezing, but the Instinct boot comes “stock” with great gripping material on the inside of each boot.  

IMG_5687.jpg

Like a good running shoe, the insole has enough cushioning and support without feeling too rigid or bulky. Off-road riders will love this boot based on the fact that it truly can be worn all day, but Fox also offers the Instinct in an off-road version as well with a more aggressive sole. The protection level certainly feels sufficient for the usual battery of rut-snags and rock-hits that I encounter on any given day of testing. However, to me, the Instinct is built for performance and comfort, but the integrity/support of the boot can break down a little quicker than other boots out there today. This is the only boot that I can wear straight out of the box and feel my pegs as well as my shifter/brake pedal without any issues. I can’t pull a set of Tech 10’s out of the box and feel “good” right away, but I am able to do this with the Instinct’s. The Fox Instinct boots DO NOT hardly need any break in period. They are ready to rock! 

The flip-side/bad news is when the Instincts get some time under them, they can get somewhat flimsy in the ankle area to me and I can feel my ankles flex too much when landing hard off of jumps. I usually keep boots for a fair amount of time (around 60-80 engine hours), but the Fox Instincts felt looser in my ankle area around 42 hours of engine time. This is where you will need to keep up pn your middle to buckles. I constantly adjust my middle two buckles to ensure I get a tighter fit around my ankle. I can’t stress enough how huge this is with this boot! Think of these middle two buckles as your daily routine of bike/gear maintenance. Just because the middle two buckles were good yesterday doesn't mean that they are correct for the another day. Tighten them accordingly and your ankles will thank you. Other pieces to the boot like the outsole, buckles, insole, and hinges never broke or failed, but I just feel the boot to be super soft (in ankle area) after some time of usage without adjusting the middle two buckles. Fox Instincts have lasted me over 40 engine hours, but have only seen stock pegs and not super sharp titanium oversize pegs, so your sharp peg riders keep an eye on your outsoles.

Send Them In!

Send Them In!

The Fox Racing Instinct Sole Warranty: Something that you may not know is that Fox offers Instinct buyers a free outsole replacement if your Instincts meet their requirements. Do yourself a favor and make sure to keep an eye out on your soles, so they don’t get ate up past the red indicator strip/marker. If they are worn and aren’t past the red indicator strip/marker, send your boots into Fox Racing and they can install original Fox Duratac inserts in for you at no charge! Here is the link: https://nushoe.com/fox-head.html

IMG_5605.JPG

Overall, the Instinct features an impressive level of performance and comfort that definitely lives up to Fox's claims. Coming in at $459.95, the Fox Instinct is less expensive than the Tech 10 or a Gaerne SG-12, so the decision to purchase shouldn't be about price. In my opinion, the Fox Instinct boot is the most comfortable boot out of the there, but will need more attention/adjustments to the middle two buckles, if you want them to protect your ankles, like Fox intended after some time of use. I look at the Fox Instinct boot like a factory spec tire that is available to us non factory guys. It provides maximum comfort and performance on the track, but just doesn't last quite as long structurally. Head over to https://www.foxracing.com/moto/mens/boots/ to get yours as well as view all the styles and colors.

If you have any questions about this test please feel free to email me at kris@keeferinctesting.com and I am here to help!   

Fox FlexAir Pant And Jersey

When it comes to riding gear there are only a few sets of gear that I really look forward to wearing day in and day out. I ride anywhere between 5-6 days a week and the gear that I wear must hold up over several hours of riding time, have enough stretch materials so I am able to move around on the bike freely, gives me enough ventilation that I am not getting over heated, have a comfortable fit, and of course make me look like I am the fastest on the track, even though I’m not. Fox Racing has been one of those companies that has been making sets of gear for the past few years that have checked all of those boxes. 

IMG_4916.PNG

Fox changed some of the features to their top of the line FlexAir pant and jersey for 2020, which grabbed my attention enough for me to re-test and get some information back to you all. The FlexAir jersey has been refined to maximize breathability and increase mobility. The active-fit sleeves with laser perforated venting are changed for increased breathability and airflow. The pant’s chassis has been redesigned to increase mobility and comfort. Fox updated the waistband to improve fit, refined the rear yoke to increase flexibility, and redesigned the internal liner to reduce chafing (something that I thought was needed on last year’s FlexAir pant). If you want to red all the features to Fox’s pant and jersey you can simply click on this link: https://www.foxracing.com/moto/mens/gear-sets/. For this article I wanted to give you all the straight scoop on what it’s like ride with this gear on the track. As you all know, I may or may not be a gear freak. 

IMG_5393.jpg

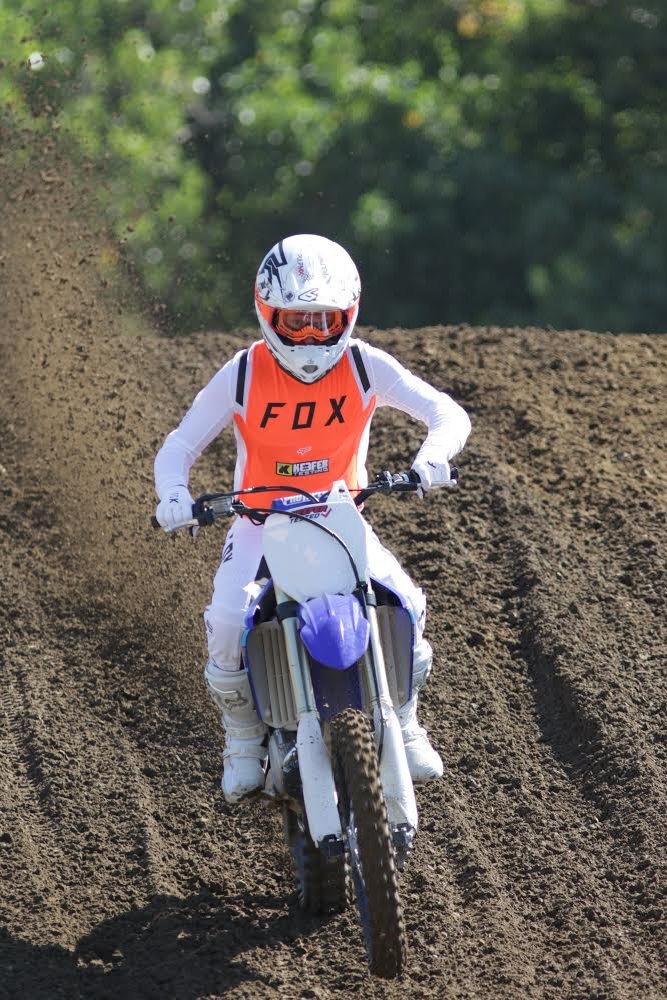
For warmer weather this FlexAir jersey is the best on the market with its Tru-Dri fabric material. The ventilation through the arms and a lightweight feel throughout my torso, there is no other jersey on the market quite like this FlexAir jersey. I don’t know if Fox changed the length of the arm for 2020, but after wearing my 2019 jersey and this new HOWK jersey back to back, it seems like the cut is slightly longer, so taller riders will like this feature more in 2020. However, I am 5’11 and the length of the sleeve/arm was adequate enough for my picky ass. The perforated sleeves ventilate insanely well, but unlike last year, when you happened to sweat, the sleeve doesn’t get crusty/hard feeling once your jersey dries. The 2020 FlexAir jersey doesn't have that harsh or course feel to the skin and remains soft throughout the day. The FlexAir jersey is athletic cut, but as snug as it is to your torso, the material of the jersey is super stretchy. All you bigger dudes out there do not stress on if this jersey will be too tight or reveal too much. It will be just fine! Trust me! You will like the way this jersey can conform to your body yet remain so comfortable throughout a long day of riding. 

IMG_5392.jpg

The cuff doesn't get stretched out like the old FlexAir jersey over time and although it’s somewhat tight when sliding over your hand, it’s very comfortable when riding (and isn't restrictive). The FlexAir jersey feels so light, it’s almost like wearing nothing, so be forewarned of roost if you’re a non-chest protector kind of guy. It’s super thin, yet surprisingly durable! Most underprotectors work well with the FlexAir jersey because it’s sso stretchy. I have worn three different types of underprotectors and all have fit well with my normal jersey size. You will not need to go up a size if you’re wearing a underprotector. Durability of the jersey is superb, but DO NOT go riding through trees with this jersey and expect it to last. Tree branches will rip the material on the FlexAir! This is a motocross only type of material. The jersey fits true to size and stays tucked in throughout the day.

IMG_5388.jpg

The Flex Air pant is an athletic style pant that fits tight/snug over my knee brace/knee area, but remains super stretchy through the thigh area. I am able to move around on the bike freely and feel less restricted compared to other non-athletic fit type pants. The word “snug” doesn’t have to mean “restrictive” or “uncomfortable”. Having a snug fit against your body can help make you feel streamlined while riding. This may sound like a line of bullshit to some of you, but I have gone back and forth enough with other brands of pants and jerseys that I can really feel the difference with the Fox’s FlexAir set of gear. Having a cut closer to your body that is stretchy really lets me move around the bike better without any hang ups or drag when riding (aka, seamless feel). It’s hard to explain how good the feeling is when wearing a pant and jersey that is snug enough yet can make your muscles feel more secure when riding, but also has enough stretch in it that you can move around/articulate your movements on the bike more efficiently while riding.     

IMG_5390.jpg

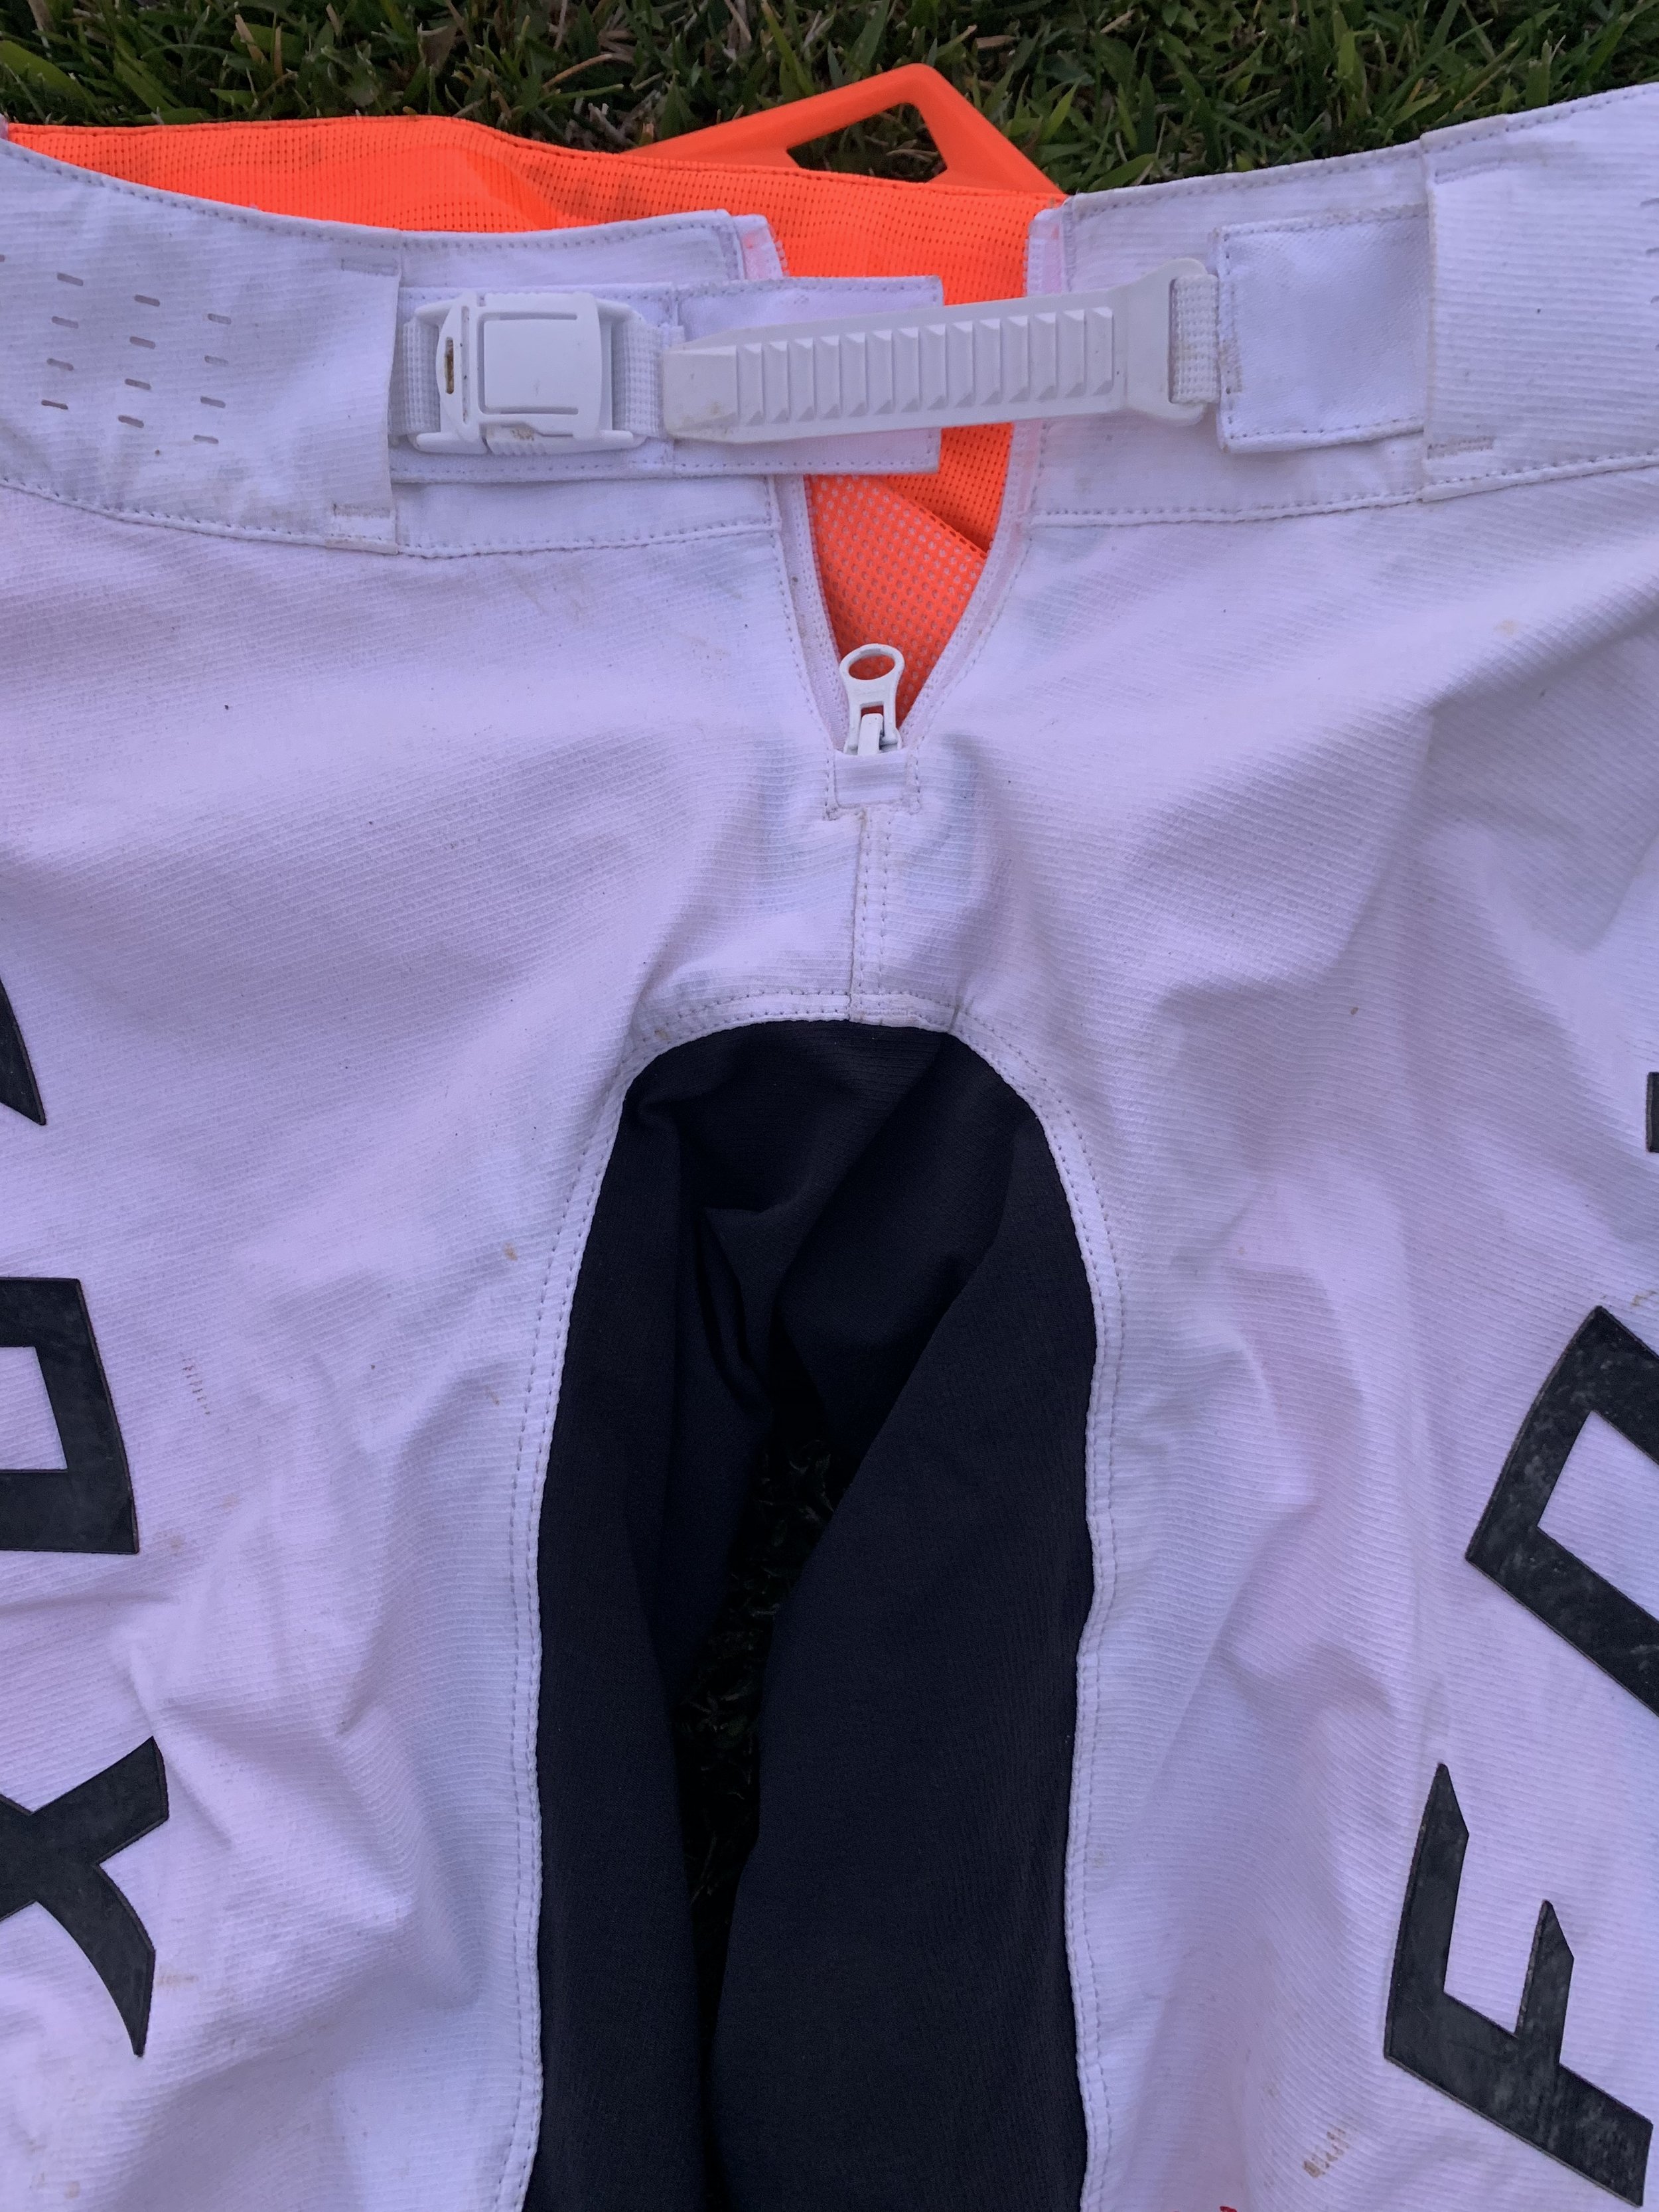
What’s odd to me is that no other media testing outlet ever really talks about this, but when going back and forth between athletic/non-athletic cut gear, you can feel a difference in drag (especially at speed) and weight. When going from sitting to standing with athletic cut gear there is less bunching of material therefore when going from sitting to standing I can actually feel the lack of weight of the pant. At the end of a long test day my legs are literally less fatigued because of the lightweight materials inside the FlexAir pant. The updated closure system is like having a half belt around your waist with Fox’s two-piece design. When you cinch down on the buckle it feels like the waist area is firmly secure all the way around your waist, not just the front area. I am a huge fan of the BOA reel on the Fly Racing pants, but this half belt is the next best closure system to me. The taped seams inside the pant are great and I wish every manufacturer would do this because you never get snags when pulling the pants up. Not only do taped seams help when putting the pant on, it helps when moving around on the bike and keeps the pant lightweight feeling. Fox’s “RAP” system really does work and is not just a gimmick. The redesigned internal liner will not rub your ass raw when riding longer motos unlike like last year’s FlexAir pant. I will say that I only ran into this chafing problem last year when wearing boxer brief type of under garments (Ethika’s, BVD’s, tighty whitey’s, etc.) with the FlexAir pants. If you’re a cycling short under garment type of rider then don’t worry as you may not even notice the internal liner change.

IMG_4917.PNG

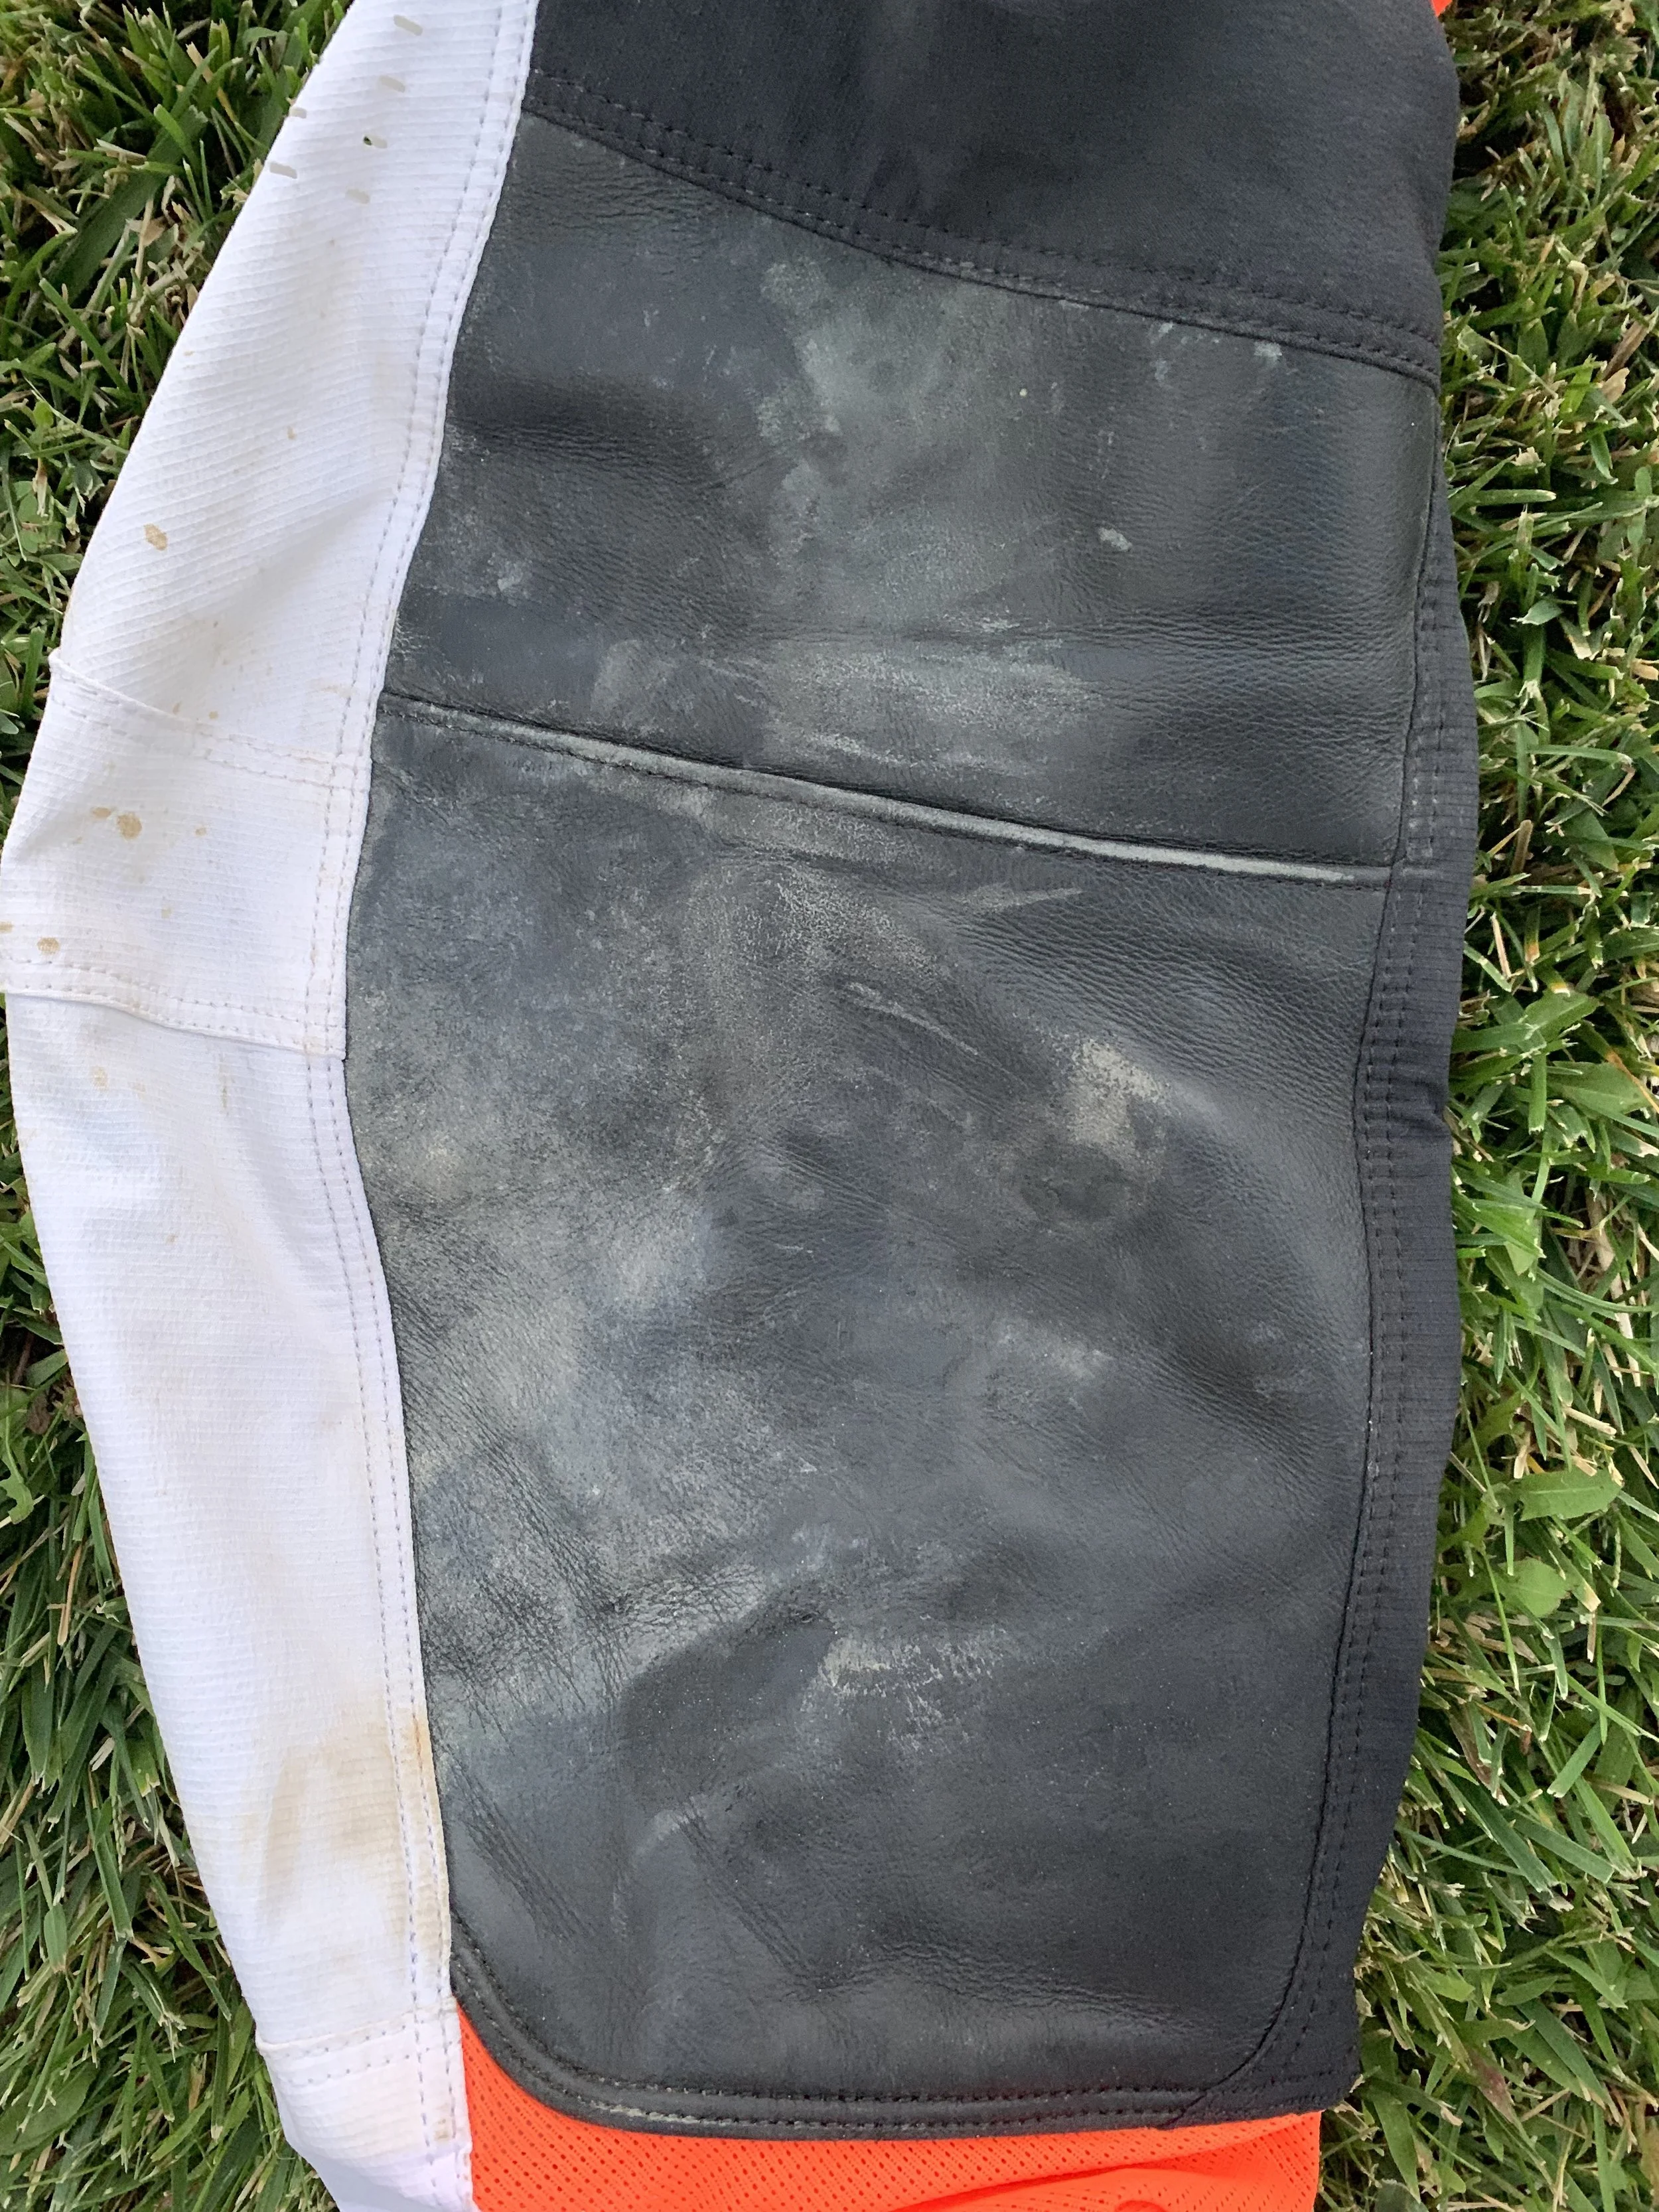
The FlexAir pant bends with my natural motion on the bike and doesn’t bunch up near the leather of the knee area when I am seated on the machine. Not to mention that the leather knee is extremely durable for a minimalistic type pant. I have endured more than a few weeks of durability testing with the FlexAir pant and it has held up well against my CTi knee braces as well as a heatshield-less Pro Circuit headpipe/mid-pipe. The FlexAir pant fit is true to size and has a little extra room with how stretchy the pant is in the waist. So if you're a size 33, a 32 will work just fine. 

The Fox FlexAir price point has also been reduced for 2020. The pant costs $199.95 and the jersey is $69.95. That is $60.00 less than last year’s price point. I am huge fan of the materials, fit, durability, and function of the Fox FlexAir gear. I do wish Fox had more colorways to choose from in the FlexAir design, but without a doubt the HOWK is my favorite of the 2020 sets.

As for you older guys reading this that might think this type of gear isn't for you, I will have to say don’t knock it until you try it. I know us older dudes are stubborn and usually DO NOT like change, but wearing athletic cut gear could really open your eyes to some next level comfort you may have not have ever felt while you're riding. Like an older/wiser test rider once told me, “you’re only as good as what you try”.

Go to foxracing.com to see all of the Fox products as well as order this HOWK FlexAir set.

If you have any questions about this gear please email me at kris@keeferinctesting.com.

Pros: 

  • Fit

  • Comfort

  • Durable for minimalistic type of gear

  • Ventilation


Cons:

  • Lack of different colorways

  • Jersey can be hard to remove after riding (sticky)

Alpinestars Supertech M8 Helmet


I have been wearing the Alpinestars Supertech M10 helmet for a few months, but I also wanted to try the M8 because it’s set at a lower price point ($499.95 versus the M10 at $649.95). I recently received the M8 and wanted to compare the two out on the track, so here is some information you can digest easily after I rode in both. What’s the difference between the M8 and M10? The M8 is a multi shell construction utilizing a highly advanced molding technology with a multi-composite combination (not a full carbon shell like the M10), the M8 is 40 grams heavier than the M10 (at 1300 grams versus 1260 grams), the M8 doesn't come with an extra visor or a racing helmet bag, and that sums it up. Not much different on paper, but what about on the track?

IMG_1822.jpg

First let me fill you in on all the features of the M8: 


  • The M8 A uni-directional carbon composite with aramid layer that gives significant radial strength around the shell, preventing compression but allowing controlled deflection for reducing transmitted impact energy, and providing critical penetration protection.


  • S-M8 in four anatomical shell sizes. The Supertech M8 shell construction is optimized to offer best fit across the range of four size options. Shell sizes are manufactured in small, medium, large and extra-large to ensure that riders have the correct fit which not only improves comfort but, most importantly, the effectiveness of the helmet in an impact.


  • The Supertech M8 incorporates a patented system to allow the helmet to be tuned exactly to the riders preference for the height and angle at which the helmet sits on the head. This unique technology allows for an ultra-specific set-up that can be adapted for the type of riding and the rider’s preference.


  • With a micro-adjustable pad that is connected to the helmet inner shell, it is possible to raise or lower the helmet fit and also, to tilt the helmet forward, or backwards.


  • Alpinestars has developed a unique visor release system which, while ensuring the mounting is held securely in place for riding over the most extreme terrain and any track conditions, provides exactly the right level of resistance to ensure the visor detaches from the helmet shell if it is subjected to a significant impact – no matter what the angle.


The visor design of the S-M8 is also an integral part of the ventilation system as it is profiled to direct airflow, acting as a channel to concentrate and smooth the flow into the shell. The Supertech M8 liner design is formed to optimize airflow channeling around the rider’s head before being extracted from the S-M8 through rear exhaust vents to ensure positive pressure is maintained with constant airflow while riding.  


  • The Supertech M8 helmet lining design includes canals which allow a tube to be incorporated on either side of the shell. This is a feature extensively tested by Alpinestars rally raid and enduro riders enabling convenient fitting and connection to a hydration system.


  • Removable liner cover is washable and features a cool-max fabric interior and anti-bacterial talent yarn for long-lasting freshness and quick-dry performance between riding sessions


  • The base of the S-M8 has been sculpted to give a relief section, where the bottom profile is raised to clear the collarbone (Clavicle). Also, incorporated into the area of the base pad, where it sits over the rider’s collarbone, is an energy absorption pad; a more flexible compound rubber section which allows deflection when it contacts the Clavicle.


  • MIPS is incorporated into the Supertech M8 to reduce rotational motion energies that impact the helmet causing damaging gyration force to be transmitted to the brain. A low friction ‘slip’ layer is incorporated into the Supertech M8 helmet, between the comfort padding layer and the multi-density polymer energy absorption shell. When energy is impacted upon the helmet, causing a rotation force, the MIPS layer allows for movement of the inner absorbtion layer to damp and re-direct the energy before causing significant acceleration stress to the brain. This mitigates the causes of brain injuries, such as concussion


  • The side cheek padding of the S-M8 can be extracted efficiently and safely, while the helmet is still on the rider’s head, to allow ease of removal by trackside support and medical staff.

The Supertech M8 is also designed to allow a helmet ‘Eject’ inflation system to be fitted into the inside crown of the shell.


  • Along with the ERS padding removal, ‘Eject’ allows for emergency removal of the helmet, without putting load on the rider’s spine.


  • The Supertech M8 helmet versions conform to both DOT certification and ECE homologation for use worldwide.


IMG_1846.jpg

The first thing you immediately notice about the M8 is its lightweight feel (just like the M10). The added 40 grams is barely noticeable when riding and to me still feels like one of the lightest (if not the lightest) helmet on the market. It’s surprisingly light when you pick it up and you just about forget you’re wearing it once out on the track, which translated into less neck fatigue. Weight isn’t usually a big factor for me, but after riding with the Alpinestars M10 for a while now I surely can appreciate the feeling on longer motos and the M8 is no exception. The cool-max interior liner is really nice too, especially in the desert when doing longer motos. Sometimes helmet liners can become slightly abrasive/course feeling once all the moisture dries up, but the M8 still leaves you with a soft feel inside and will not feel like a Brillo pad when putting it on or taking it off your head.


Ventilation was an important focal point in Alpinestars R&D process of the M10 and M8. Immediately when I went out on the track I noticed this helmet flows a lot of air, noticeably more than other off-road helmets I have tested lately. Alpinestars heat mapping tests have resulted in specifically designed ducting which produces a positive flow into the helmet over and around the rider’s head, leading to improved comfort while riding and reduced onset of heat stress in extreme conditions.The visor design of the M8 is also a very innovative part of the ventilation system, as it’s profiled to direct airflow and acts as a channel to concentrate and smooth the flow into the shell. The Supertech M8 interior liner design is formed to optimize airflow channeling around the rider’s head before exiting through rear exhaust vents. The visor design also features a patented mounting/release system that sits flush with the helmet’s shell. There are no screws keeping it in place. This makes the helmet look even more custom and seamless. The visor snaps in and stays put until the right level of resistance causes it to release and detach from the helmet to mitigate any rotational forces that would otherwise be transmitted to the rider’s head, brain or neck in the event of a crash. You will not lose this M8 visor from a simple tip over/face plant like a Fox V3 helmet can do at times. I have tested this on a couple of occasions on my local sand tracks near the house.  

IMG_1845.jpg

As far as the safety aspects of the M8, the carbon composite shell took a couple sizable hits over the few weeks that I tested it. Usually I am not much of a crasher, but I have been trying to push my limits riding with faster guys and have found myself on the ground a few times. The M8 left the track with scratches, but my head was no worse for the wear. MIPS and similar technologies are becoming more common these days in helmet construction. MIPS is a system that uses a low-friction slip layer between the comfort padding liner and the EPS layer, which allows one to move slightly independently of the other to dampen, redirect and reduce forces to the brain and neck, helping to reduce the chances of a concussion. Now is this the best technology there is out there for us moto guys and gals? I DON’T KNOW! I can’t sit here and tell you that this technology is the best and this is the helmet to buy over all the rest, but I can tell you the technology seems to work. 


This MIPS system will not prevent a concussion. There are many types of “helmet technologies” in the our world, so study up and decide on which one you believe in the most. Again, just like neck brace technology, it’s up to you to take in the scientific information and decide for yourself which one you trust in the most. 


I do like the A-Head fitting height and adjustment system as well as hydration system compatibility. The A-Head system allows the helmet to be tuned exactly to my preference for the height and angle at which the helmet sits on my head. With a micro-adjustable pad that is connected to the helmet’s inner shell, it is possible to raise or lower the helmet fit and also, to tilt the helmet forward, or backwards. It’s easy to use and adjust, but I did find that I needed to use thicker cheek pads to fill in the area inside the helmet. I am a size medium and the standard cheek pads are a little too thin for my skinny cheek bones (just like the M10). Going to 40-45mm cheek pads gave me a snugger fit and helped with the feeling of too much side to side slop. 


For you off-roaders out there, the hydration pack compatibility is also a very cool feature and my off-road tester Michael Allen found it beneficial on his longer trail rides. There’s a channel on either side of the chinbar behind the cheek pads to run a tube for a Camelbak or similar type of hydration system. It’s cool that Alpinestars includes some “off-road” into their lids!

IMG_1847.jpg

Each Alpinestars Supertech M8 helmet size comes with its own dedicated proprietary carbon shell size and EPS liner construction. This not only ensures that riders have a correct fit, but most importantly improves protection and the effectiveness of the helmet in case of an impact while optimizing weight reduction across the size range. The Alpinestars Supertech M8 is both DOT and ECE certified, comes in six different sizes from XS to XXL and will set you back $499.95. That is slightly less than most premium helmets that are floating around in the market today.


The looks of the helmet is something that has grown on me the past couple months. I wasn’t completely sold on the front piece of the helmet where the A-Stars logo is placed, but after riding with it and seeing photos of myself with the M8 on, it looks attractive enough for me not to complain. And you all know that I am a picky SOB when i comes to gear/helmets. If someone made me choose between the M8 and M10. Think I would go with the M8 because it is slightly less money and comes in some colors that I prefer more. Check the SuperTech M8 and M10 helmets out over at alpinestars.com

EVS Revo 4 & Revo 5 Roost Guards


Written/Tested By: Dominic Cimino


I am a huge advocate for wearing protective gear in motocross. I firmly believe that the better someone is equipped with safety gear, the lesser the chance is for them to experience an injury that could have been prevented. This product review is centered around something that I continue to wear every time I swing my leg over a bike; an under-the-jersey chest protector/roost guard. We have both the Revo 4 and Revo 5 roost guards by EVS on the table, and this quick review will break down a little bit about each of them in case you might be on the market for this specific piece of equipment. 

First off, EVS has been in the protective gear game for a longer than a hot minute. They stand by the company motto of “we are protection” and it shows. They make anything and everything related to keeping one’s body safe in this sport we love the most. Not to mention, one of their biggest ambassadors is the human crash test dummy himself, Travis Pastrana. The fact that the guy is still walking should be a true testament to the EVS protection line. The Revo 4 and Revo 5 roost guards are a one size fits all, under the jersey garment, designed to keep that painful roost off of your upper body. We all know the feeling; of trying to pass your buddy or some stubborn animal on a 450 that is completely hazing you. It is not fun! If you experience this scenario from time to time and are not wearing a roost guard or chest protector, god bless you. 

IMG_1447-2.jpg

Both of the Revo guards share the exact same chest piece - from the color, to sizing and design. Where they differ is the Revo 5 incorporates a back protector and removable shoulder pads to round out the comprehensive upper body zone. Upon first fitment, both guards felt large on me (I’m 5’7”, 145lbs - skinny guy). I quickly found out there are plenty of adjustable straps to tailor the Revos’ to my body, so the “one size fits all” statement seems pretty accurate. Once I got everything adjusted accordingly, the roost guards felt very comfortable. They both wrapped around my chest and ribs really well, giving the “hug effect”. They allowed me to put my jersey on easily with no hang-ups, and once fully geared up, did not feel or look overly bulky in plain sight. 

IMG_1445.jpg

For the purpose of this test, I removed the minimal shoulder pads on the Revo 5 so I could compare apples to apples to apples (Revo 4 vs Revo 5 vs Alpinestars A1 - the go-to in my gear bag). On the track, the Revo guards where very comfortable in use. They stayed in place and did not hinder any movement that I needed when on the bike. I really enjoyed the “hug effect” that they provide… I guess there is just something natural about that feeling that is hard to replicate. The Revo 4 feels just slightly more naked, due to the fact that it is missing the back piece. You will still feel the adjustable back straps against you, because they are not the most minimalistic in design. On the other hand, the Revo 5 just felt slightly better overall, due to the package being a little more complete when incorporating the backplate. To be honest, these guards are pretty much the exact same, so why would you not wear the backplate if it has no negative side effects? That is how I see it at least, the more protection the better so long as comfort and performance are not hindered. The one thing I could see posing a problem during the warmer months of the riding season is ventilation. The Revo guards do not seem to have much of it, when compared to my Alpinestars A1. After riding multiple motos in them, I did not have that big of an issue due to cooler weather at the moment, but I could definitely see that changing when we are back in triple digits. 

IMG_1448.jpg
IMG_1446.jpg

I plan to keep one of these in my gear bag at all times moving forward. Whether I end up using it, or I try to spread the gospel of safety to anyone near me that might need to hear it. These under-the-jersey protective pieces are a no brainer for me, as the sleek designs and comfort they provide give no room for excuses to anyone looking to stay safe. EVS continues to develop great safety products and you can view them all over at www.evs-sports.com. Thank you for reading! If you have any questions, feel free to holler at me - dominic@keeferinctesting.com

Asterisk Micro Cell Knee Braces

If you got a young little ripper like the one I have, you want to keep them as safe as possible in this dangerous sport we all love. The old rule of thumb is “dress for the crash not the ride” and this hold true even more with our children. It’s one thing getting yourself hurt, but making sure your child is wearing the appropriate gear gives us parents some piece of mind knowing that they are as safe as possible. Crashes are inevitable between the ages of 5-12 and getting the appropriate gear on them is crucial. Asterisk has made youth knee braces for quite sometime, but have recently introduced their new Micro Cell knee brace that are the first of their “Slim Line” set of carbon knee braces. 

IMG_1753.jpg

The Micro Cell has an epoxy pre-preg carbon frame, made in Asterisk’s factory in Corona, California, with a full coverage patella cup and hyperextension stops ranging from 0-30 degrees (similar to our current Jr Cell). It is also equipped with Asterisk’s true motion hinge that gives the rider smooth/natural motion of each leg. This brace offers rigid lateral arms for the most support and lowest profile possible. The Micro Cell really makes sure all the important areas of knee protection are addressed without being too bulky for most youth riders small/skinny legs. 

My son Aden is 12 years old weighs 85 pounds, but is built like his dad (D&R), which means he is long and skinny. We have tried other youth braces in the past, but could never get the right fit for his smaller circumference chicken legs. Other braces would slip down, dig into his leg, and wouldn't get tight enough, which means they wouldn't be doing their job in case of a crash or sudden twist. The Micro Cell’s fit snugly with three velcro straps and are not cumbersome to interrupt the technique of a small rider. Having proper technique at a young age is super important because these younger years of riding are the foundation of proper technique for the future (AKA Safety). I like that there are extension stops that limit my little dudes legs that can also be adjusted by the parent as the child grows. 

IMG_1754.jpg

After using the braces on the first day, Aden reported back that he could move his leg more freely through corners and the braces weren't as heavy (as his older style braces that he was wearing). Pinching/squeezing the bike was made easier because of the slim nature of the brace and Aden didn't come home with a chunk of skin missing, because the Micro Cell didn't dig into any parts of his legs. I also like the braces because the hinges/frame protected him from a collision at a race that he had with another rider. Another kid came into him a little hot and basically t-boned Aden in the side of the knee/leg area. The hinges/frame of the Micro Cell not only protected his knee, but kept the impact to his leg to a minimum. Some people ask me “why not just get him in knee guards”? Having this happen to Aden and then inspecting his knee/leg gave me the answer as to why knee braces are better without question. It’s added protection for my kid that needs it in a time where he most likely will be crashing the most because he is learning to find where he can push the limit and where he can’t. 

9X1A9093.jpg

The cost of the Micro Cell is $349.00 and is a one size fits most as Asterisk can provide thinner or thicker padding to create the correct fit. Aden used standard pads and hasn't used thinner pads yet. The brace itself has held up great over the course of several months of crashing and riding, but they are fully rebuildable from Asterisk if need be. The Micro Cell’s are not up on Asterisk’s website yet, but is available by calling (951) 268-6790. If you can measure the circumference of your child’s knee and give that measurement to Asterisk (when ordering) they can ensure you are getting the correct brace and padding. This has been one of the best protective pieces I have put on my kid in the past year and I fully endorse using this product to keep your child’s knees/legs safe.    


If you have any questions about this product feel free to email me at kris@keeferinctesting.com 

100% Cognito Glove Product Review

IMG_2731.jpg


Now that the weather in So Cal is finally starting to cool down I’m now able to enjoy more trail riding time. When I go trail riding I’m almost always a handguard guy, but there are times when I’m at introductions for new bikes that don’t come with handguards (I.E. the 2019 Honda 450X). Most of the riding gear I get is moto based, which is fine when it comes to the pant/jersey, but most moto gloves don’t stand up very well to bushes and other trail riding  shrubbery/roost. This is where 100% comes in; they have multiple glove lines that you can wear depending on what type of riding you’re doing. The first pair I got to test are named the Cognito and they offer more protection than your typical moto glove. The four-way stretch material on top of the glove is very rugged, doesn’t snag on bushes, and is much more resistant to punctures. The top of the glove (on the knuckles) uses D3O® material for additional impact resistance. Admittedly when I saw the gloves for the first time I thought the knuckles looked slightly bulky (like street bike gloves) and would hinder movement, but I was wrong. The first couple times I wore the Cognito gloves the knuckle area was a little stiff but once I wore them a few times I didn’t even notice a hindrance from the added protection. The D3O® material absorbs impacts while keeping its ability to be flexible and well ventilated. This is not only handy for trail riding; I also found it helpful when getting roosted while riding moto. The wrist strap seals well, but in my opinion is a little too thick and bunches, which is slightly un-comfortable when your wrist is at its maximum range of motion (full throttle). 

IMG_2730.jpg

When compared to moto gloves the Cognito’s are slightly thicker, but still ventilate well because the sides of the fingers are perforated. The Cognito glove isn't for your cold weather riding conditions. The Cognito glove also uses Tech Thread which is supposed to give you the ability to still use your smart phone with the gloves on. While the Tech Threads work for tapping icons on a smart phone, I found it difficult to swipe my finger on the screen and have the phone recognize it. Over the last month of riding these gloves have held up well and shown minimal signs of wear. There are five colorways available, which is nice because you should be able to find something that will go with your gear set. With a price tag of $39.50 they aren’t the cheapest glove out there, but in my opinion, for the protection and features, the price meets the gloves quality. If you have any questions about the Cognito glove feel free to reach out to me at Michael@Keeferinctesting.com. -Michael Allen

IMG_2732.jpg


Alpinestars A-1 Roost Guard

I am always looking for maximum flexibility when I ride, which means that I don’t always dress for the crash, but instead I dress for the ride. I tell my son Aden “do as I say not as I do”. I have been actually listing to my own advice lately and have ben wearing some sort of protection under my jersey. I am also very picky about what goes over or underneath my jersey before I get out onto the track. Alpinestars has its A-1 Roost Guard, so I decided to try it for a while to see if I can live with having some protection under my jersey. Don’t get confused, as this is not your full-on, maximum protection chest protector. The A-1 Roost Guard is constructed of a poly material blend, and the front guard is CE certified against impacts and roost (the back shell is not). However, the back shell is removable, and the whole shell is completely perforated to allow airflow through to your body. The shoulder pads are removable, and the A-1 comes in combined sizes M/L and XL/XXL.

IMG_0917.jpg

I have been testing the A-1 Roost Guard with the complete shell intact for a while and found it to be very comfortable under my jersey. Although it is not the lightest under protector I have tried, its mobility won me over as it allowed me to move freely on the bike without feeling like my upper torso was welded together. Once I got used to the complete shell, I removed the shoulder pads and back shell and rode with it like that for several weeks. This quickly became my favorite setup, as it almost felt like I didn’t have anything on. Adjusting from full shell to front shell only is super easy with the integrated Y-strap system.

IMG_0913.jpg

I was skeptical on the sizing I received (M/L), but the A-1 guard is extremely adjustable and fit snugly around my torso. I also appreciated that the soft Biofoam shoulder pads do not stick out or make your jersey protrude outward when riding. I did get a little warmer when wearing the A-1, but it wasn’t so bad that I needed to cut holes in my jersey or needed to rip my jersey off immediately after a long moto. Even though I am not the best example of, “Dress for the crash, not the ride,” I appreciate a good roost guard that offers flexibility and enough protection/roost deflection for my taste. At $119.95, the Alpinestars A-1 is a great buy with its multiple configurations and is comfortable enough for me to wear year-round. It’s offered in black or white colorways and is available directly from alpinestars.com

IMG_0914.jpg


2018 FLY Lite Hydrogen Racewear

 The Lite Hydrogen pant and jersey has been one of my favorite sets of gear to wear on any given day for a couple years now. The 2018 Lite Hydrogen pant now features the revolutionary BOA closure system that was once only on the Evolution 2.0 pant. The BOA system offers fast, on-the-fly micro adjustability that provides a truly dialed in fit with the simple turn of a dial, creating a customized fit around your waist. The Lite Hydrogen pant is an athletic, minimalist, stretchy fit that ventilates extremely well on long, hot desert testing days. The Lite hydrogen pant also has a 90% stretch panel construction, leather heat shields (on the knees) and sublimated graphics. The Lite Hydrogen jersey also has an athletic fit to it with laser cut perforations to help dissipate heat, a tales printed collar, an open zero cuff with mesh gussets, a low profile collar, an extended tail and sublimated graphics that are claimed to be fade resistant. I put all of this to the test on many long, hot testing days! 

The Fly Lite Hydrogen colorways are so clean for 2018. #BestDressed 

The Fly Lite Hydrogen colorways are so clean for 2018. #BestDressed 


Let me tell you it wasn't easy to keep this gear hidden from the social media world because I was constantly riding in this gear for a while before it was released. Luckily for me I had a lot of confidential testing days that kept the spy photos and “Insta Bangers” out of the equation. I am extremely happy with the new BOA system on the 2018 Lite Hydrogen pant. If there was one thing I didn't like about the 2017 Lite Hydrogen pant is that it was so stretchy that it pulled down (in the rear panel) while accelerating out of corners that left me with an untucked jersey by lap three. I am not into the untucked, let if flap jersey style like Jason Anderson so I was happy to see FLY addressed the waist area issues. With the 2018 pant and the BOA system all I have to do is turn in the reel and tighten, so that my pant is securely locked my waist. If you want to loosen the waist area you pull the BOA reel outwards and it releases the tension on the pant. Let’s face it, most motocross riders have no ass and usually the jersey will come untucked immediately, but not with this BOA system. The pant has held up great against my knee braces and although this is a very light weight pant it has superb durability. The Lite Hyrdrogen pant is not as light as the FOX FlexAir, but has held together better over time. If you are a bigger guy don't fear because FLY sells the Lite Hydrogen pant in sizes 28-38. I have seen a pair of 38’s on my buddy and it doesn't look abnormal at all. When comparing the FlexAir and Lite Hydrogen cuts, the Fly pant is not quite as tight as the FlexAir and doesn't hug against your legs as much. This left me with a little more room for an array of knee braces that I tried over the duration of the test. The colors that Fly came out with in 2018 is so much better than the colors they had in 2017. Bright yet clean colorways are what I prefer and that is exactly what the Lite Hydrogen is. Although I am not sure Fly recommends putting your pant and jersey in the dryer, I have done so on many occasions and the BOA reel sticks works flawlessly.  


With the Lite Hydrogen's BOA reel incorporated into the light yet stretchy pant, it remains snugly close to your waist. 

With the Lite Hydrogen's BOA reel incorporated into the light yet stretchy pant, it remains snugly close to your waist. 

The Lite Hydrogen jersey ventilates very well and the open cuff design is one of my favorite aspects of this jersey. Sometimes when you get an open cuff design the jersey will ride up your arms during a moto, but the Lite Hydrogen jersey’s cuff will stay in place and not go all Mike Alessi on you. The athletic cut of the jersey is on the snug side, but again not as tight as a FlexAir jersey. It’s important to note that the Lite Hydrogen is not as tight as the FlexAir for the bigger dudes with some extra weight in the belly region. Don’t fear the spare tire because Fly offers a 2X and I promise you will not look all EMO with a snug fitting jersey. Once you slip the jersey on you can feel how soft it is and will the material not irritate your skin. You will also still have enough stretch for an under protector if you choose to wear one (which I did on occasion). Mrs. Keefer has washed the pant and jersey several times and the colors have not yet faded or dulled out. One downside to the jersey is that the collar is somewhat tight around my neck, so I stretch mine out a little. However, be forewarned if you are like me and stretch your collar out, there is a chance for mud/dirt to get inside your jersey. I am willing to take that risk for a more roomy neck area fit, so the juice is worth the squeeze for me to do that.  


Fly Racing has come a long way with their gear fitment and designs over the years. The 2018 Lite Hydrogen pant and jersey is light, takes abuse well and looks bad ass! The pant costs $169.95 and the jersey is $49.95. You can check the complete line of 2018 Fly Racing gear at flyracing.com and if you have any questions, please feel free to email me at kris@keeferinctesting.com.