Chassis

Ride Engineering 23.5mm Offset Split Triple Clamps (2021 Honda CRF450R)

I have been looking for some added stability and comfort from my 2021 Honda CRF450R test machine since I got it and although my suspension setting has evolved/improved over time, I still need some compliancy from this machine. I have been working with Adrian over at Ride Engineering on some split triple clamps for over a year now and we finally have come up with a feel that I think is better than stock. I have yet to test any other competitors clamps back to back as Ride Engineering is one of only a couple aftermarket companies that are making different offset clamps. I have tried a 24mm offset on the 2020 Honda CRF450R and really liked how it made the Honda have a “slower” feeling chassis. Slower in this sense was a good thing for the Honda as it calmed the chassis down on rough tracks for me. So in order to get some added chassis compliance, I tested Ride Engineering’s 23.5 offset clamp for the new generation Honda CRF450R and here is what I took away from the test. 

422 HI RES crf split 2021 red.jpg

Stats:

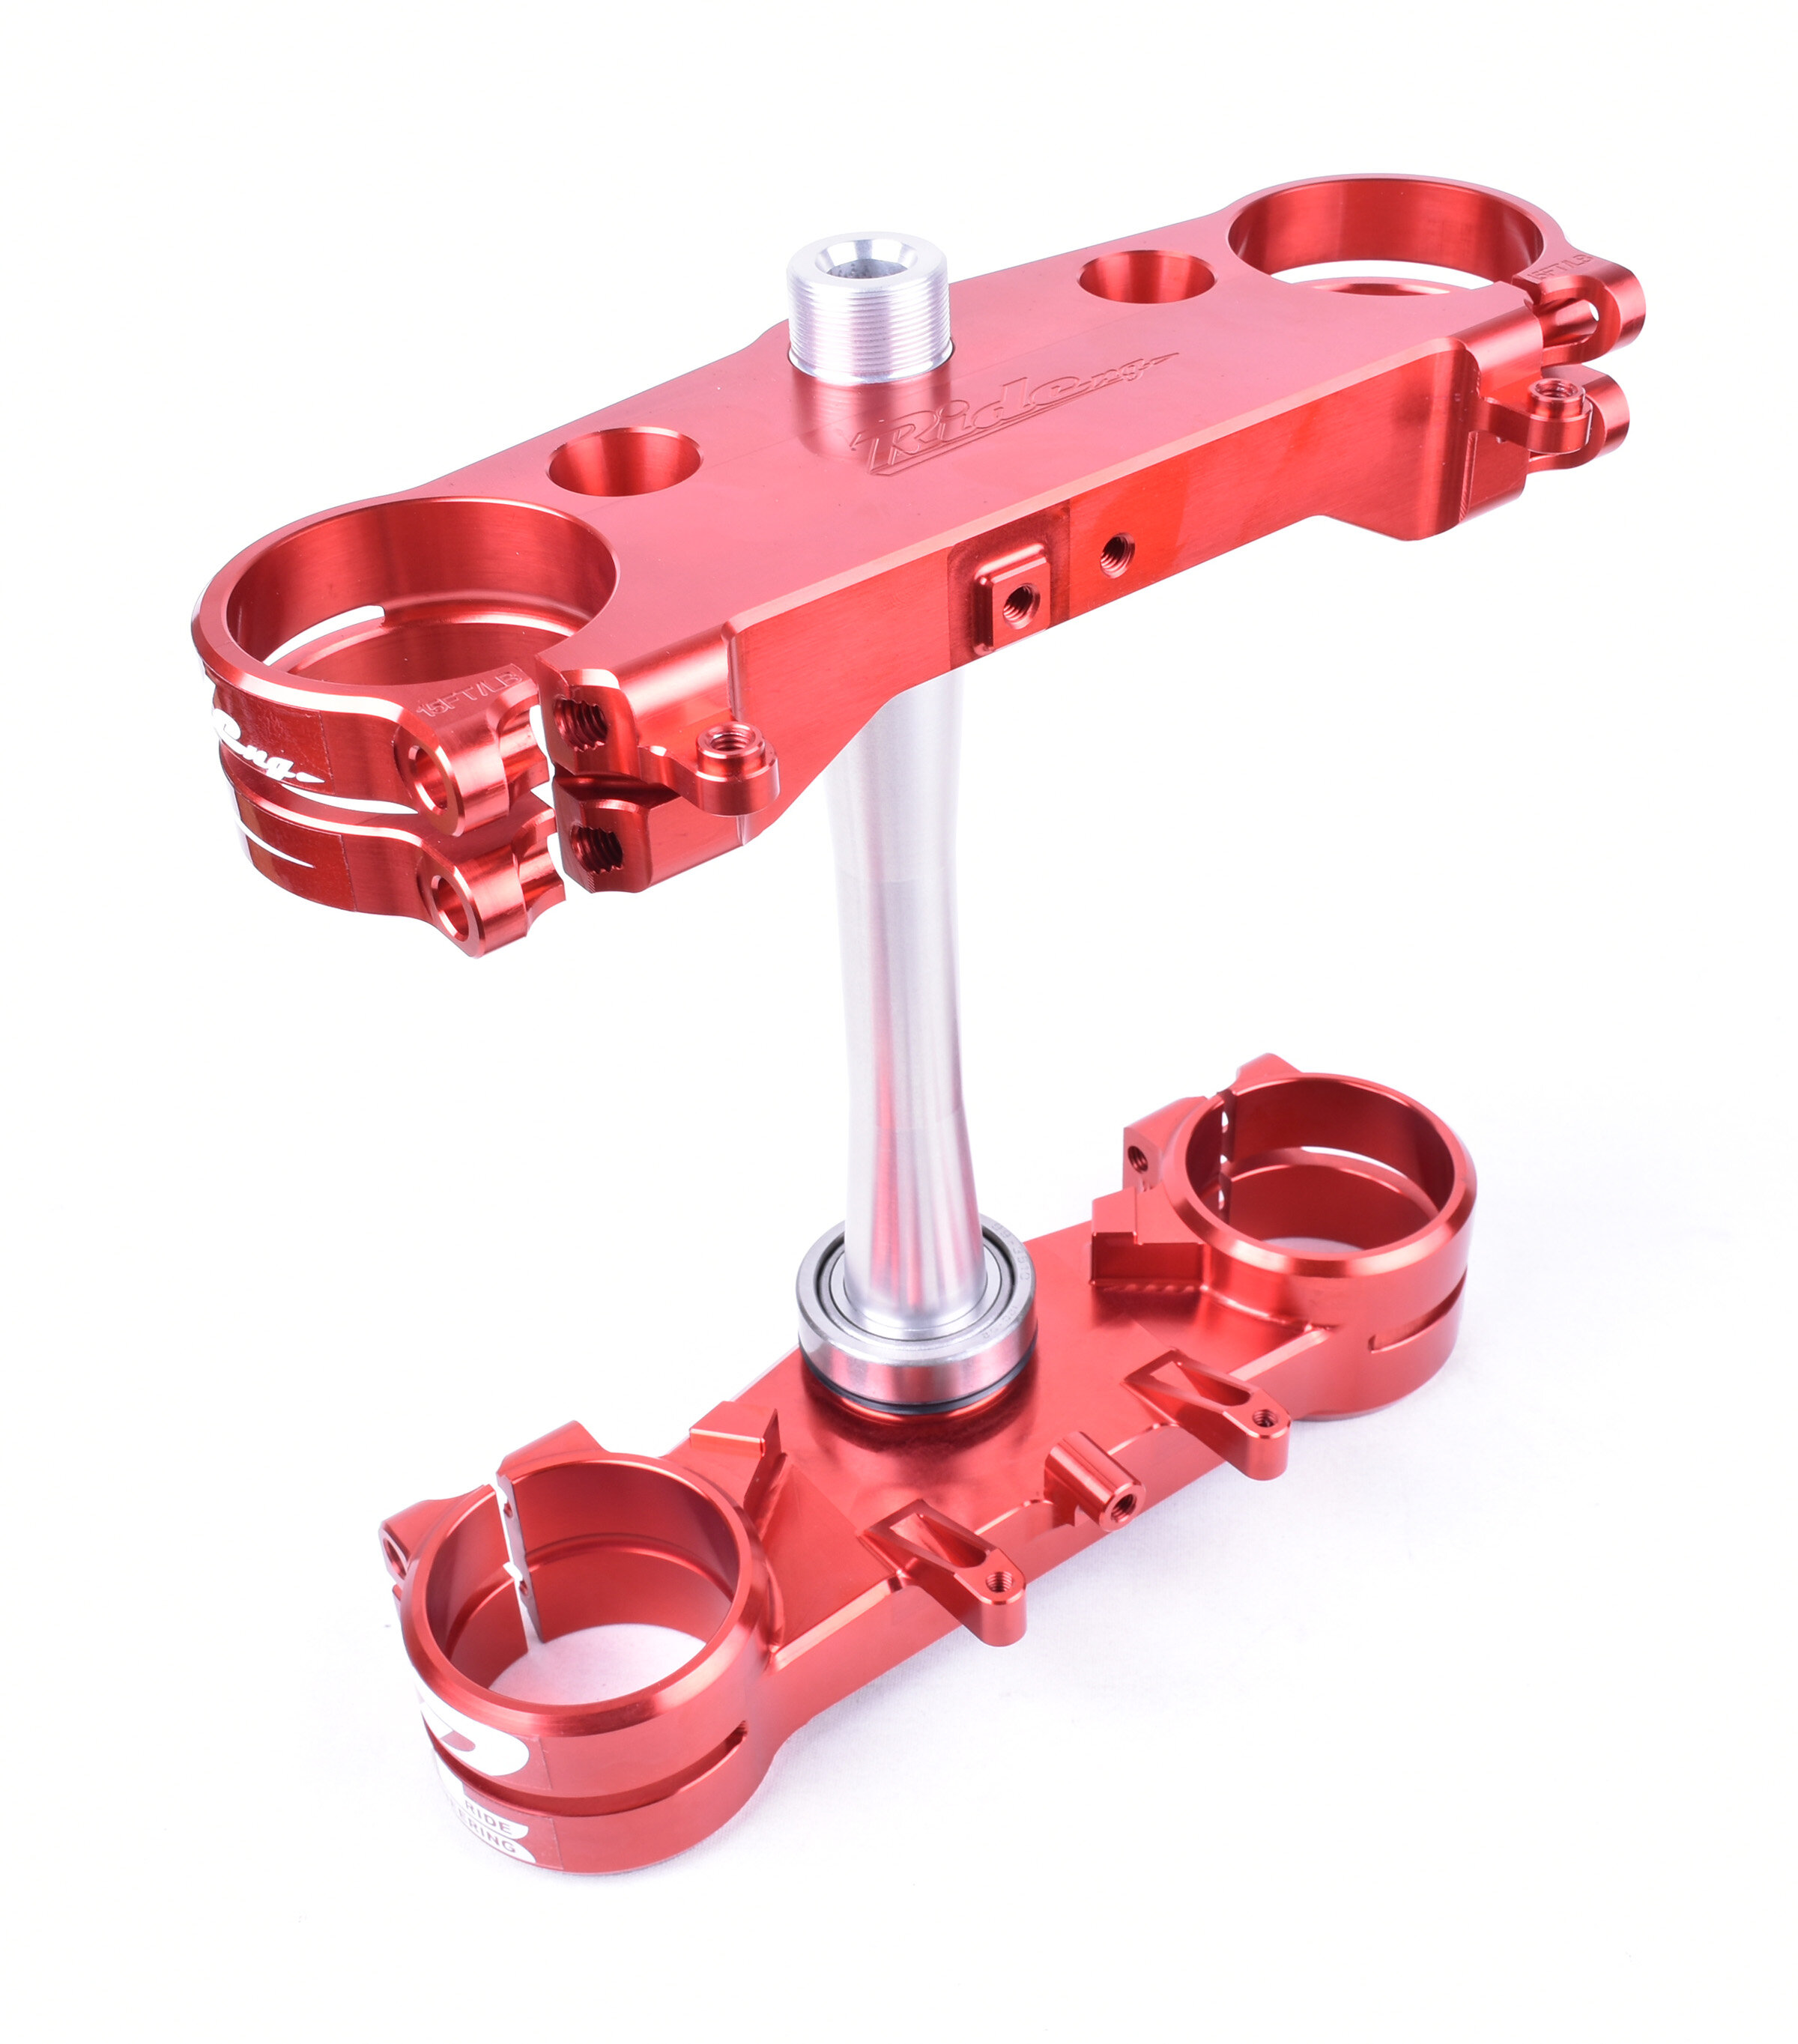
The Ride Eng. 2021 CRF450R/RX Split Triple clamps are available in Red or Black, come in two offsets and cost $649.90. Custom colors available for $100 additional if you want a custom set. The Ride clamps save you 10oz. in weight and come in 22mm offset or the new 23.5mm option. A Showa steering damper option is available without drilling your frame so no need to stress on that. The bar position on 22mm offset is 8mm forward of stem hole allowing a 5mm or 11mm bar position, with Ride Engineering’s one piece bar mount ($104.95), also available in 7/8” version. The bar position on 23.5mm is 9.5mm forward of stem hole allowing a 6.5mm or 12.5mm bar position with Ride Eng.’s one piece bar mount (I preferred mine set at 12.5mm). Note: Stock OEM bar mounts will fit and affect the numbers above by 2mm (3mm or 13mm on 22s & 4.5mm & 14.5mm on 23.5s).   

How Do The Ride Engineering 23.5’s Affect The 2021 Honda CRF450R?: 

I will be quite honest with you… We went through a couple of versions before I felt that it was good enough to sell to the public. The first couple versions didn’t have the compliancy I needed nor did we have a different offset yet that I preferred. The first thing that I noticed with the Ride Engineering 23.5mm offset clamps is that it took away some of the dreaded vibration that the 2021 CRF450R has through the bars. Once I pulled out onto the track and started to accelerate I could feel less harmonics/vibration coming through the Pro Taper bars. What I wanted from the 2021 Honda CRF450R (as well as from the Ride clamps) was a calmer entrance in/through corners, less oversteer, better straight line stability, and increase in front tire tracking. 

DSC_0294-72.jpg

I got all of this with the new 23.5 Ride Engineering setting! With my fork set at 2-3mm in the clamps as well as a rear shock sag measurement of 105mm I had a CRF450R that was less harsh feeling through my hands. Now the Honda didn’t quite give that sting through my arms on flat landings and gave the front end an increased flex feeling. Diving into ruts that start to get hooked, didn’t give me the front end knifing (oversteer) that I experienced at times with a 22mm offset. We call this cornering stability in the testing world and the new 23.5mm setting gave me increased cornering stability. Let’s face it, we all love the way the Honda corners, but sometimes it can corner too good and cause some in consistencies in your cornering technique. This 23.5mm offset Ride clamp still gives you that easy to lean front steering feel of the Honda, but improves area 2-3 (mid-exit) in corners.
Straight line comfort has also been improved thanks to losing some rigidity up near the head tube area. When testing the Honda CRF450R I never could have suspected that the OEM clamp was some of the problem when it came to getting a harsh feeling. Hitting square edge and braking bumps with the 23.5 Ride clamps gave me less harshness and improved my fork feel. The fork now seemed to move more in the stroke and had a slightly softer feel to it, which was nice, but also forced me to adjust my fork setting somewhat. With the Ride 23.5 clamps, I had to stiffen up my fork setting one click and slow the fork don one click also. Doing this gave me a better front tire feel when leaning on throttle. I ended up getting better front tire tracking (when stiffening/slowing the fork) when cutting across rough sections of the track. Once I figured that I could go stiffer with my setting it actually brought up the performance/comfort feel of the Honda CRF450R. The stock torque specs of 15 ft. lbs. on the top clamp and 12 ft. lbs. on the bottom clamp is recommended, but if you end up purchasing a raw/silver clamp, you can go to a 14/11 setting. 

IMG_2330.jpg

So what’s the negatives? Honestly for a vet rider like myself, there aren’t too many… I do know that this isn’t a cure all for the rigidity issues of the CRF450R, but it does help a noticeable amount. When I let another Honda rider/owner try my test bike with the clamp, he immediately thought his OEM clamp was too stiff feeling. The negative for me is that you may have to adjust your suspension (to compensate for the softer feeling clamp) a little after installation, but to me having to do some minor clicker adjustments isn’t too much to ask for added comfort. Plus, y’all are Honda owners. You’re used to tinkering on your bikes right? I know I am when I ride this machine. This Ride Engineering 23.5mm offset split clamp will eliminate some of the tinkering you’re doing at the tracks most days by 40%, so you can ride more and be a test rider less. 

If you do end up getting the red colorway, please try to cover your clamps up with a towel or something when your bike is siting in the pits. The sun will fade the anodizing over time, so bring an EZ-UP or a towel to cover up your investment. These clamps are sexy looking so take care of them! If you’re a C rider worried about if you will lose that cornering ability of your Honda, have no fear, adding these clamps to your machine will not negatively affect how easy the Honda will lay over in corners. In fact, it might help you improve your corners as the CRF450R will setting into the corners better with this 23.5 offset. 

There is a discount code available if you decide that this may be something you're interested in. KT20 will save you 20% off your order over at ride-engineering.com. If you have any questions or concerns  about this test please feel free to email me at kris@keeferinctesting.com.   

2017-2018 Honda CRF450R And CRF450RX Engine Mounts


For 2018 Honda went slightly softer on the top engine mounts of the CR450R. This was to give the bike a little more compliancy (straight line stability) on square edge and choppy terrain. However, if you have listened to my podcasts you will know that the 2018 Honda CRF450R can still feel a little rigid when the track gets hard packed and choppy. When the track is soft the Honda performs at its best, but since we are on the west coast and our dirt isn't as soft as east coast dirt, I wanted to get some more bump absorption out of the Honda chassis. The 2018 Honda CRF450R is a reactive, easy to maneuver machine and that is just a couple of its strong points, but after saying that it also can be a couple of it’s weakest points as well (when it comes to faster type tracks). You get what I am throwing down to you? If you don't, let me explain: If you're a vet, heavier guy or novice type rider that has a hard time cornering, the 2018 Honda CRF450R is a dream. If you're a faster, lighter type of rider, the Honda can be a hand full to ride when you start to push the boundaries a little. Yes, it won the 2018 Keefer Inc. Testing  450 MX Shootout because it has a great engine, is easy to corner and has a set of fairly good stock suspension. What it does lack is some straight line stability and consistency when you start to really push it on rough tracks. You may not know who Kris Palm is, hell I don’t know much about him either, but when someone presents a part for me to test, I am usually not one to shy away from trying things that I think may help a certain bike. When Mr. Palm asked me if I wanted the option to try a bunch of his engine hangers for the Honda CRF450R, I was more than willing to try. Knowledge is power right? 


IMG_7812.JPG

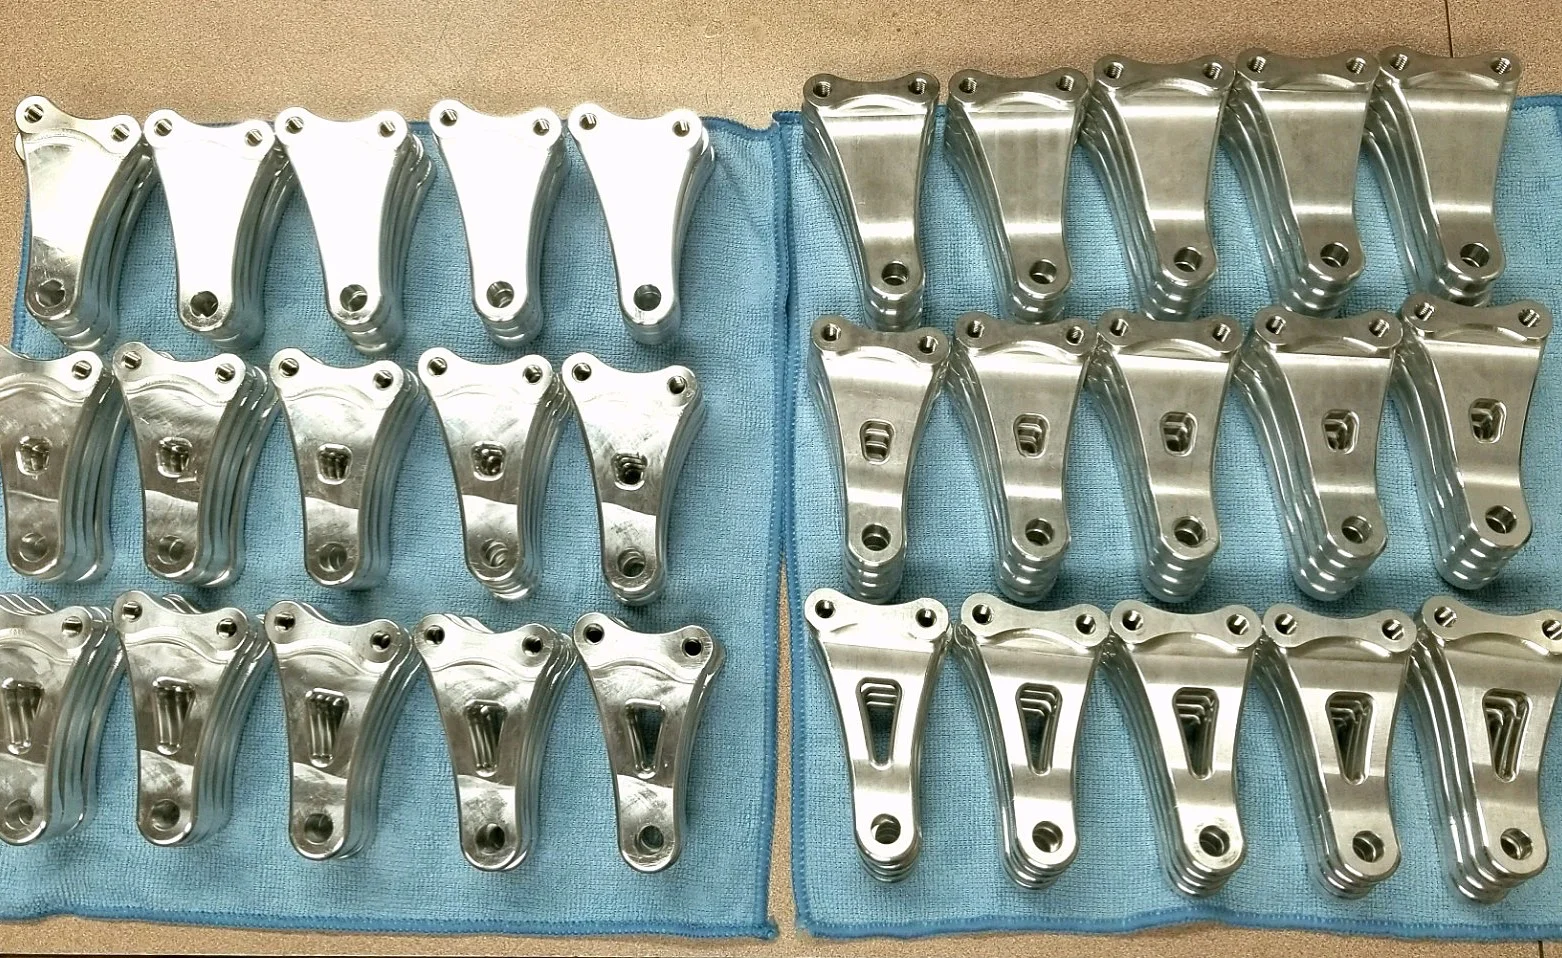
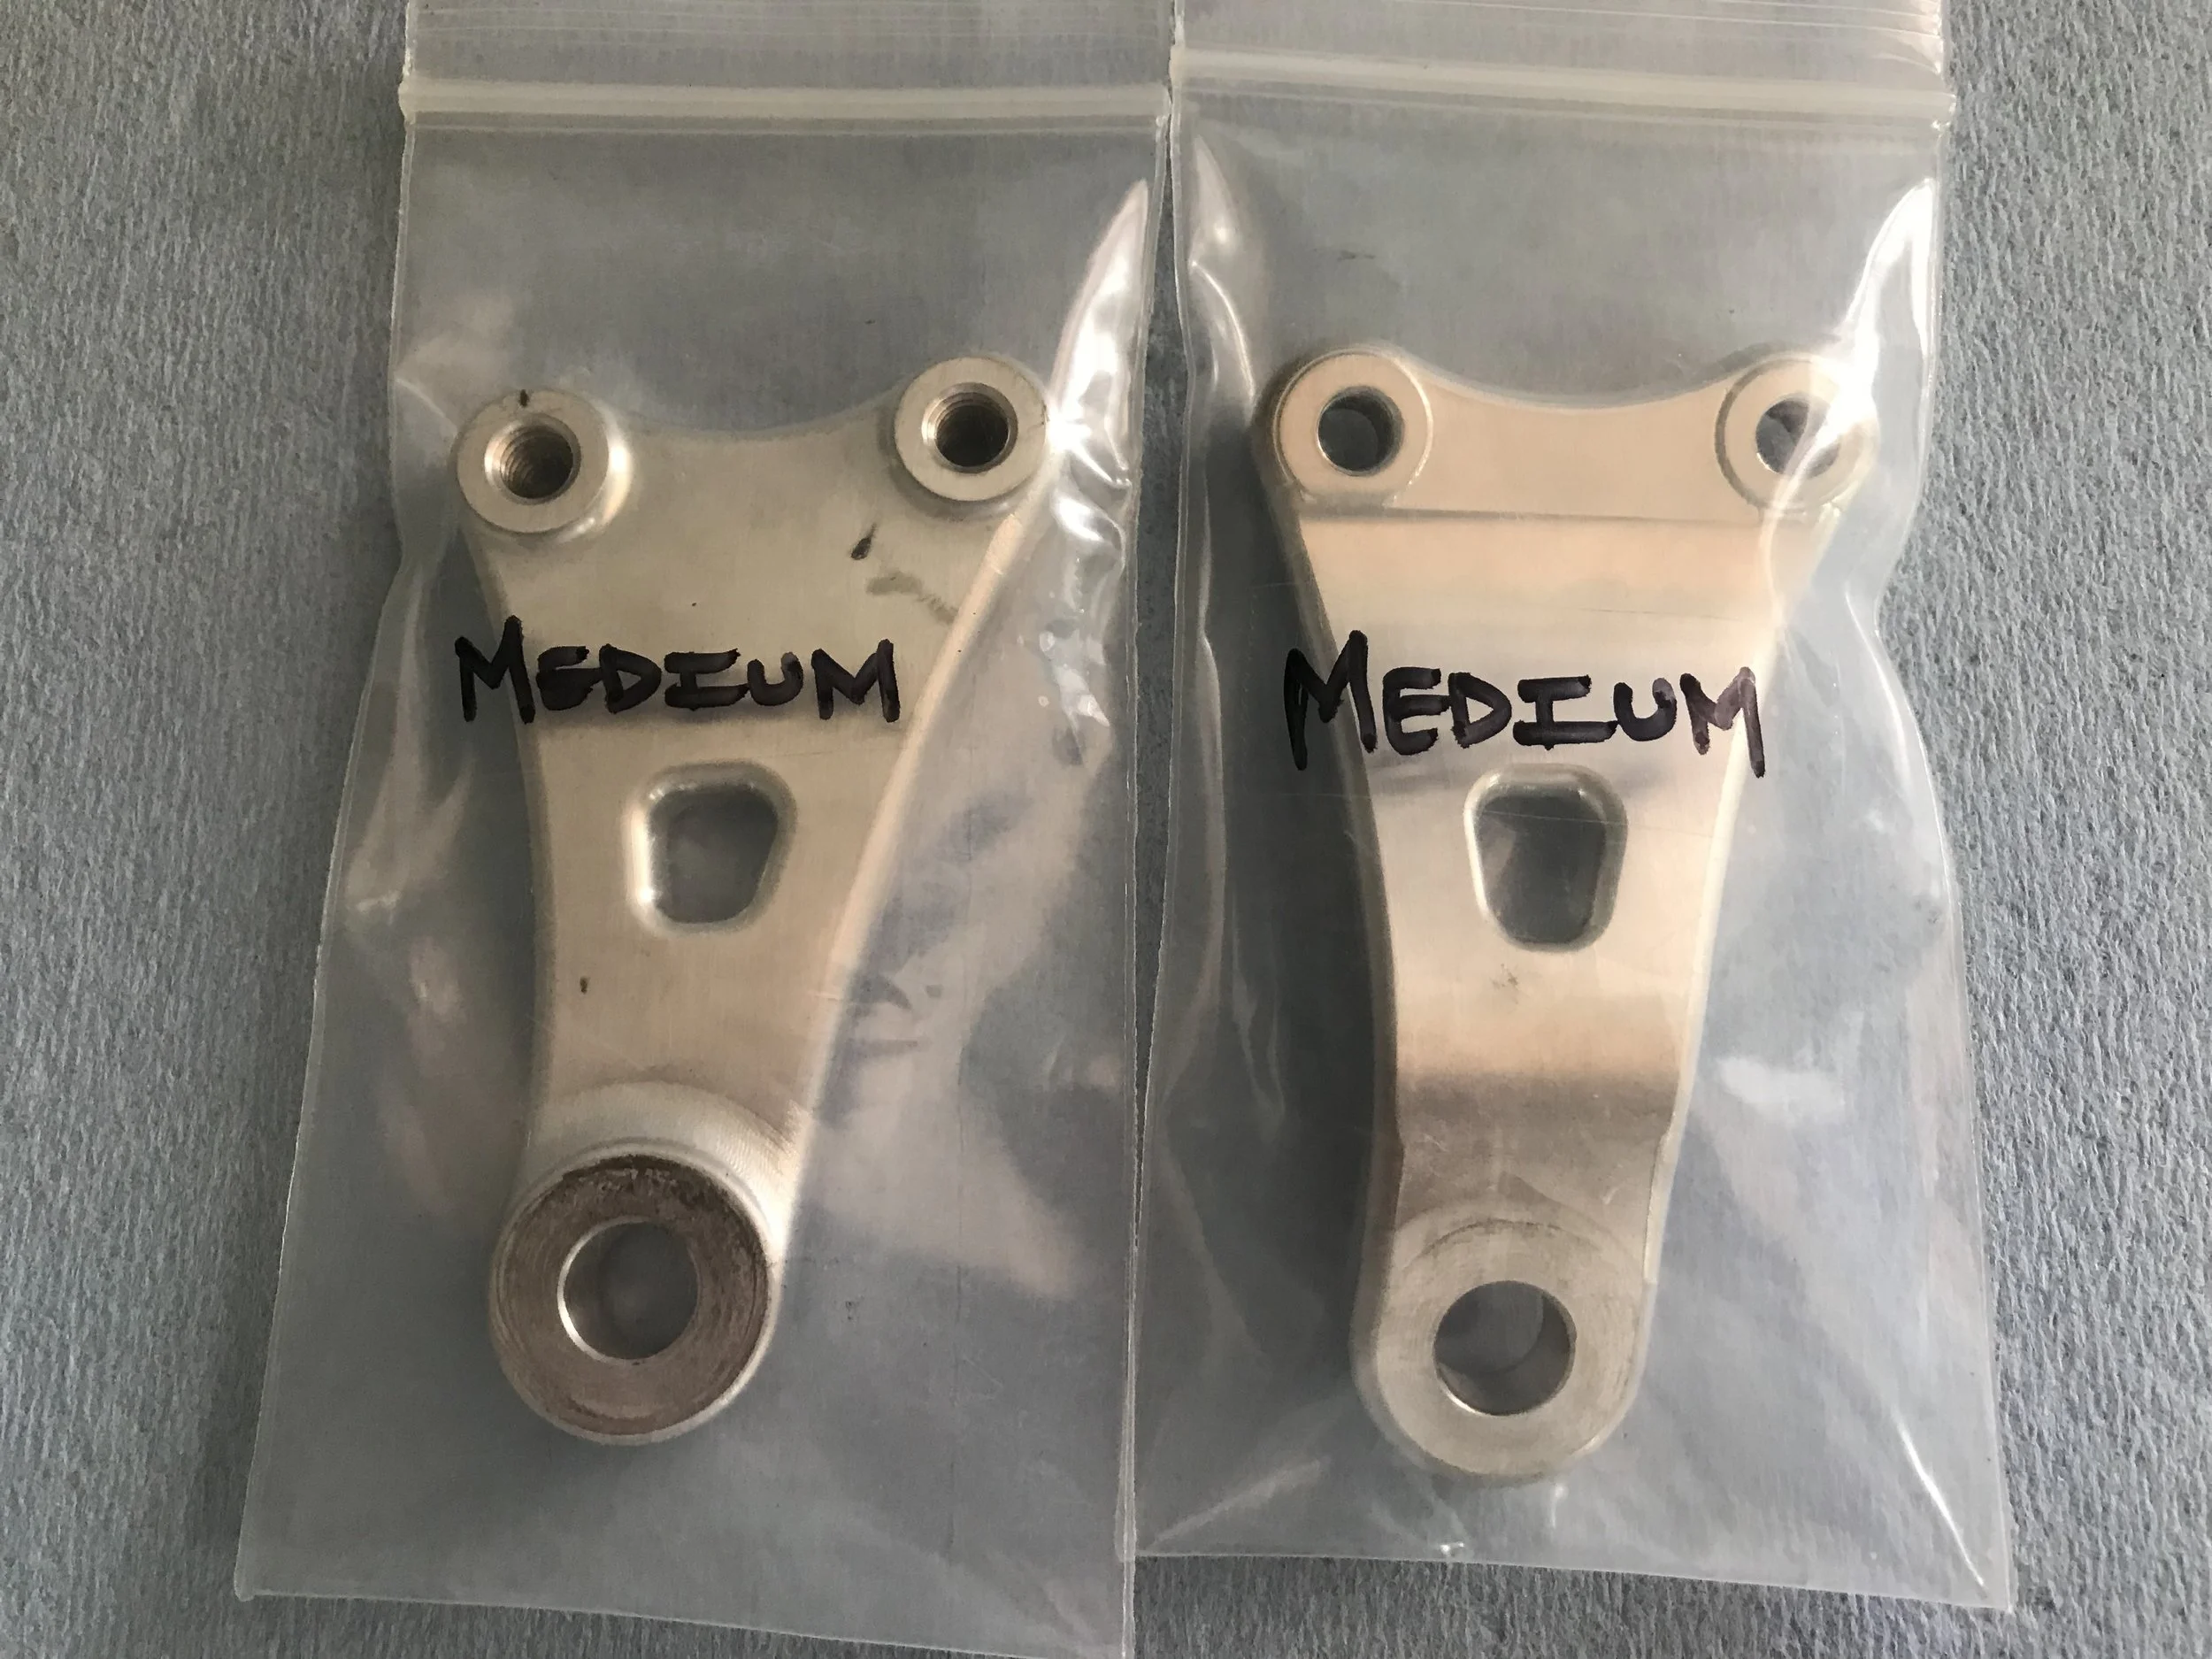
Now….. I am not going to type about every single combination I tried because I will be here all day typing and not riding/testing. The ones that I felt didn't work as good as stock aren't worth mentioning, but rest assured I went through several variations of these engine mounts to find the best setting that I think will be best for you Honda CRF450 owners. I don’t know which engine mounts Kris Palm will offer, but what I had to work with was the top aluminum engine mounts in soft, medium and stiff as well as front engine mounts (made out of titanium) that come in a 4.0 thick/4.0 hole, 4.5 thick/4.0 hole and 4.5 thick/7.0 hole. I also tried the engine mounts on the 2018 CRF450RX for you off-road guys and incorporated which combo worked best with that machine. Just like in professional racing, changing the engine mounts and the affect it has on the bike is a rider preference thing. It may not be needed for every type of rider, so if you feel like you like the way your Honda rides than don’t worry about this test. However, one smart test rider told me back in the day “you are only as good as what you try”. Some riders like a feel of a certain engine mount and stick with that year round, where others will change their mounts for track conditions. Below are a couple of engine mounts combos that I think may be worth taking a look into.  


Medium Top Mount With Stock Front Mount

Tracks Tested: Glen Helen, Sunrise, Deep Sand Dez Track And Milestone

Best For: CRF450R and CRF450RX All Conditions


IMG_7858.jpg

For better bump absorption and a slightly more forgiving feel on square edge, this was the best set up by far. This setting had more positives at each track I tested at and had a minimal negative affect on chassis balance. The medium top mount increased my rear wheel traction and gave me more front end feel on flat, hard packed corners. The Honda CRF450R kept its great cornering ability in tacky and soft dirt, but increased its cornering capability on hard pack with this medium top mount installed. Straight line stability was also a noticeable positive change as the Honda’s chassis felt less reactive (or more planted) on throttle which let me roll the throttle on sooner coming out of corners. Off throttle the CRF450R didn't have as much of a wiggle as it did with the stock mounts installed. The only negative for me was a slightly slower feeling on lean in (into corners). Again, the Honda with the medium top engine mounts installed wasn't as reactive, so it took slightly more work from the rider to get into ruts. To me that is ok as I can sacrifice a little “tip in” character for some added stability and rear wheel traction. Unlike what some other magazines will tell you, having a slower reacting machine doesn't mean it will corner bad. To me you will be able to get into the corner better now because the Honda has a more of a planted feel once you chop the throttle to set up for corner.  


Medium Top Mount With 4.5 Thick/4.0 Hole Front Mount

Tracks Tested: Glen Helen, Sunrise, Deep Sand Dez Track And Milestone

Best For: CRF450R In Soft/Sandy Conditions  


IMG_7860.jpg

The stock front engine mount has a thickness of 4mm and is made of aluminum, but the bottom engine mounts Kris Palm offers are titanium. This means no matter if the dimensions are the same the flex character will obviously be different (because of the material difference). when going back and forth to different tracks I found out that the medium top mount and the 4.5 thick/4.0 front mount hole combination works best in sand and soft dirt. I felt the medium top engine mounts were better on compliancy, but it did suffer a little side to side flickability. With the titanium 4.5 thick/4.0 hole front mount and medium top mount it brought back that lightweight feel in corners and helped tip in. I didn't like this combination as much in hard pack situations because it brought back some of the harshness on small chatter bumps and square edge. If your track is soft with bumps that break away, this is a great combination that gives the rider some added soft dirt bump compliancy on straight line and gives the Honda more quickness (lightweight feel) in cornering situations. 


Stiff Top Mount With 4.0 Thickness/4.0 Hole Front Mount

Tracks Tested: Glen Helen, Sunrise, Deep Sand Dez Track, Milestone

Best For: CRF450R In Tight, Rutty, Jumpy Conditions


IMG_7868.jpg

I went back and forth with this setting a couple times (on the same day) just to be sure I was feeling what I thought I was feeling on the track. Usually when I see “stiff” I shy away from it pretty easily when it comes to the Honda CRF450R, but this set up worked great for tighter tracks with medium to large sized jumps. With the stiff top engine mount, 4.0/4.0 front mount the Honda had a solid (less wallow) feeling to it when landing and kept great front end traction through long, deeper style ruts. This is not something that is particularly great on rough tracks, but if the track serves up some acceleration chop, long ruts, jumps with shallow landings and has good traction this combination was worth mentioning. It made the Honda slightly more flickable in the air and sudden direction changes (cutting down early from a berm or blown out rut) were better than stock engine mount setting. When I tried the medium top mount and 4.0/4.0 front mount the CRF450R flexed too much and become wallowy in the rear. Now I am just speculating here (because we don't have much arenacoss type tracks in California), but I feel like this could be a great setting for you east coast winter riding guys that have those indoor facilities to moto inside.  


9X1A8460.jpg

Now here comes the tricky part. Kris Palm doesn't have a website set up yet because he really hasn't started pushing these engine mounts that hard. So if you're interested in getting a hold of him, maybe to get a set, you will have to reach out to him via a Direct Message on Instagram @kris_palm. If you don't know what a DM is, try Facebook. If you don't have any of that email me and I will try to get you in contact with him. I told you it was tricky! It’s almost like the movie Fight Club, where the first rule of Fight Club is you don't talk about Fight Club. The top engine mounts will run you $169.95 and the front engine mounts are $89.95. How can you pay? Get a hold of Mr. Palm and he can fill you in. Like I said, it's like an underground club that you must know the password to get into.  


If you have any reasonable questions about this underground Fight Club type test please feel free to email me at kris@keeferinctesting.com.  
 

2018 Yamaha YZ450F Dubach Racing Engine Relocation Kit


The new 2018 Yamaha YZ450F corners much better than in previous years, but still can feel like it has some front tire pushing when there is nothing to bank off of. This is not as drastic a feeling as it was in 2017, but some riders want more front end bite out of the blue machine, so we thought we would try Dubach Racing’s engine relocation kit. Doug has had this engine relocation kit out for quite sometime and they have worked well on older model YZ450F’s. I personally didn't think the engine needed to be tilted more forward than it already has for 2018, but I can’t keep well enough alone, so I decided to give it a go. Dubach’s kit only consists of two small bushings that tilt the 2018 engine 1.5mm forward and only takes around 30-40 minutes to install. If you want to understand better on how to put the kit in you can go here: https://www.youtube.com/watch?v=5NLRyQr4Iss and check out Doug’s instructional video he did. This video is dated, but most of what he is doing to this older YZ450F applies to what you will do to the 2018 version (without the new engine mounts of course). The 2018 kit only comes with two collars/bushings as you will use all your stock/existing engine mounts.

IMG_7227.jpg


Before you go purchasing Dubach’s Engine Relocation Kit make sure you have tried doing some things to your 2018 YZ450F, like raising your fork up 5mm (flush is stock) in the clamps and be sure your sag is set at 104-105mm (100-102mm is standard). I don't recommend going higher up (with the fork) than 5mm to get more front end bite, as going up any higher will dramatically hurt your straight line stability. 


So what exactly did I feel on the track once the Dubach Racing Engine Relocation Kit was installed? A lot actually! “Keefer, it’s 1.5mm, how much difference can it be”? Well once I got out on the track, I immediately noticed how reactive the front wheel was to my steering. I have a ton of hours on the stock 2018 YZ450F and I know how it reacts once I turn the handlebars. The Yamaha with the DR.D Relocation Kit on was almost Honda-like and gave me the feeling of having the front tire tucked in more towards the engine. It took me around two laps to realize that I needed to drop the fork back down in the clamp and re-check my sag to get it to where it wasn't as reactive to handlebar movement. I dropped the fork back down to 2mm up in the clamp, set my sag at 105mm and did a couple motos. The 2018 Yamaha YZ450F has better tip now in coming into corners and I can feel the front knobbies biting down a lot more through flat corners. This was all for the better, however I noticed a little less straight-line stability and slightly less rear wheel traction coming out of hard pack corners. I adjusted my fuel/ignition map on my Yamaha Power Tuner App to help mellow out the low-end delivery and that rear wheel traction returned! The straight line stability loss that I experienced was very slight, but was mostly noticed while on-throttle, off-throttle stability improved slightly. When chopping the throttle the little wiggle I used to get in the chassis has now settled down some. On throttle side to side movement fro the rear end has slightly increased. I wouldn’t say that the DR.D kit makes the 2018 Yamaha YZ450F twitchy, but it will make it very reactive to any slight steering movements you make. If you are looking to make the Yamaha a more reactive machine and slightly more agile, this kit will do just that! 


At the end of the day, I prefer the stock tilt for the way I ride. Let me explain this…. I don’t mind a slightly slower turning machine as I can corner fairly good. I do need front tire traction as I am a front end steering rider, but having a little less reactive machine makes me feel stable and I am able to push harder (hence more stability). Now, if you’re a rider that needs every ounce of lean, front-end bite and cornering capability, this is a great option for you. I have several riding buddies that prefer the Honda CR450R over the YZ450F because they want their machines to corner with ease and with more front wheel bite. Having this DR.D Engine Relocation Kit installed made those friends happy with the 2018 YZ450F now. The DR.D Engine Relocation is available now and will set you back $89.95. 


If you have any questions about this test please feel free to email me at kris@keeferinctesting.com