
By: Michael Allen
Although I have access to bikes for testing throughout the year, there are times when it’s necessary (and nice) to have your own bike. In this particular case I was invited to Mexico with the Smith family (as in Malcolm Smith) to race the Tecate Enduro which meant I needed a legit bike. What I mean by “legit” is that most of the time test bikes don’t come with any paper work, like registration and even if they did, they would have the manufacturer listed as the owner. Needless to say that doesn’t necessarily fly with the border agents on either side of the wall.. If you listened to our podcast on this bike build you already know the history of my $1,800 craigslist find, but if you didn’t, here it goes…

In 2017 I bought this bike with only nine days before leaving for Mexico. It was rough around the edges, but ran well, so I just put some bars and levers on it before going down to race. Fast forward two years and I was still riding the bike and having a blast on it. I had updated the plastics with a Polisport kit, but other than that it was still as it was when it was purchased. In the winter of 2019, we got a lot of rain in Southern California and like everyone else, I was out enjoying the perfect dirt as much as possible. Admittedly I was a bit neglectful in terms of maintenance and wasn’t regularly checking my air filter (I figured there was no dust so how bad could it get). In the middle of a long sandy hill climb my bike went from screaming loudly to dying quietly in an instant. After getting home and taking the seat off, I realized that the air filter cage had fallen off the air boot creating a welcoming environment to all types of debris that was floating around inside the air box. I talked to Kris and he said “we should call Pivot Works so that we could test out one of their engine rebuild kits” and do a story on the process and products.

Wrench Rabbit is a branch of Pivot Works and they sell complete engine rebuild kits for most off-road motorcycles. At first I was a little weary of buying aftermarket parts for my personal bike because I have always been one to buy OEM parts for any bike I had owned in the past. That being said, after opening the box with all the gaskets, seals, crank, piston, and every other part necessary for the rebuild, I was pleasantly surprised at the quality of the parts. Prior to this rebuild I had never split cases and done a bottom end before so I enlisted the help of my older brother Robert to show me the ropes. I drove up to my parent’s house and he showed me step by step how to do the engine and it was surprisingly not too hard. All the parts fit perfectly and there were even parts that I didn’t use because I didn’t replace every seal in the bike (like the water pump). After the engine was rebuilt and back in the frame I decided to go for a trail ride with my buddy to break in the engine before heading down to Mexico. Our ride started out great with my bike running better than it ever had (I also re-jetted it). Everything was great until I washed out the front tire then was pile driven into the dirt by my freshly rebuilt 125. After the crash I was pretty bruised up (everywhere) and the bike was looking a little roached out. I called Keefer on the way home and after telling me that I needed to respect off-road riding more he asked me how bad the bike was. It’s not that it wasn’t rideable, but I figured that since we already had the engine done, why not turn it into a fun project build. We came up with the idea of turning it into a budget conscious bike build.

Since I had already done the engine, the next thing that needed work was the suspension. It had been gone through in the past by god knows who and I could feel when I rode it, that it needed help. We called Race Tech and they were more than willing to help with a rebuild, new springs, and gold valves/re-valve. I dropped off the suspension at Race Tech and a few days later I got an email that brought to light just how roached out this $1,800 craigslist bike really was. On top of the work that they were already doing it needed new inner fork tubes because mine were scratched and dented. The outer fork tubes needed to be re anodized and the compression posts needed to be replaced. Although I did have to spend an extra $750 I’m glad that Race Tech caught the problems, notified me, and fixed it right instead of trying to use old parts in order to cut corners. The company Race Tech uses to anodize the outers makes the fork tubes black instead of the stock gold color which initially I wasn’t sure about, but after seeing the black forks on the completed bike, I think they look really good.

The other main thing the 2006 was in need of was a fresh wheelset. After 13 years of abuse the stock wheels not only looked terrible, but the rims were far from straight anymore. We reached out to Dubya and after talking to John, we decided to use the stock hubs and have them cerakoted in a magnesium color. The look of the coating is awesome and only costs an extra $60. I decided to go with blue rims to give the bike a more current look and those blue rims were mated to the hubs with new stainless-steel spokes. The look of the blue wheels with the coated hubs looks almost as good as a super expensive wheelset, without breaking the wallet.
Once I got all the parts back, I bolted everything up just in time to make it to Mexico. The finishing touch was to put on the Throttle Syndicate graphics with all the companies who helped us out with the project. I’ve installed many sets of graphics over the years, but for some reason the Throttle Syndicate graphics didn’t give me any trouble at all. Thank you baby Jesus! With everything buttoned up we were on our way south with the great Malcolm smith, bench racing the whole way there (man that was cool).
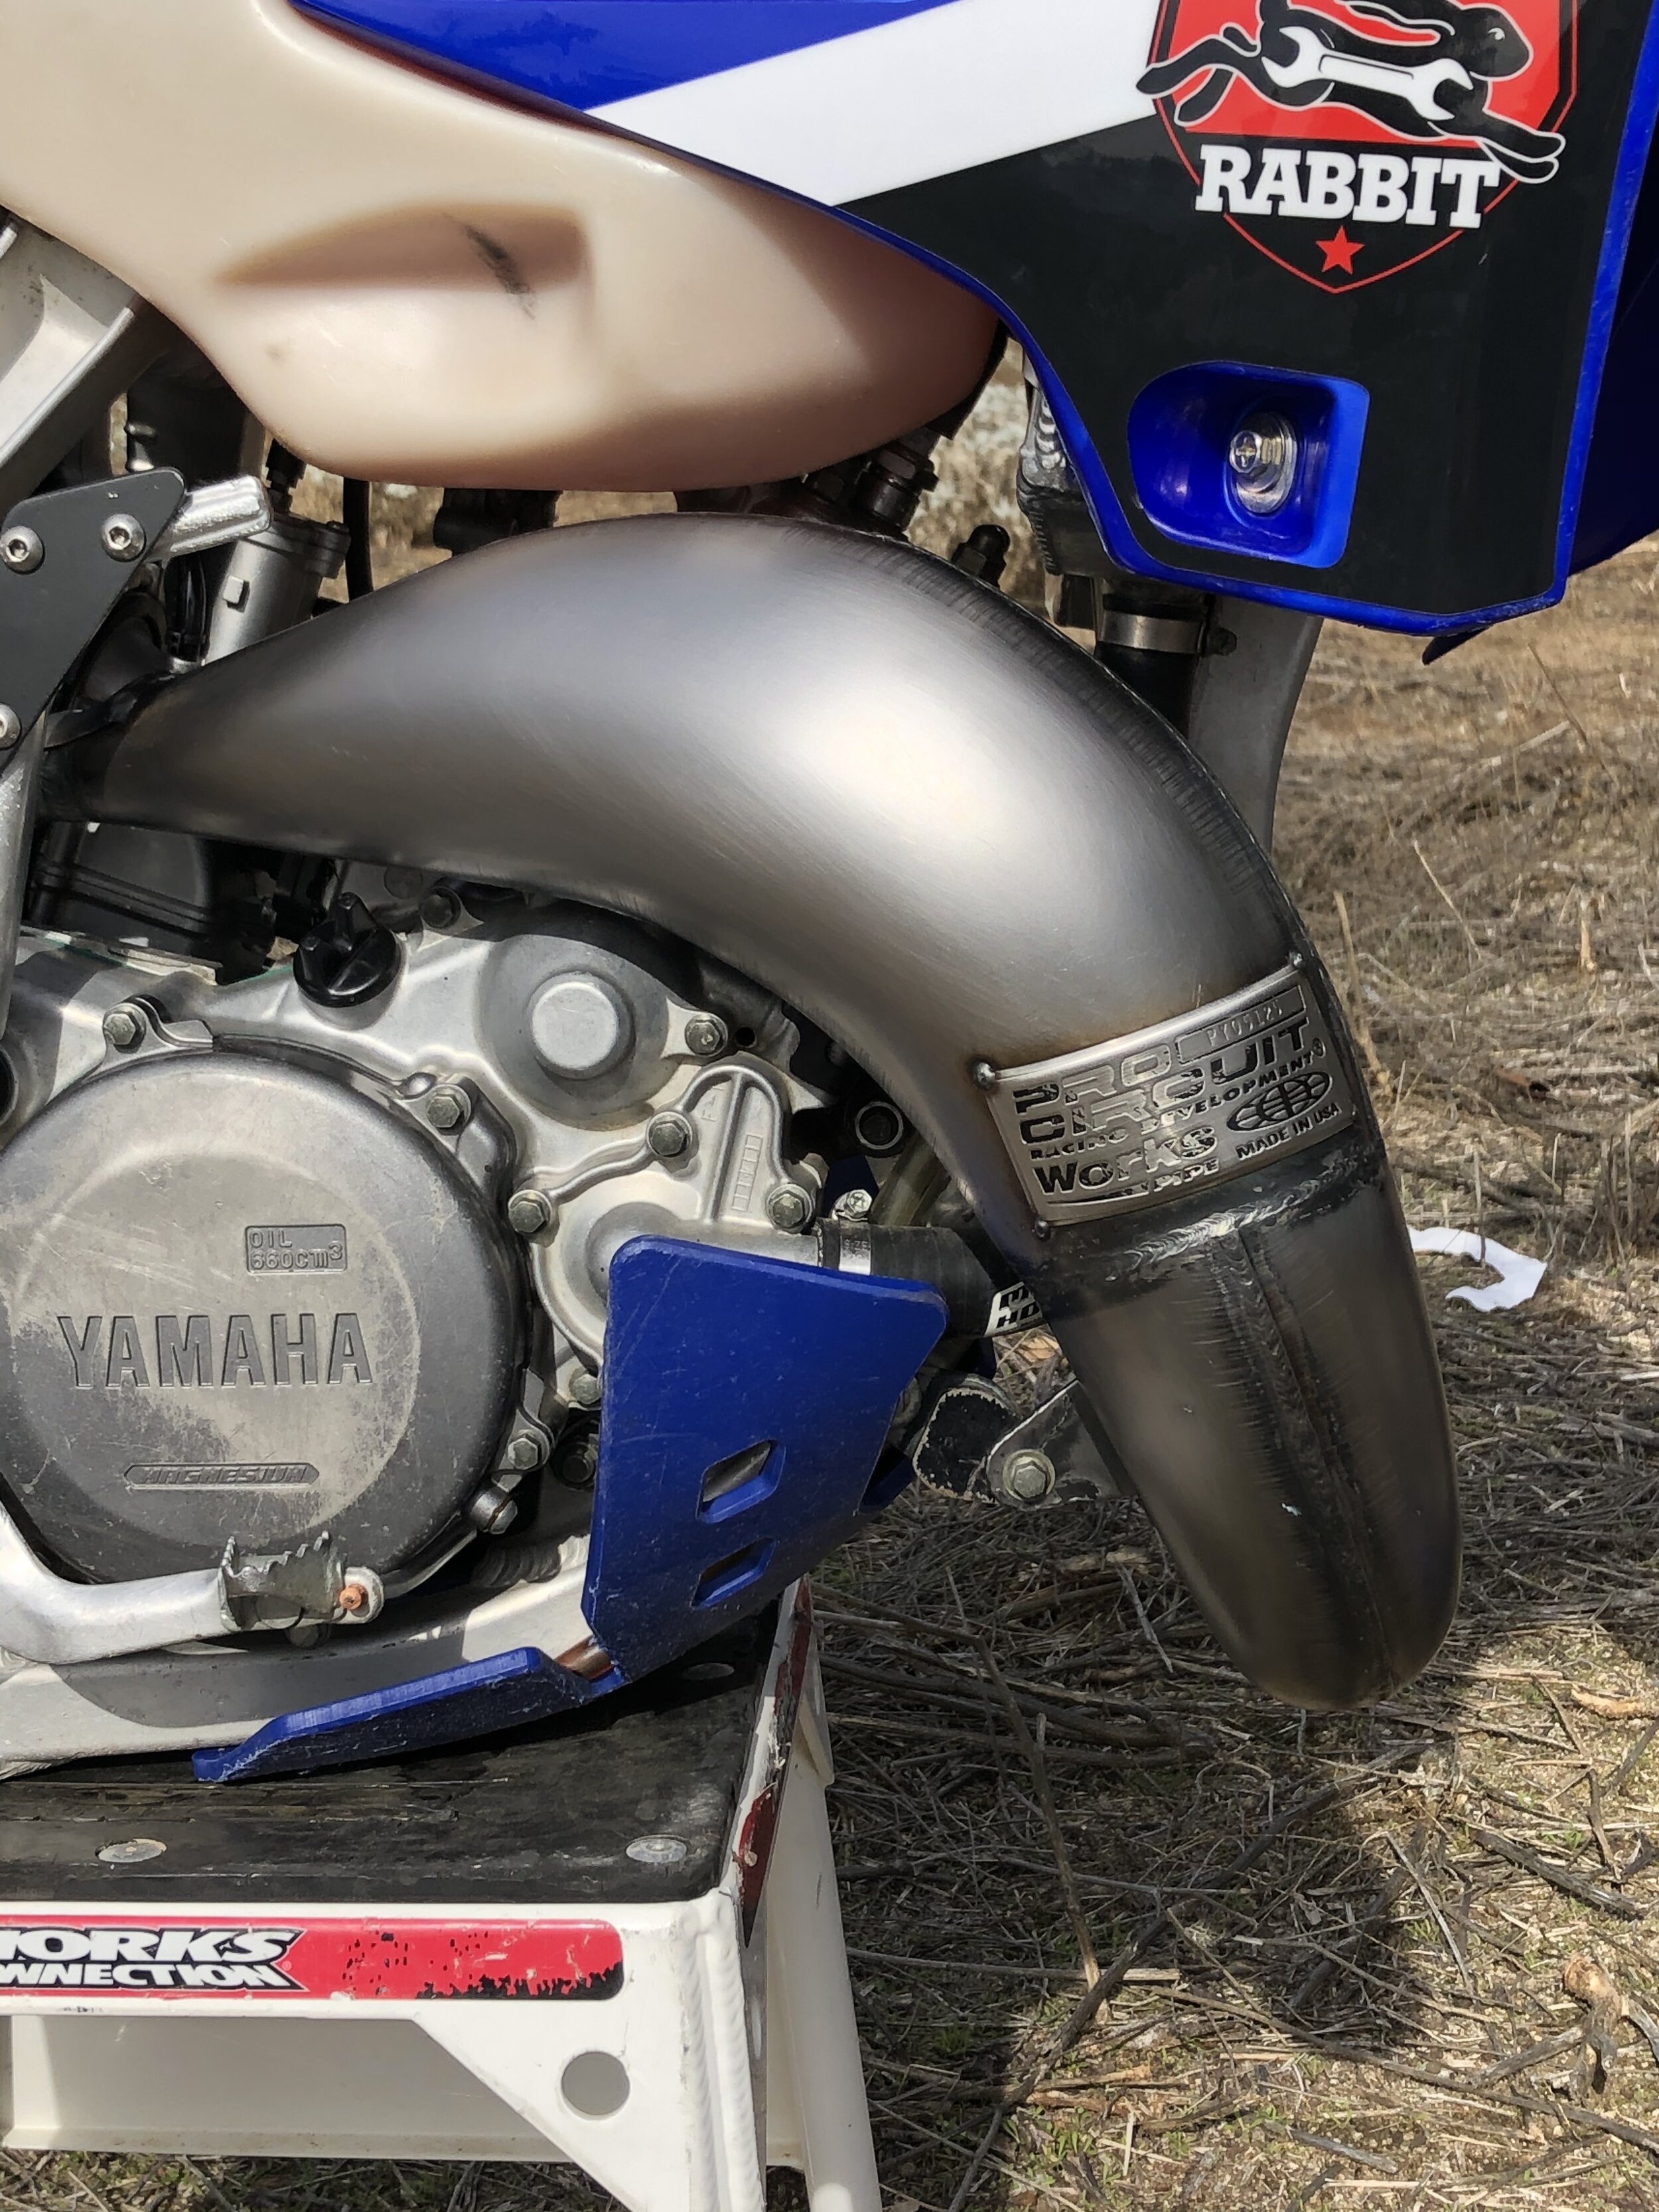
My first time really riding the bike was the morning of the race, so needless to say I didn’t get much time to get used to all the changes that were made. As I joined the other riders on my minute, all the thoughts started going through my head. I was wondering if I installed everything correctly and trying to remember if I tightened every single bolt. All of those thoughts left my mind the second the green flag fell and we were racing into the first turn. The first noticeable difference was the engine running perfectly crisp with seemingly perfect Pro Circuit jetting and a beautiful note barking out of the Pro Circuit shorty silencer. It didn’t have any hesitation or bog and once in the midrange (it’s a 125 so there is no real bottom to speak of) the engine pulled harder than it ever has. As we entered the rougher terrain, I was pleasantly surprised how much better the suspension worked than before. God knows what settings were in the old suspension, but it was a night and day difference. The small trail chatter was almost nonexistent except for the squarest of edges. Luckily I was able to slam into any square edge or rock since I had installed bib mousse tubes inside the Michelin StarCross 5 medium tires. Tecate doesn’t have a lot of whoops, but the ones that were there gave me a very balanced feeling on the bike. There were multiple times during the race where I would come across a g-out and to my surprise, I never had a hard bottoming sensation. The main place the suspension shined is when the speeds picked up. I don’t like running steering stabilizers, so when I race a bike that can handle high speeds, I’m thrilled!

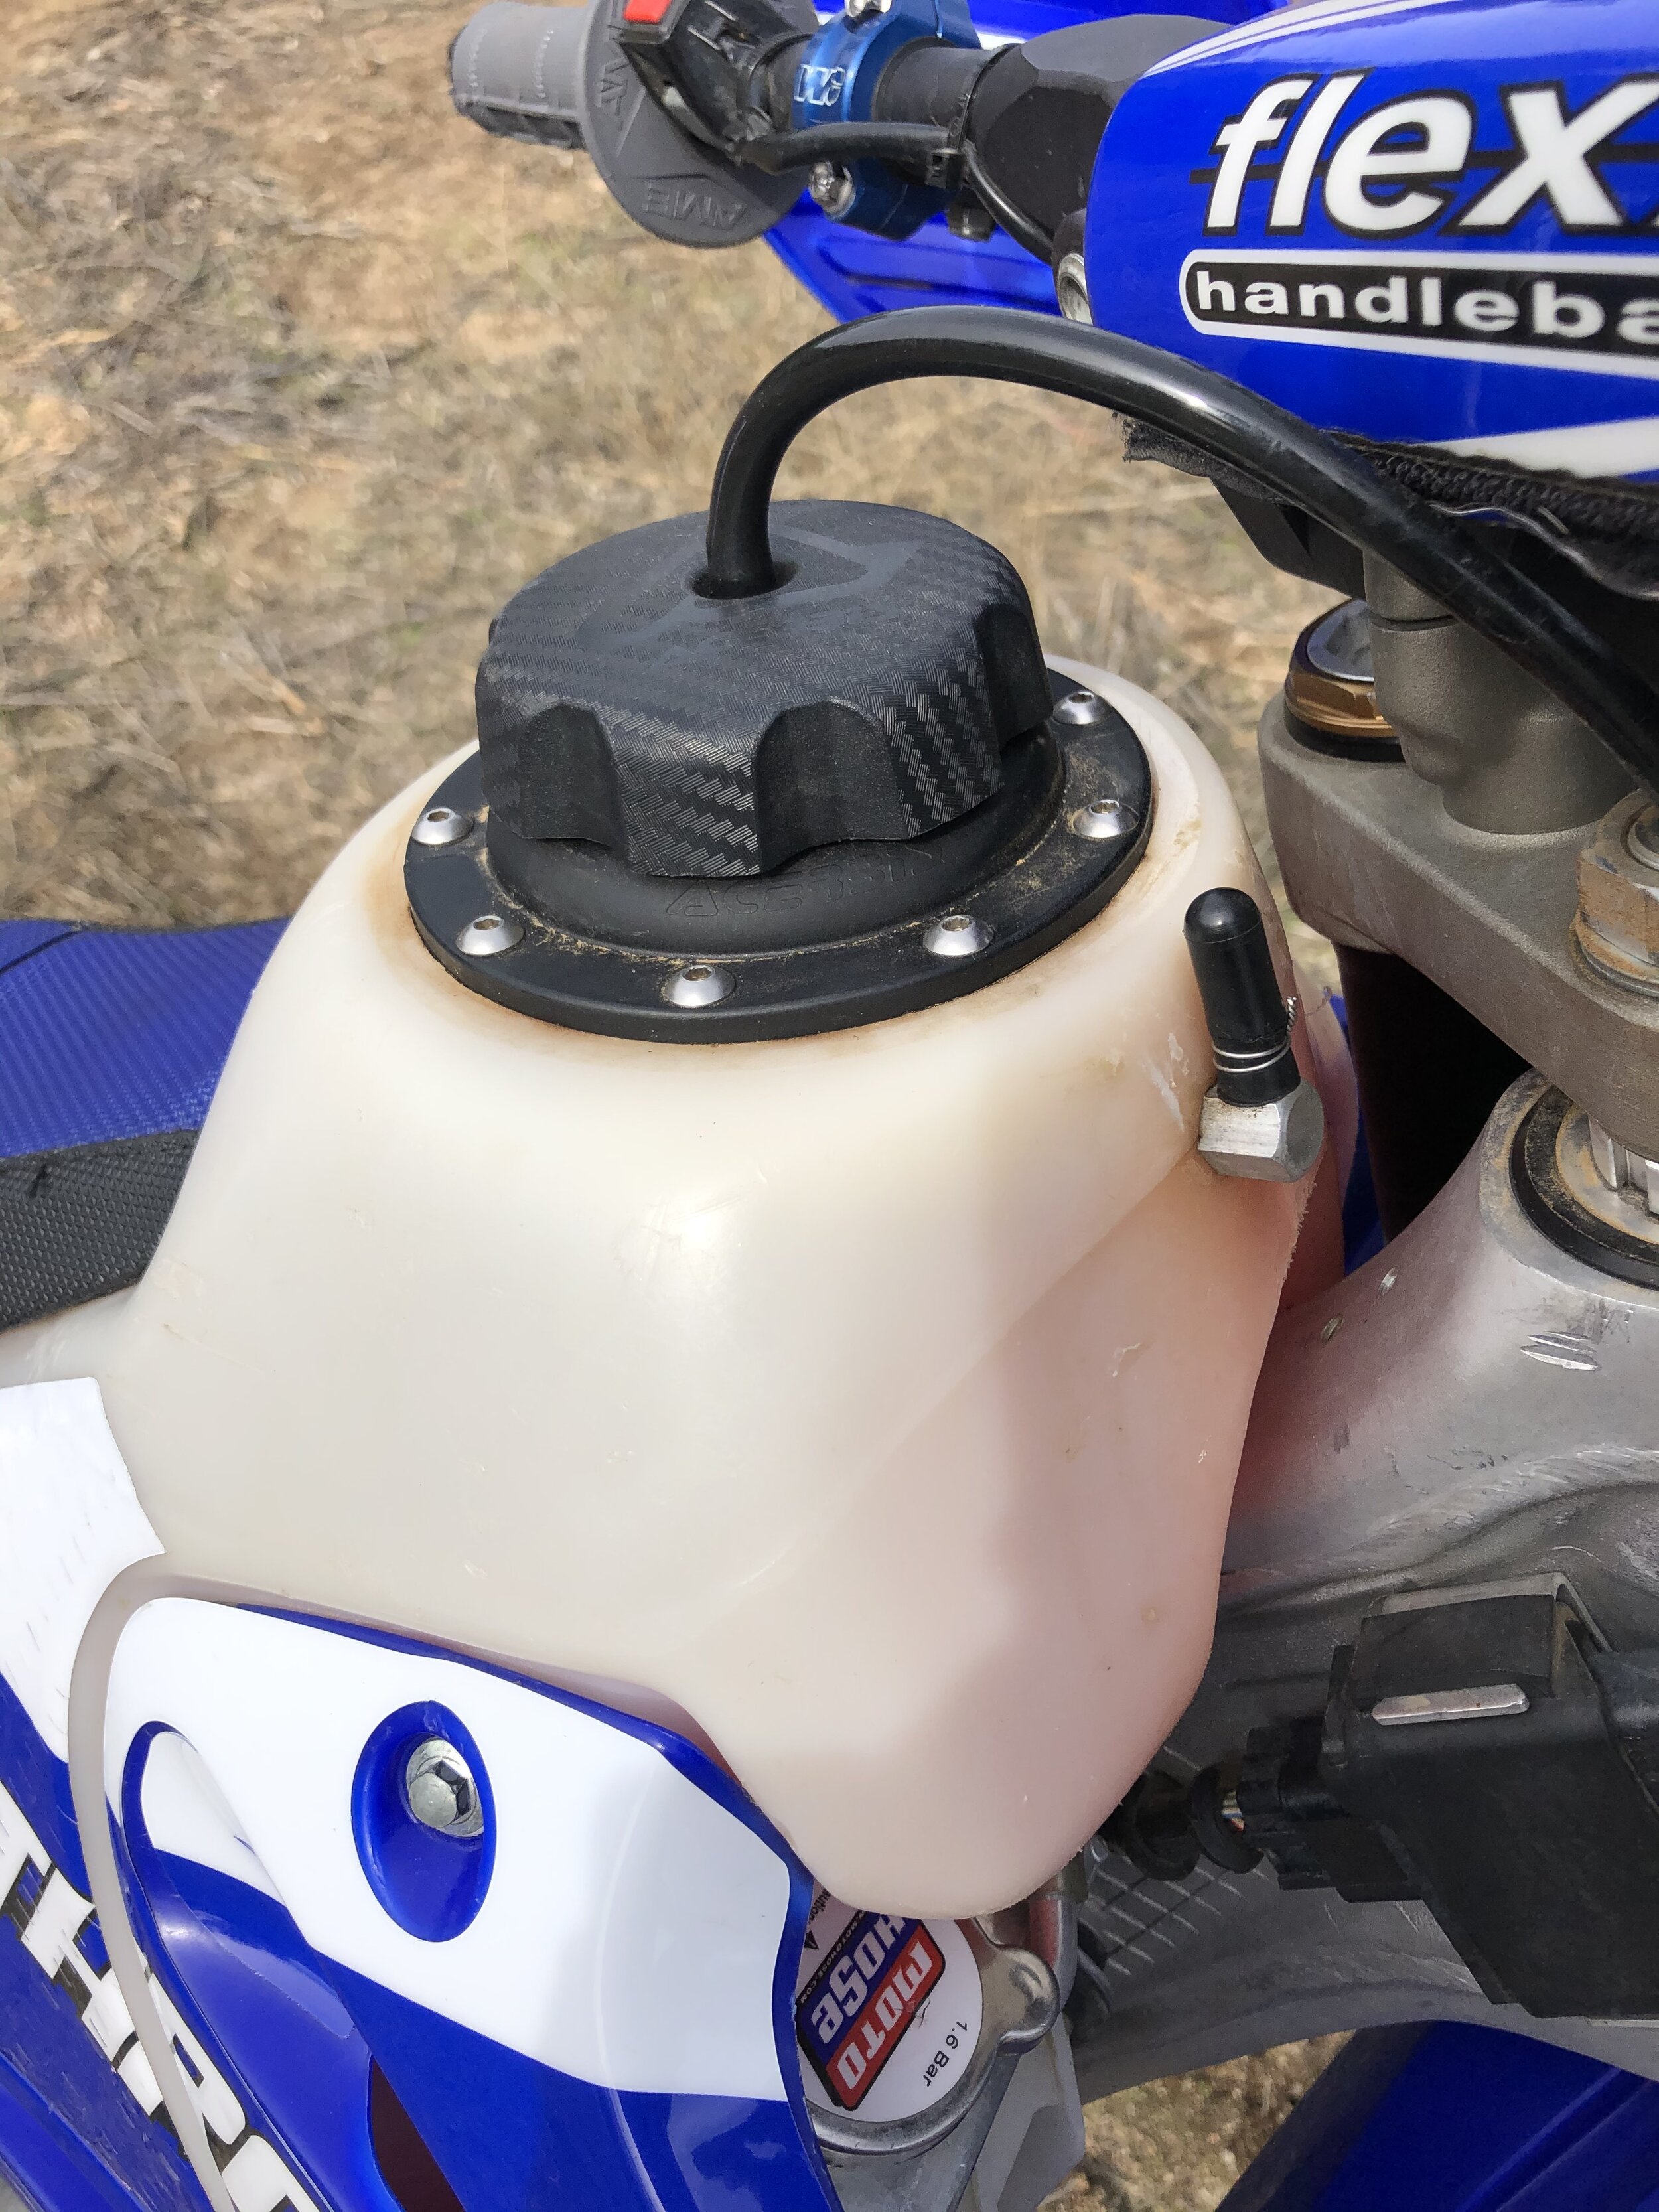
Some other parts that I chose to run on my bike were Fasst Company Flexx bars. Some people don’t like them, but I love them on off-road bikes because they tend to take some of the harsh sensation out of the square edged bumps. I have a TM Design Works skid plate as well as their chain guide, which have both held up to plenty of abuse. On any bike I have owned with a cable clutch I always put a Works Connection Elite clutch perch and lever on because who doesn’t like an easier/buttery pull? I also have Works Connection radiator braces to help keep the radiators straight in case I goon out. I installed a set of Raptor titanium foot pegs on the bike for a little more grip and let’s get real, they look super cool. The only problem I had with the pegs is that with the small 125 kick starter, it tended to get stuck in the foot peg, when I would start the bike. I ended up making a small kick start extender so the lever would hit the back of the peg instead of getting stuck. Because this is an off-road bike I have an IMS 3.2 Gallon oversized gas tank with the bolt on screw cap, that can be changed to a dry break, if I ever feel like getting sketchy and racing a desert race again.
After the bike was back home and cleaned up (unfortunately it only looked amazing for less than a week) I really got the chance to appreciate how well it turned out. Everything that we decided to do helped the bike perform as well as it possibly could have. Unfortunately I was the one who held it back at the Tecate Enduro where I ended up fifth in the vet class and 30th overall. Although I didn’t finish where I would have liked, I was told by many fellow racers that were racing near my minute that the bike sounded unreal and they could hear me coming from a mile away with that sweet 125 tone. If you haven’t ridden a 125 in a long time, I would definitely recommend hopping back on one just to see how fun they are and if you find one for a good deal, maybe you’ll want to make a fun project bike out of one as well. If you can’t ride fast, you might as well sound fast.