Moto

Mobility Training

Seiji makes me stretch all the time and I can tell that I get looser on the bike when I constantly do the flexibility drills he assignes for me. Besides riding, stretching to me is the most important off the bike excersize I can do at my age. -KK

By Seiji Ishii

It’s Free Speed!

The most overlooked aspect of training outside of mental training is mobility work. It may require putting yourself in short term discomfort, but the long term benefits are more efficient movement, injury prevention, and higher ranges of motion. The “training” requires little energy, and so does the application during riding, so it is quite literally “free speed.”

What Is Mobility Training?

Mobility training is just what it sounds like; you are doing things to increase your ability to move, and the quality of that movement. The goals are to move more efficiently, with more range, which can translate to more speed and stamina on the bike, and fewer injuries. And relative to other forms of physical training, the effort level required is super low.

Which begs the question, why do a lot of athletes skip this form of training? It’s because it’s boring, no way around it. But a simple rule is if you are watching TV (and you know you do), you should also be doing some form of mobility training. Boredom solved.

How Is This Free Speed?

Consider any joint in your body; if you move in any direction, the tissues on the opposite side of the muscle creating that motion must lengthen. Flexing the elbow by contracting the biceps means the triceps much relax and elongate. All the other tissues on the triceps side of the arm must also lengthen and glide. 

In the example above, if the triceps or any nearby tissues are short or carry tension, then your biceps must overcome this resistance to start the arm moving, then keep pulling against it to continue the movement.

And if these structures are indeed short, once they hit their end range, the biceps must generate an extreme amount of tension to keep the arm moving past this artificial joint end range. Not only does this situation rob movement, but it can cause nearby structures to compensate, potentially injuring them.

If the tissues are loose and of proper length, the muscles causing the desired motion use far less tension to initiate movement and to carry the desired speed over the planned distance. So, without expending more energy, compliant tissues allow body movements at higher speeds and through more range: free speed.

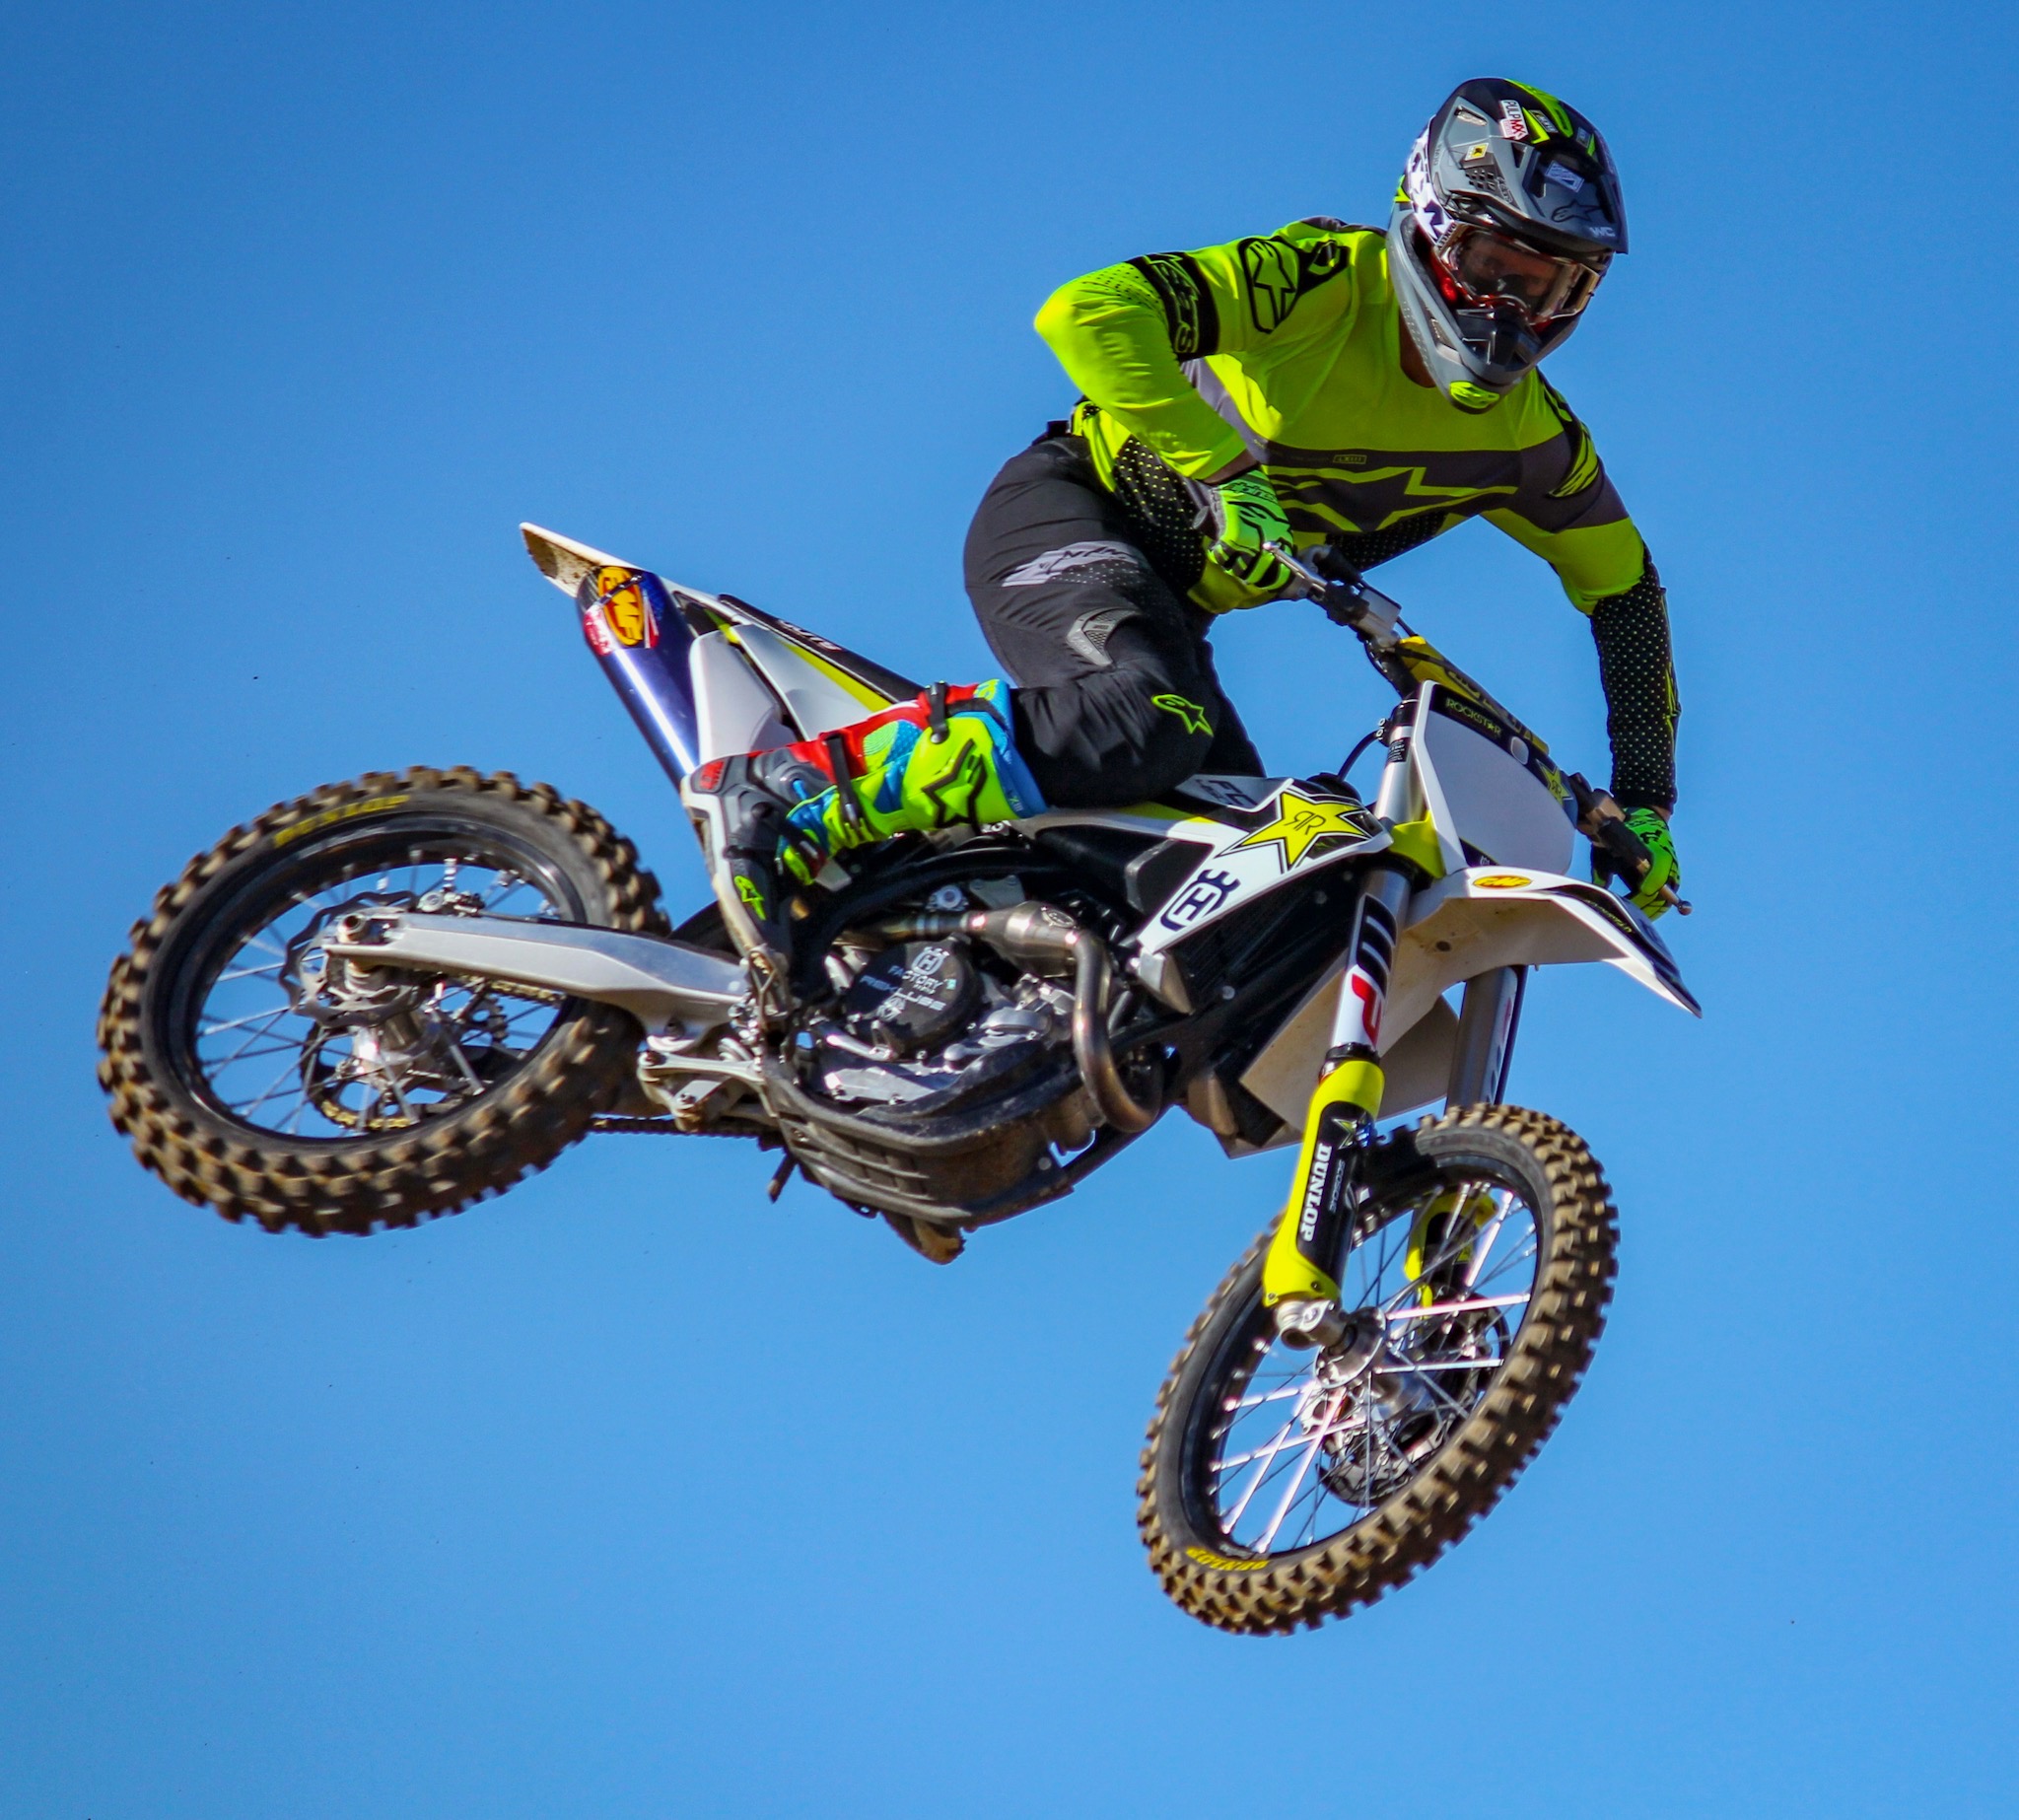
You can visually see this in riders that are “loose;” they seem to move effortlessly, seemingly expending as little energy as possible. And this isn’t far from the truth.

Injury Prevention

It’s easy to see how increased mobility can save soft tissue injuries as joints reach the end of their functional ranges. 

But what’s not so easy to see are the other detrimental effects of overly tight tissues. If the structures surrounding the joints are short, then the space between the bones moving is lessened. This decreased joint space can eventually lead to articular surface wear; it’s like running without proper slack. Things will wear out quicker.

Increased soft tissue tightness is also detrimental to movements of daily living; all the involved parts are operating at a high level of tension. Over time, things will give way; tendonitis that creeps up without an acute cause is an example. People get tendonitis from using a mouse for crying out loud. It’s like bleeding to death from a thousand paper cuts.

What Can I Do About It?

There are plenty of ways to improve mobility: stretching, yoga, dynamic movement, even strength training with proper form can all invoke enhanced mobility.

But in my experience, the most efficient way to improve mobility is best described by a former team member for the US in canoeing and kayaking, and Doctor of Physical Therapy, Kelly Starrett. 

His oddly titled book, Becoming A Supple Leopard, is a must-read for anyone I train personally. And if you are serious about performance, you should get a copy.

He also has a subscription site, thereadystate.com, for those of you who want an easily digestible and visual platform for significantly improving mobility.

If you aren’t ready to spend money, do a search on Kelly Starrett, and you will find plenty of free resources that will keep you busy for quite a while. 

Dr. Starrett’s program isn’t just stretching; that’s too slow. His methods are more direct, and in my opinion, attack the mobility blocks at their source. Yes, there is stretching, but it’s often done with joint or limb distractions using bands to pull on body structures to improve the dynamics of what is usually a static stretch. 

Starrett also smashes, pushes, and manipulates tissues in various ways to break up adhesions and allow tissue gliding. His methods address all soft tissue structures that contribute to mobility, not just muscles.

I cannot recommend his techniques enough; it has kept me in play, and I have seen it do wonders for others in a relatively short time frame. 

Just do it. I promise improvements. 

Conclusions:

I am the first to admit, flexibility and mobility training isn’t the most exciting form of exercise. But you can do it during usually unproductive times – while watching TV. And if you are going to do it, why not do it in the most time-efficient and effective way possible?

Get Kelly Starrett’s Becoming A Supple Leopard, or get a subscription to his site, The Ready State. I am recommending this based strictly on my opinion. I don’t get any fee or kickback from Dr. Starrett; I just believe in his methods, and I wouldn’t recommend it here otherwise.

OGIO Adrenaline VRT Gear Bag

There are a few off the bike pieces that are essential to me and my testing program. One of those things is a gear bag that fits all of my crap and isn't a huge/heavy monstrosity. I have used and gone through just about every gear bag imaginable, but only a couple have really held my excitement for more than a couple trips to the track. You may be thinking it just a freaking gear bag Keefer, but to me it’s something I use almost everyday and am in and out of. 

I have been using OGIO products since I started at Dirt Rider way back in the early 2000’s and absolutely loved the 9900 Rig Gear Bag, but that bag has been discontinued. The 9800 was decent, but I really wanted something more compact/smaller/lighter to travel with and take to the track. Enter the OGIO Adrenaline VRT Gear Bag for all us non lifted bro truck kind of dirt bike riders. AKA gentlemen truck owners. 

The OGIO Adrenaline VRT Gear Bag has a dimension of 30" H x17.5"W x 6.5" D has a EVA molded goggle/personal items pocket, two fabric slip pockets for gloves/tear-offs, a large main volume, two Internal mesh organization pockets, Internal top lid zippered mesh pocket, large wet/dry compartment to separate dirty or clean gear/clothes, a zip away divider allows use of entire volume or wet/dry compartment, an ABS molded tub, a reinforced replaceable wheel set, an easy to clean eco friendly PVC liner, two stage trolley handle helmet divider/changing mat, and a heavy duty 900D fabric with Eco friendly PVC backing.

IMG_5328.jpg

So the short story to this test is that I have owned this bag over a year and haven't really wanted to try another bag since. I looked at my bag today and thought why haven't I did a review on this sucker yet? Well now here we are! The Adrenaline is small enough to fit in my Ridgeline trunk (no hate comms) yet big enough to hold three sets of gear, knee braces, socks, helmet, several sets of gloves, a pair of boots, several sets of goggles, snacks, tear offs, and still have room for other crap if I need it. Before the Adrenaline bag was introduced I was a 9800/9900 gear bag guy, but it was heavy (at 14.1 pounds) so I would almost always go over the weight limit (at the airport) forcing me to pay an oversized fee. LAME! I hate spending money on stuff that I feel is not warranted and the weight on the 9800 wasn't worth the 30-50 dollar oversize fee. The adrenaline weighs in at 10.2 pounds and allows me to sneak in some extra gear and I am still under the weight limit. SCORE! 

IMG_5330.jpg

I love that I can separate my stinky gear from my fresh smelling gear with the wet/dry compartment. Mrs. Keefer likes this because she doesn't have to wash two sets of gear when opening/pulling out my dirty gear. The clean gear remains clean and doest have that stank on it! Yes, my wife washes my gear, so don’t be jealous. #HomeLife. Sometimes when gear bags come with side boot compartments it can be a pain in the ass to stick dirty/muddy boots, but with the ABS molded tube at the bottom of the bag, I can simply lay my boots down inside and zip up the bag. Boom! Easy! I also like that I can separate my knee braces from the main compartment as well as keep my goggles inside the EVA molded comportment and they don't get damaged (you Oakley Airbrake guys need this). 

Mrs Keefer’s Thoughts: Look all I know is Kris’s gear stinks up the laundry room up to high heaven and having to reach into that god forsaken bag to get his gear is not fun, but I do it. I like that this bag has the separation compartment because it doesn’t blow out his other clean stuff I put in there for him. I remember another bag he was using last year was horrible because his lazy ass would just throw his used/old gear in with his clean gear and all of it would stink. More work for me right? This OGIO bag makes my life a little easier and his bitching about all of his gear stinking before he even rides, just disappear. If your wife washes your gear, do them a favor and get this bag because it will actually be helping her. Thank you. -Heather Keefer

IMG_5332.jpg

The OGIO Adrenaline is durable and is over a hundred bucks cheaper (at $219.99) than the 9800. If you’re looking to get a compact, durable, and useful gear bag take a look at the Adrenaline over at the ogiopowersports.com. OGIO has a designated moto site specially for their powersports products. 

IMG_5335.jpg

Determining Season Goals


You Need A Map To Get To Where You Want To Go

By Seiji Ishii

Where are you going? How will you get there? These are questions that you should answer before embarking on a training program. You can buy all the nutrition products you want, but if you don’t have a plan or use them properly how will it work? Goal setting and creating training objectives based on these goals will allow you to always move forward instead of wandering in a random training pattern. Every training session should have a congruent purpose designed to keep you progressing towards your season goals. Knowing what you are doing and why you are doing it will also keep you motivated in the long term; you will always see that the actions you are taking today will ultimately lead to your goals in the future. 

IMG_1394.JPG

The first step in the goal-setting procedure is to determine your “A” priority events. These events are the most important and your fitness will peak for these races, trips, etc. All other events during the season will occur with fitness either being on the rise towards the “A” events or the decline after them. A seasoned athlete can peak up to three times per season and thus can have three A-priority events. These events can be series championships or a big trip to Baja, not your usual weekend event.

The next phase in goal setting is to determine your season goals based on your A-priority events. This step is arguably the most important action in planning your season. It is critical at this point to understand the difference between a dream and a goal; a dream takes longer than a season to accomplish while a goal is attainable within a season.

Example: A local racer is winning their classes locally; a dream would be to become a factory rider but a goal would be to win a local winter race series. Goals need to be challenging but they also need to be reasonable. If you set goals that are too high then deep down inside you will know that you cannot reach this goal and your commitment will fade. Goals need to be measurable (number oriented), under your control (“I want to win this race,” not, “I want to win this race if Joe crashes”) and they must stretch you.

Examples of season goals based on A-priority events; each A-priority race should have a corresponding season goal. 

1) Top 5 finish in x class at my state/region WORCS-style championship race.

2) Top 10 finish in my local winter series from x date to x date.

3) Top 15 finish in x class at the closest WORCS event.

IMG_6731.JPG

Determining Training Objectives:

The final step in the goal-setting procedure is to create training objectives based on the season goals and your performance limiters. Limiters are specific riding techniques or parts of fitness/health are currently holding you back in the development of overall riding ability. A careful self-assessment from the prior season will determine these limiters. An example of a specific technique limiter would be “right-handed cornering technique.” An example of a fitness/health limiter would be “poor dietary habits.” Write down your limiters and write down your first season goal. Will any of your limiters prevent or impede you from reaching this season goal? The answer is probably yes so you will need to improve these limiters through specific training.

List these limiters underneath the first season goal and repeat this procedure for all your season goals. Now you will use each of these limiters to create a training objective. A training objective is a training goal that specifically addresses the limiter. When listing training objectives under each season goal, specify a way to measure improvement in each limiter and put a time limit on doing so. Here are examples:

Goal: A top 5 finish in x class at my state/region WORCS style championship race.

Personal limiters to this goal: aerobic conditioning, cornering technique, dietary habits.

Training objectives:

1) Improve aerobic conditioning: complete a 25-mile road bicycle ride in 1 hour and 20 minutes by June 30th, 2019.

2) Improve cornering technique: complete one lap on my corner track in 35 seconds by July 15th, 2019.

3) Dietary habits: track diet and change to 40% carbohydrate, 30 % protein, 30% fat intake ratios by August 15th, 2019.

unnamed-34.jpg

When you have completed this procedure for each goal, you will have between one and three training objectives for each season goal and between 3 to 9 training objectives for the entire season. These training objectives become the focal point of your training activities. They can also be adjusted through the season as you improve upon the limiters and you can eliminate them through directed and purposeful training! Sitting down with the event calendar, going through the goal setting procedure and creating your training objectives may seem a far cry from carving through the trees, but it is no less important in the quest to improve your riding performance. This procedure is pivotal to ensure that training has direction and your efforts and dedication are always moving you steadily towards your goals.

Scosche PowerUp 700 Portable Jump Starter


I usually stick to dirt bike related things on this site, but since I recently used the Scosche Power 700 Portable Jump Starter on Lil D’s (Donnie Emler Jr.) brand new 2019 Husqvarna FC450, I thought I would give you guys some insight on why this is a great piece to add in the truck, car or van. The 700 Portable Jump Starter is a high-capacity 15,000mAh lithium-ion battery w/700 amp peak that can jump start vehicles up to 10 cylinders, is spark-free, and the 6-point safety protection system prevents any unwanted mishaps. It also has dual 5V (2.1A + 1.1A) USB ports for charging mobile devices, has a safety protection against any short circuits, a reverse connection/Polarity, ultra-bright LED flashlight, 1000+ charge/discharge cycle backwards that is compatible to work with smaller engines and the LED battery power level indicator works just fine on cars, trucks, boats, ATV/UTV’s and of course dirt bikes.

IMG_1267.jpg

How many times have you messed around with jumper cables, only to have the positive and negative touch? With most other portable jumpers on the market, you can cause a short circuit and permanently damage the unit when those clamps come in contact. Plus sparks can be dangerous to you and the vehicle as well. The Scosche PowerUp was designed with Spark Proof technology, allowing you, your vehicle, and the unit to stay safe should the clamps touch. My wife doesn't like to jump start anything because she is intimidated by big jumper cables, but with this Scosche 700 Jump Starter, she feels safe enough to do it on her own! Boom! Score! 

IMG_1269.jpg

What about when it’s dark outside and you need some extra light? This unit has you covered, with the built-in ultra-bright LED, you're provided with plenty of light to find your battery terminals, find your phone (in the loads of crap under your seat), in your carry bag or wherever you may need it. The LED also has a strobe and SOS flashing option just in case you’re in distress or want a portable rave unit.

IMG_1268.jpg


This Scosche 700 also includes many other great features such as the ability to use it as a backup battery for mobile devices. Low on battery life and your kids are hogging the cords? No problem the Scosche 700 provides you with one 2.1A and one 1.1A USB ports so you can charge two devices at once! 

Most importantly it saved my buddy Lil D’s butt as his new Husqvarna FC450 waste charged enough to start. I simply whipped out the Scosche 700 Portable Jump Starter and the white beast fired right up. He let it idle for a few minutes and the battery was ready to rock! It also takes up almost zero room in your cab and I rarely have to charge it.

Go check out all the products Scosche has to offer at scosche.com and use the code SCOKT25 to save yourself 25% on almost every product on their site!